Unleash your inner artist and transform a plain terracotta pot into a vibrant, mosaic masterpiece! This DIY project is perfect for gardeners, crafters, or anyone looking to add a touch of personalized charm to their home or garden. Forget expensive, mass-produced planters; creating your own mosaic flowerpot is surprisingly simple, rewarding, and allows for endless creative expression. You can choose from a dazzling array of materials – broken ceramic tiles, colorful glass pieces, even sea glass – to craft a unique design that reflects your individual style. The possibilities are truly limitless, allowing you to create a bespoke piece that perfectly complements your existing décor.
Ready to get your hands dirty and bring your artistic vision to life? This comprehensive tutorial will guide you through each step of the process, from preparing your pot and selecting your mosaic pieces to grouting and sealing your finished creation. Let's dive into the step-by-step instructions and create a stunning mosaic flowerpot you'll cherish for years to come!
Preparation and Safety Guidelines
- Terracotta pot
- Tile
- Hammer
- Putty knife
- Tile adhesive
- Sanded grout
- Bucket
- Soft clean cloth
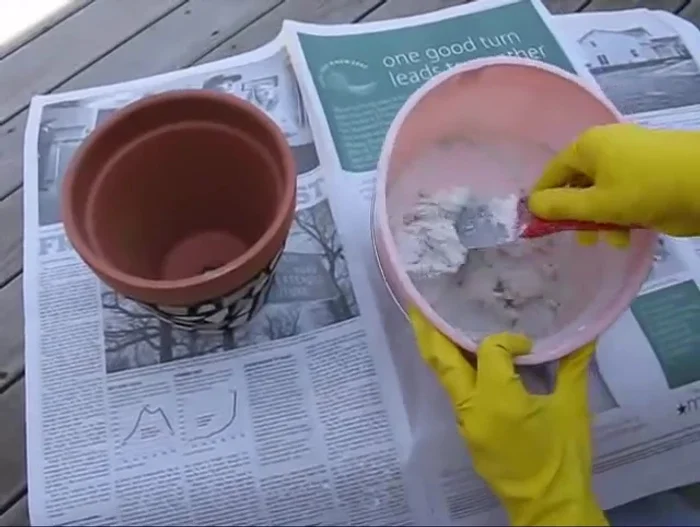
- Rubber gloves
- Newspaper
- Always wear safety glasses to protect your eyes from flying debris when breaking tiles or using tools.
- Work in a well-ventilated area, as some adhesives and grout can release fumes.
- Use caution when handling sharp tools like tile nippers or grout floats. Keep them out of reach of children.
Step-by-Step Instructions
Prepare the Tiles
- Prepare your tile by placing it between several sheets of newspaper and hitting it with a hammer to break it into smaller pieces.

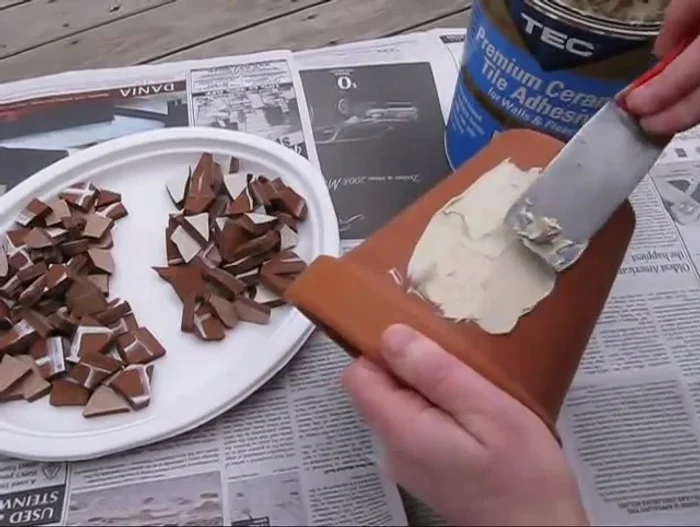
Prepare the Tiles Apply Adhesive
- Spread tile adhesive evenly onto the pot, ensuring it doesn't go more than halfway up the tile's edge.
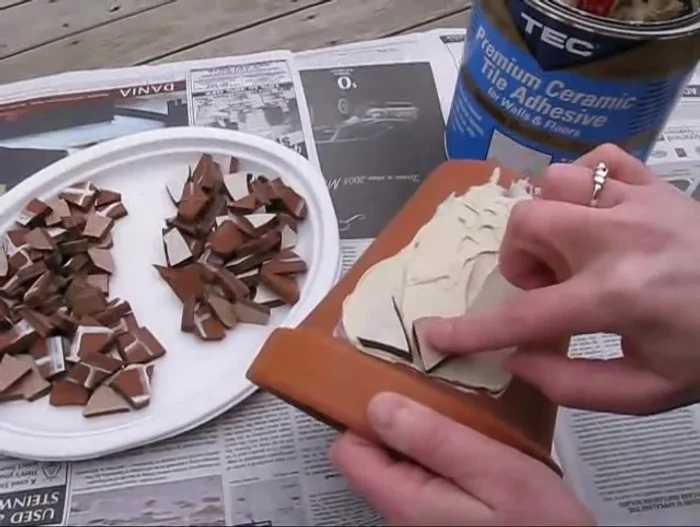
Apply Adhesive Assemble the Mosaic
- Set the tile pieces into the adhesive like a jigsaw puzzle.
Assemble the Mosaic Dry the Pot
- Let the pot dry for at least 24 hours.
Dry the Pot Mix the Grout
- Mix the grout according to the instructions on the container.
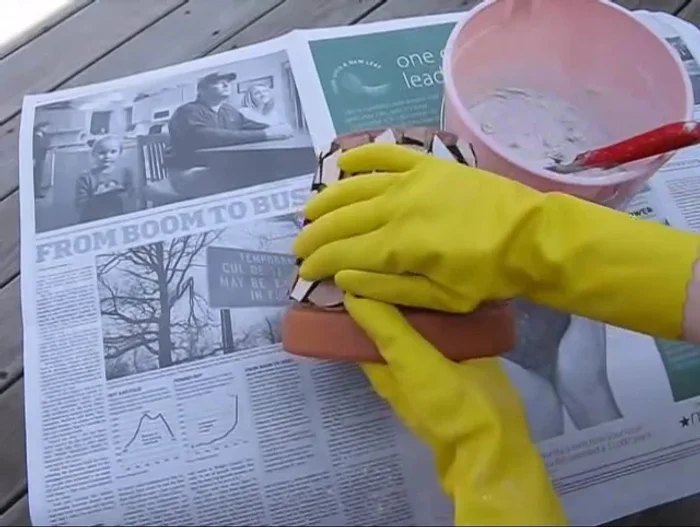
Mix the Grout Apply the Grout
- Apply the grout, forcing it into the grout lines using an up-and-down and side-to-side motion to fill the lines completely.
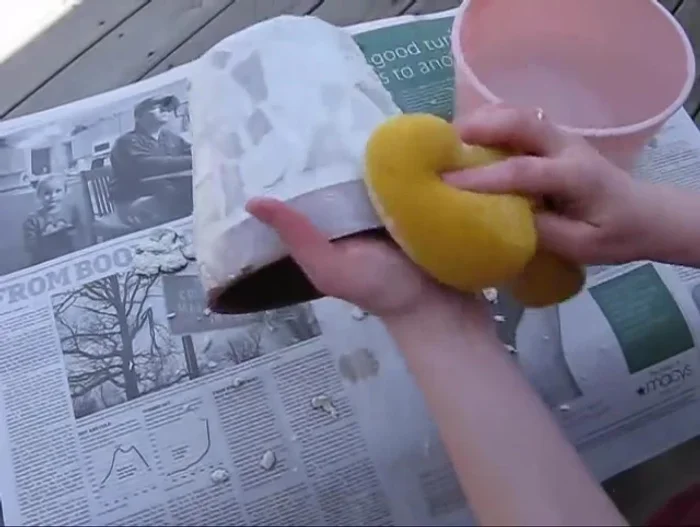
Apply the Grout Clean Excess Grout
- Use a well-rinsed sponge to remove excess grout from the pot, rinsing the sponge frequently.
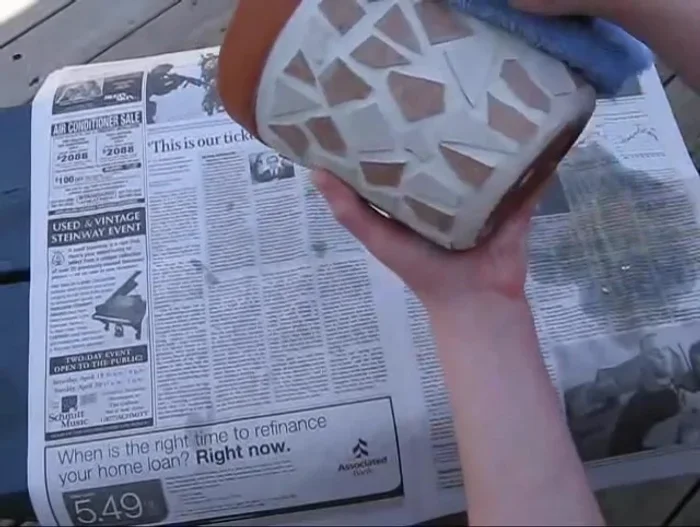
Clean Excess Grout Buff and Finish
- After sponging, wait 5-10 minutes, then buff the haze off with a soft, clean cloth.
Buff and Finish

Read more: DIY: Create Custom Canister Labels with Silhouette Cameo
Tips
- Ensure the tile adhesive doesn't come more than halfway up the tile's edge to prevent messy overflow.
- Go over the pot several times with the sponge, rinsing it frequently for a thorough cleaning.