Transform your garden into a vibrant haven for feathered friends with this delightful DIY project: a stunning mosaic bird bath! Forget expensive, mass-produced options; creating your own unique bird bath is surprisingly simple and incredibly rewarding. This project lets you unleash your creativity, using broken ceramic tiles, glass, or even sea glass to craft a beautiful and functional centerpiece for your outdoor space. The personal touch adds charm and character, resulting in a bird bath that’s as individual as your garden itself. You'll be amazed by the transformation of discarded materials into a piece of functional art that will attract a variety of birds.
This step-by-step guide will walk you through each stage of the process, from gathering your materials to sealing your finished masterpiece. Whether you're a seasoned crafter or a complete beginner, you’ll find this project accessible and enjoyable. Let's get started and create a beautiful mosaic bird bath that will be the envy of your neighborhood!
Preparation and Safety Guidelines
- Safety goggles
- Cardboard container
- Epoxy
- Round beads (or flat glass for stained glass)
- Stick (or popsicle stick)
- Grout
- Grout and tile sealer
- Damp sponge
- White cloth
- Always wear safety glasses to protect your eyes from flying debris while breaking tiles or working with grout.
- Use caution when handling broken tiles and grout; sharp edges can cause cuts. Dispose of broken pieces carefully.
- Ensure the base of your bird bath is stable and won't tip over easily, especially if you are using a heavy material like ceramic tiles.
Step-by-Step Instructions
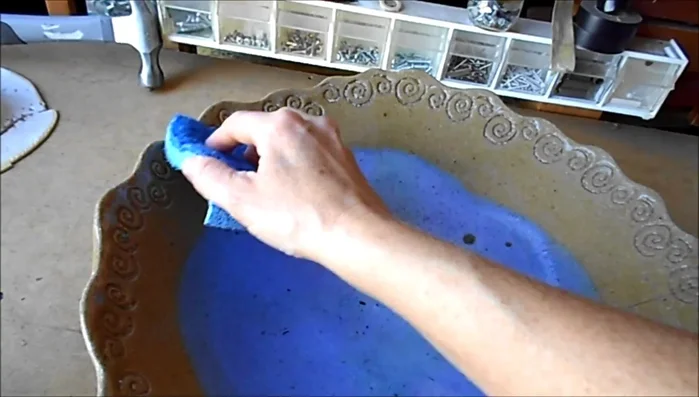
Prepare the Surface
- Clean and dry the bird bath surface.

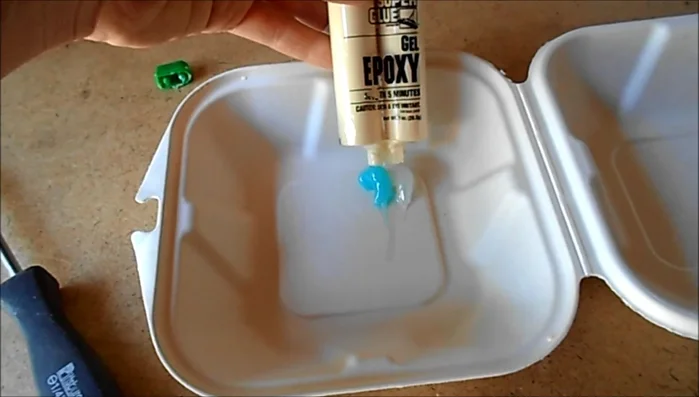
Prepare the Surface Mix the Epoxy
- Mix epoxy according to package directions.
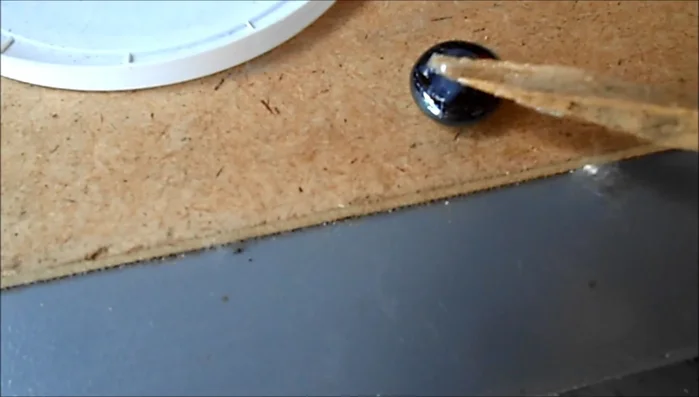
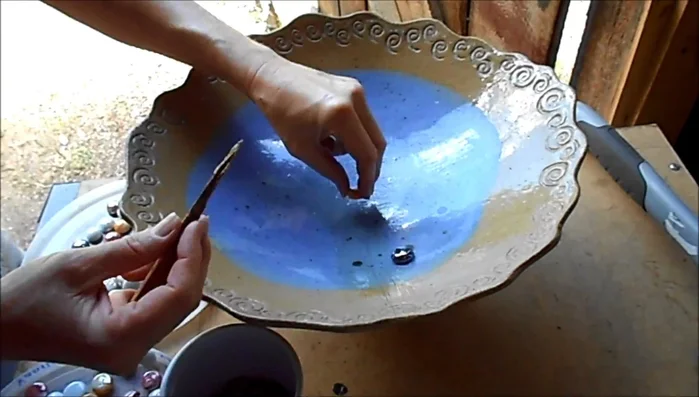
Mix the Epoxy Apply Glass Beads
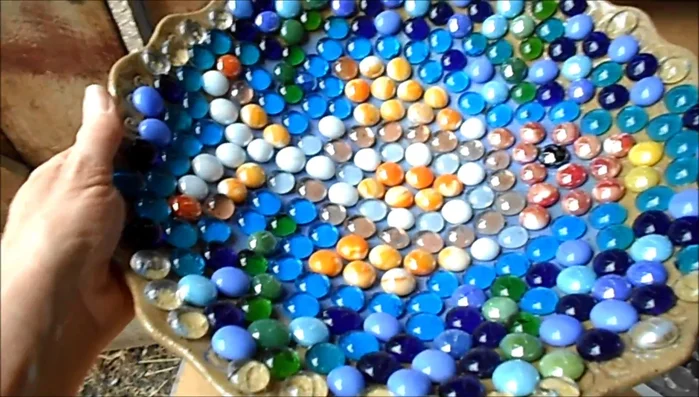
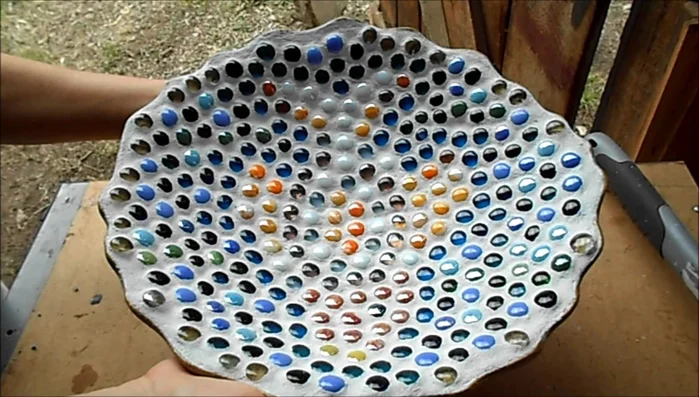
- Apply epoxy to the back of each glass bead and adhere to the bird bath, starting with a design outline (e.g., a fish).
- Continue placing beads, working from the center outwards, following your design.
Apply Glass Beads Cure the Epoxy
- Let the epoxy set for a couple of days to completely dry.
Cure the Epoxy Apply and Smooth Grout
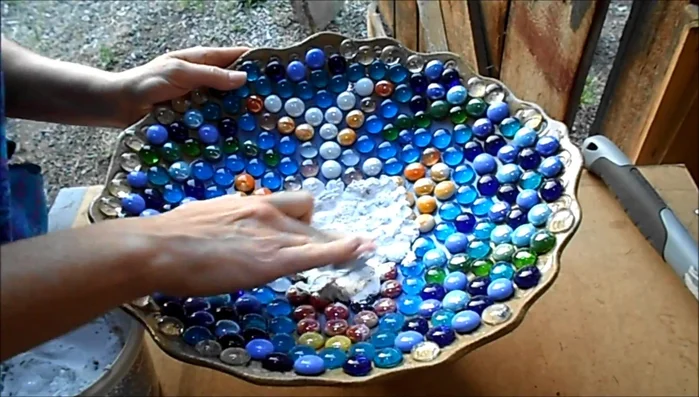
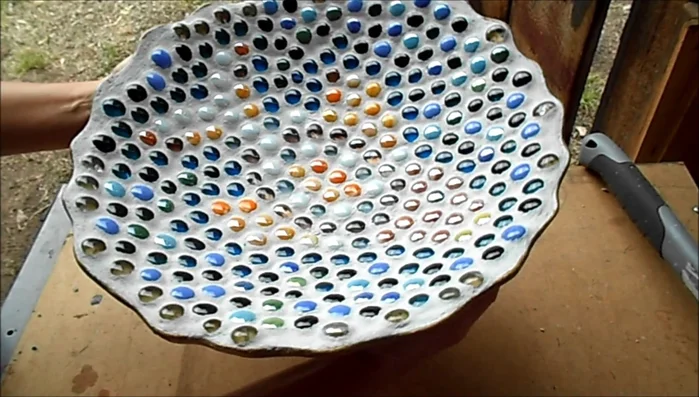
- Apply grout to all crevices between the glass beads, working from the center outwards.
- Wipe away excess grout with a damp sponge, revealing the glass beads.
- Smooth out the edges of the grout before it completely dries.
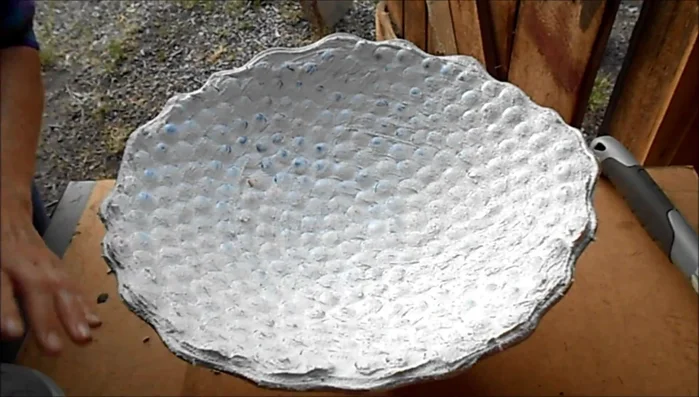
Apply and Smooth Grout Cure the Grout
- Let the grout dry for a few days.
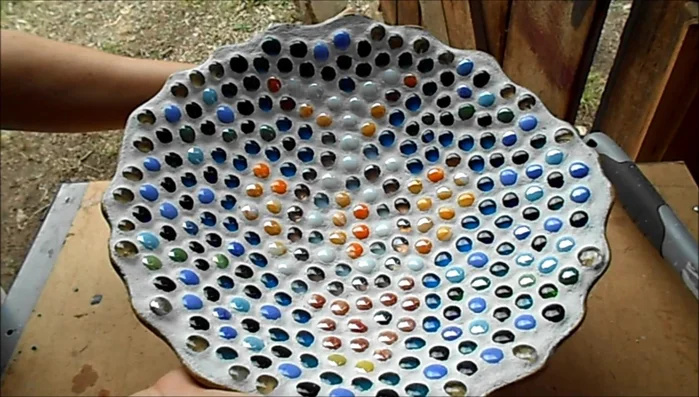
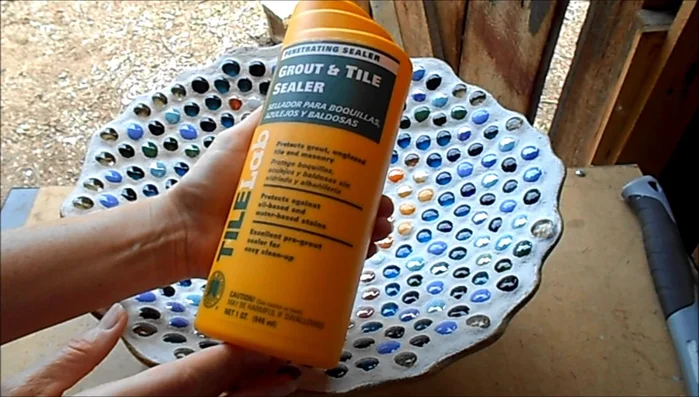
Cure the Grout Seal the Bird Bath
- Apply grout and tile sealer to make the bird bath watertight, ensuring thorough soaking.
- Let the sealer dry for a few more days.
Seal the Bird Bath
Read more: DIY: Create Custom Canister Labels with Silhouette Cameo
Tips
- Use safety goggles when working with epoxy.
- Use a cardboard container or piece of cardboard for the epoxy.
- Round beads are easy to use, but flat glass designed for stained glass can also work.
- Consider using a stick or popsicle stick to apply the epoxy.
- Keep rinsing the sponge while cleaning the grout to ensure the beads are clean and free of residue.