Unleash your inner artist and transform a simple poster into a breathtaking mosaic masterpiece! Tired of that old poster gathering dust? Give it new life with this exciting DIY project that combines creativity with surprisingly simple techniques. Mosaic art offers a captivating blend of texture and color, and with readily available materials, it's a surprisingly accessible craft for all skill levels. Imagine the vibrant, shimmering effect of tiny tiles meticulously arranged to recreate your favorite poster's imagery – a unique and personalized piece of art that will add a touch of handmade brilliance to your home.
This step-by-step guide will walk you through the entire process of converting a poster into a stunning tile mosaic, from preparing your chosen poster to the final grouting and sealing. Get ready to explore the rewarding world of mosaic art and discover how easily you can create a truly captivating piece that reflects your personal style and artistic flair.
Preparation and Safety Guidelines
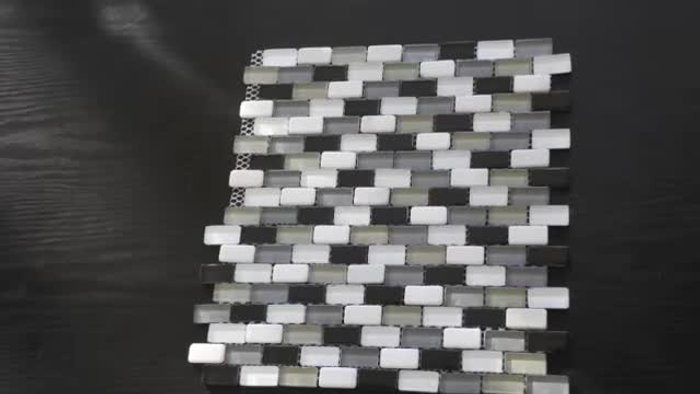
- Unexpensive glass mosaic tiles
- Poster (from allposters.com or similar)
- Tape
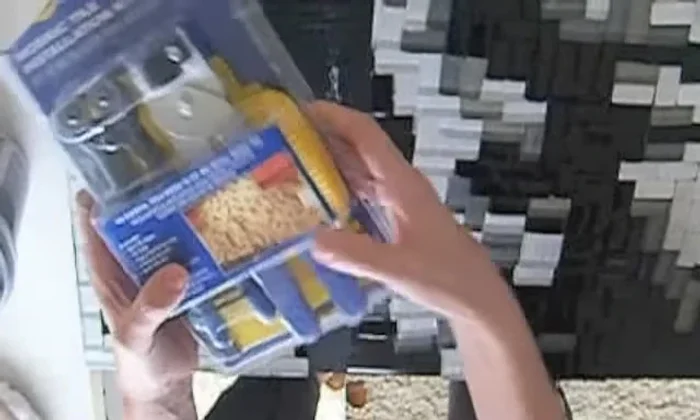
- Glass cutter
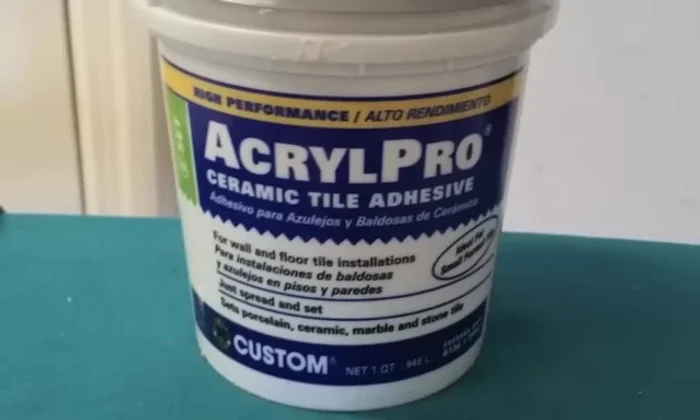
- Tile adhesive (pre-mixed)
- Wet sponge
- Always wear safety glasses to protect your eyes from flying tile fragments.
- Use a work surface that can withstand being scratched or damaged, and cover it with a protective layer like newspaper or cardboard.
- Handle tile nippers and other sharp tools with extreme care. Keep them away from children.
Step-by-Step Instructions
Prepare Your Workspace and Materials
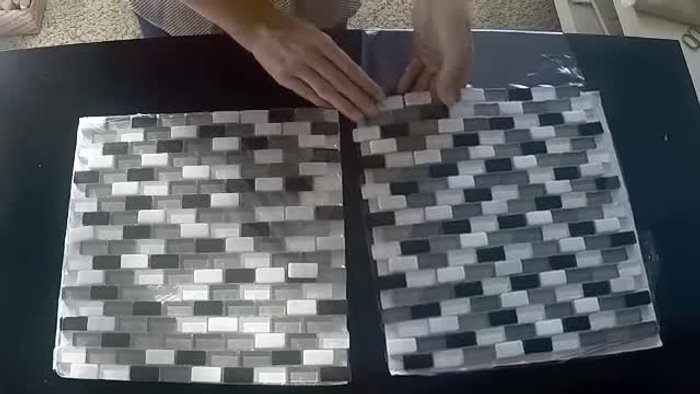
- Purchase inexpensive glass mosaic tiles with varied shades (at least 4-5 between white and black). Secure your chosen poster to a table using tape.

Prepare Your Workspace and Materials Plan Your Mosaic Design
- Lay out the mosaic tiles on top of the poster, matching colors to the image. Don't glue yet – this is a dry-run to visualize the design.
Plan Your Mosaic Design Cut Tiles as Needed
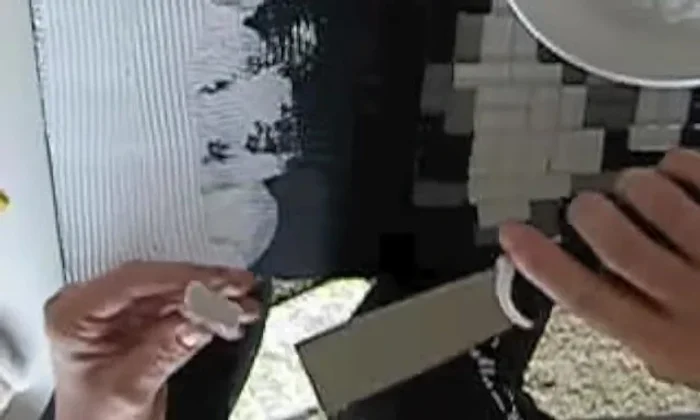
- Use a glass cutter to cut tiles to fit the edges and any needed adjustments. This is easier than expected.
Cut Tiles as Needed Apply Adhesive and Place Tiles (First Section)
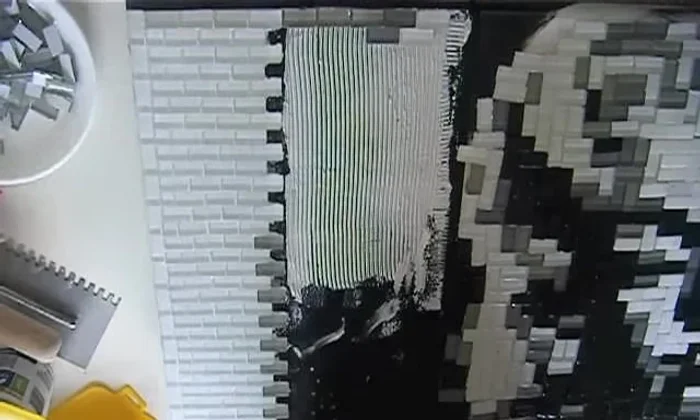
- Start in one corner, applying pre-mixed tile adhesive (back-butter method recommended) to a small section. Place the tiles, ensuring straight lines and no gaps.
Apply Adhesive and Place Tiles (First Section) Continue Tiling and Maintain Consistent Placement
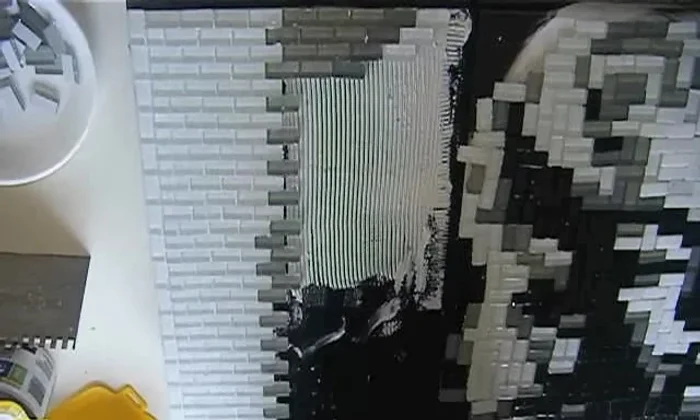
- Work in small sections, always cleaning up excess adhesive before it dries. Focus on straight lines, especially at the edges.
- Carefully connect the tiled areas to the main picture, adjusting tile placement as needed.
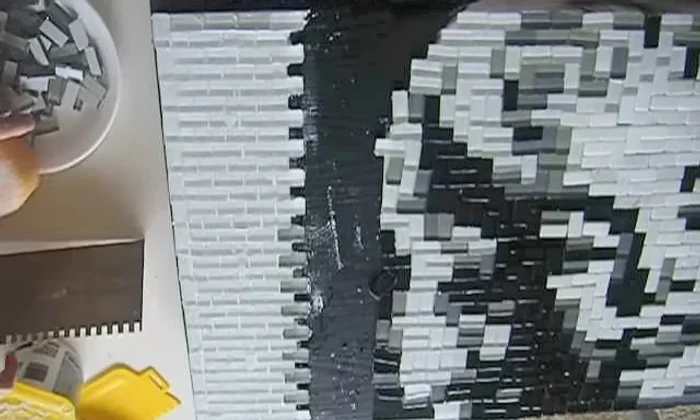
Continue Tiling and Maintain Consistent Placement Fill Gaps and Final Touches
- Complete the project by filling any remaining spaces with leftover mosaic tiles, maintaining straight lines and pressing firmly.
Fill Gaps and Final Touches Clean and Cure
- Clean up excess adhesive with a wet sponge before it dries. Allow the mosaic to dry completely overnight for best results.
Clean and Cure
Read more: DIY: Create Custom Canister Labels with Silhouette Cameo
Tips
- Choose tiles with a variety of shades for a more visually appealing result.
- Don't glue the tiles until you've arranged them to your satisfaction.
- Work in small sections to prevent the adhesive from drying too quickly.
- Clean up excess adhesive immediately to prevent it from setting.
- Ensure straight lines and no gaps between the tiles for a professional finish.