Bring a touch of rustic, industrial charm to your home or garden with a DIY planter! Industrial-style decor is incredibly popular right now, offering a blend of raw materials and sleek lines that can complement almost any aesthetic. Forget overpriced, mass-produced options; creating your own unique planter is easier and more rewarding than you might think. This project allows you to personalize your space with a statement piece that reflects your individual style, utilizing readily available materials and basic tools. You’ll be surprised how much character you can inject into your home with a little creativity and elbow grease.
This guide offers a simple, step-by-step process for building a stunning industrial planter, transforming ordinary materials into a beautiful and functional addition to your living space. From selecting the perfect materials to the final touches, we’ll walk you through each stage of construction, ensuring even beginners can create a planter they’ll be proud of. Let's get started!
Preparation and Safety Guidelines
- Drill
- ¼ inch glass cutting drill bit
- 3/8 and 5/16 drill bits
- Needle nose pliers
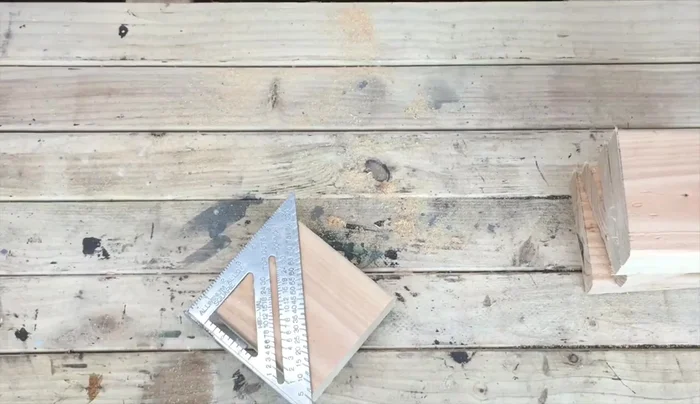
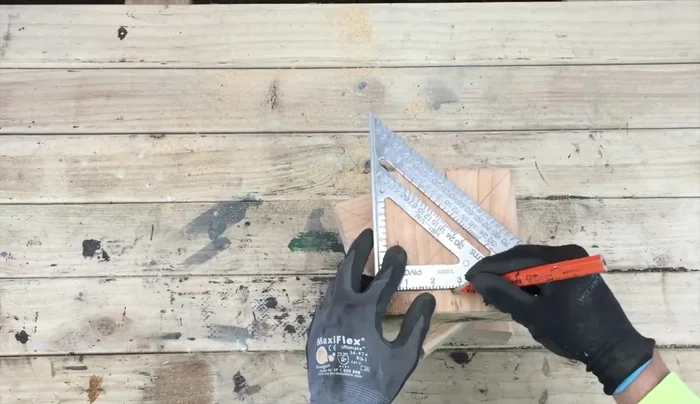
- Square edge
- Pencil
- 5 rubber washers
- 5 2 ½ in screws
- 10 washers
- 12 nuts
- 2 screw and hangers
- 2 6in eyebolts
- 2 six-foot long threaded rods
- 5 mason jars
- 5 succulents
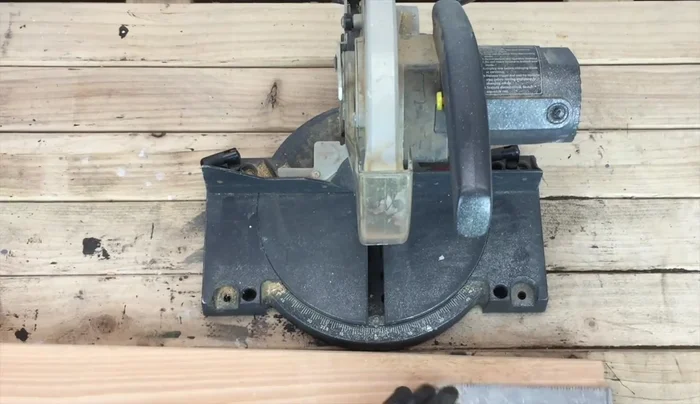
- Chop saw
- 2x6 stud material
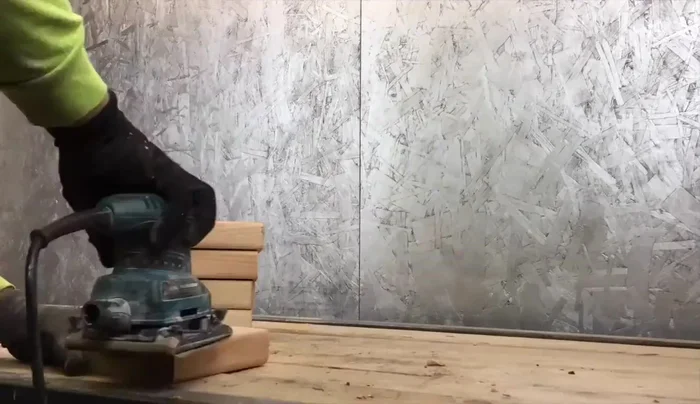
- Sander with 100 grit sandpaper
- 5 rustic door knobs (threaded)
- Gloves
- Eye protection
- WD40 (optional)
- Tape
- 2x4s (for support)
- Always wear safety glasses when using power tools like drills and saws. Debris can fly and cause serious eye injuries.
- Ensure proper ventilation when working with paints, stains, or sealants. Use in a well-ventilated area or wear a respirator.
- Be cautious when handling sharp tools and materials like metal edges. Use gloves and handle materials carefully to prevent cuts.
Step-by-Step Instructions
Prepare the Wood Blocks
- Cut the 2x6 stud material into five perfectly square blocks (5 ½ inches each).
- Mark the center point of each block by drawing an X using a square edge.
- one in the center and two on the sides (¾ inch in from each side), using a 3/8 inch drill bit. Ensure alignment for the through-rods.
- Sand down the blocks using 100 grit sandpaper.

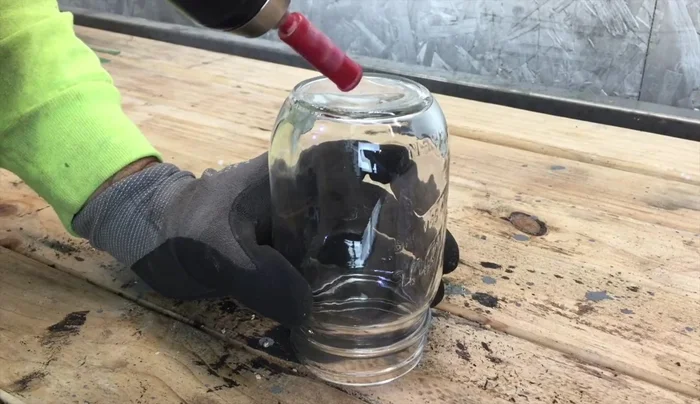
Prepare the Wood Blocks Prepare the Mason Jars
- Drill a hole in the center of the bottom of each mason jar using a ¼ inch glass cutting drill bit. Lubricate the bit with water to prevent breakage and protect the bit.
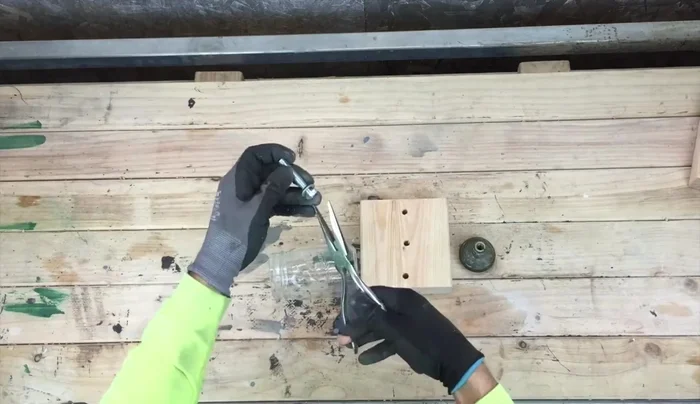
Prepare the Mason Jars Assemble Individual Planters
- Place a washer on a screw, then use needle nose pliers to insert the screw through the drilled hole in the jar. Attach the wood block to the screw using a door knob, screwing it tight.
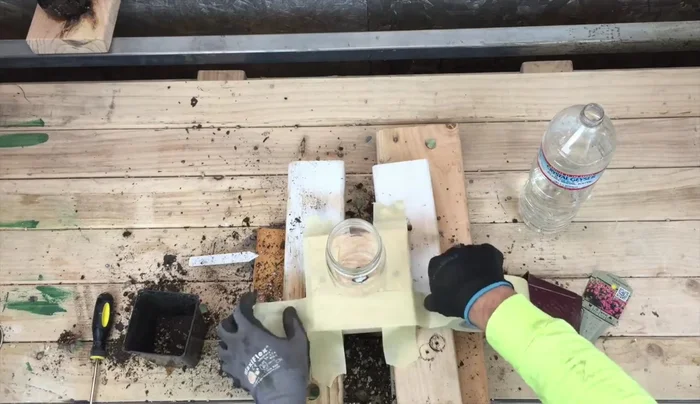
Assemble Individual Planters Plant and Secure
- Prop up the planters to prevent spillage while filling with soil. Use tape to secure the sides temporarily. Fill the mason jars with soil and plant succulents.
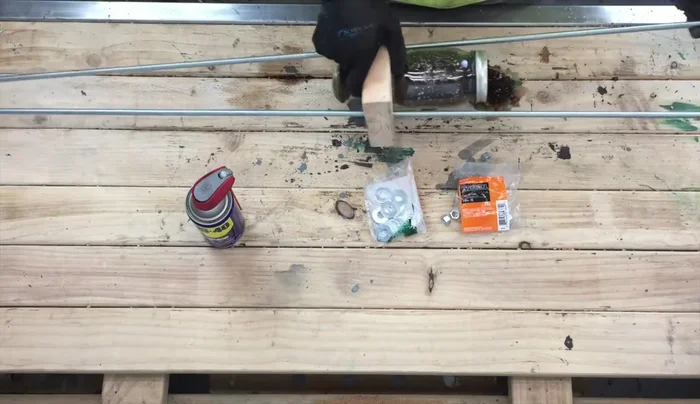
Plant and Secure Assemble the Planters on Rods
- Place a nut and screw on each end of the through-rods. Slide the planters onto the rods, tightening the nuts. Use WD40 for easier threading if needed.
Assemble the Planters on Rods Install Hangers and Mount
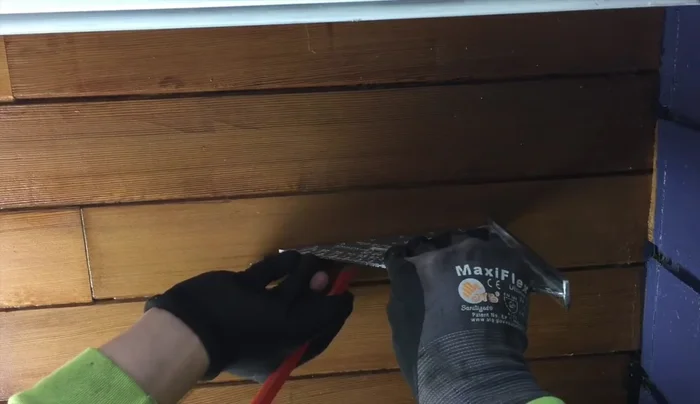
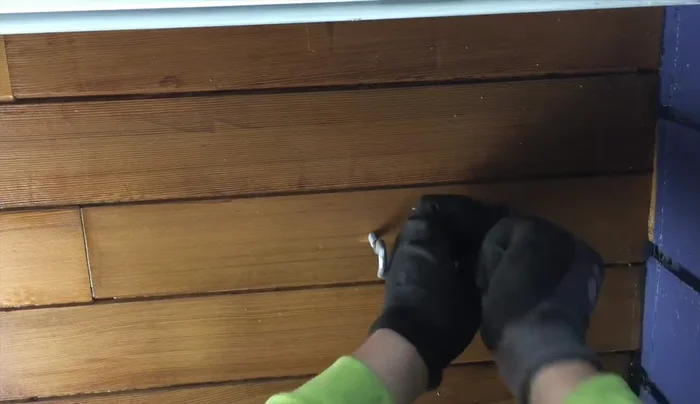
- Measure and mark locations for installing the hangers on the structure (4 inches apart). Drill pilot holes and secure the hangers with screws.
- Mount the planter to a solid surface using the hangers.
Install Hangers and Mount
Read more: DIY: Create Custom Canister Labels with Silhouette Cameo
Tips
- Use water as lubrication when drilling glass to extend the life of the drill bit and make it cut easier.
- Wear gloves and eye protection when drilling glass.
- Use only the weight of the drill when drilling glass to avoid breakage.
- Use tape to secure the sides of the planter while filling with soil, allowing for easy removal of excess soil.
- Succulents are ideal plants for this planter because they require minimal watering and don't grow uncontrollably.