Transform your garden into a magical nightscape with the enchanting glow of a DIY illuminated mosaic garden light! Forget expensive, impersonal store-bought options; this guide empowers you to craft a unique and personalized lighting feature that reflects your individual style and adds a touch of whimsical beauty to your outdoor space. Imagine the warm, inviting ambiance created by hand-selected tiles, radiating a soft light that dances amongst your plants and flowers. The possibilities are as limitless as your creativity.
This project is surprisingly simple, requiring only readily available materials and a little bit of patience. Whether you're a seasoned crafter or a complete beginner, you'll find this project both rewarding and fun. Follow along as we unveil a step-by-step process that will guide you through each stage of creating your own stunning illuminated mosaic garden light.
Preparation and Safety Guidelines
- Large plastic pipe
- Acrylic paints
- Glass
- Glass cutter
- Tile nippers
- Clear silicon glue
- Grout
- Heavy-duty metal stake
- Gravel
- Solar fairy lights
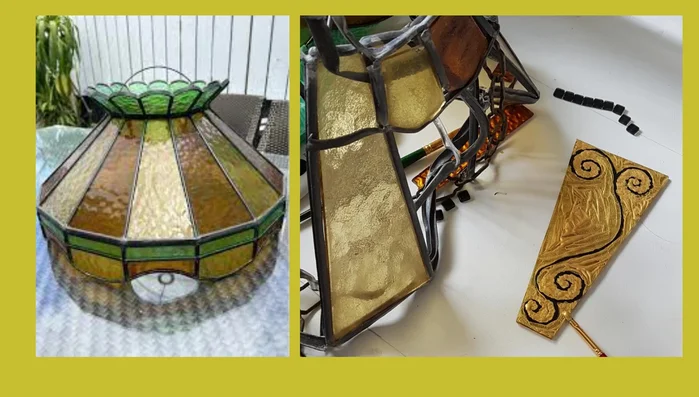
- Old light shade panels
- Red glass
- Glass beads
- Old 60s door panels (optional)
- Paper
- Always disconnect the power supply before handling any electrical components or wiring. Failure to do so could result in serious electric shock.
- Use waterproof sealant and outdoor-rated electrical components to protect against moisture damage and ensure safety. Improper sealing can lead to short circuits and fire hazards.
- Exercise caution when working with glass mosaic tiles. Wear safety glasses to protect your eyes from sharp fragments.
Step-by-Step Instructions
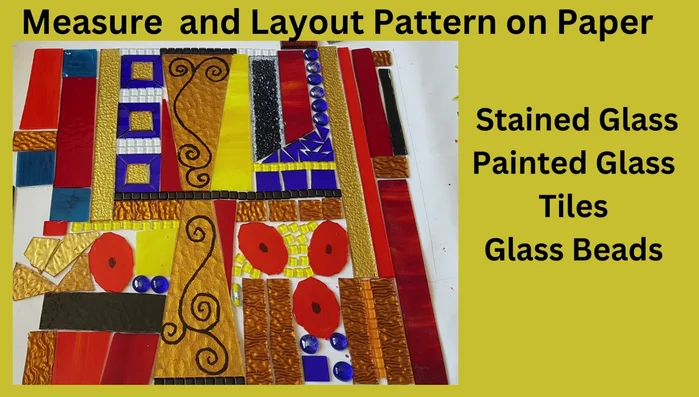
Design and Preparation
- Gather materials and prepare your design on paper.
- Paint and decorate glass, tiles, and other found objects.

Design and Preparation Assemble the Mosaic
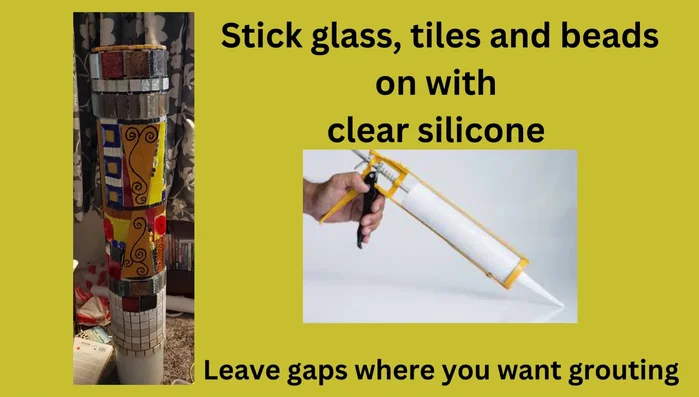
- Glue your prepared mosaic pieces onto the plastic pipe using clear silicon, leaving space for grout.
Assemble the Mosaic Grout the Mosaic
- Apply grout to fill the spaces between the mosaic pieces.
Grout the Mosaic Install and Secure the Light
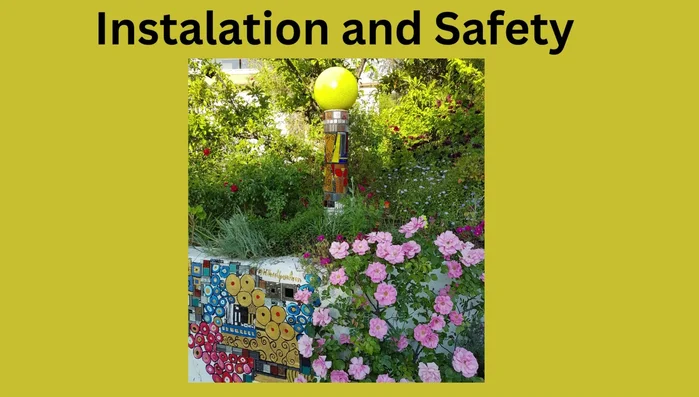
- Securely install the light, considering safety and stability (e.g., using a stake and gravel).
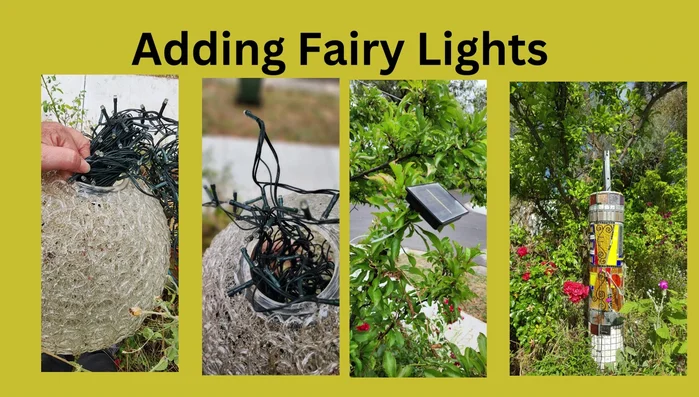
Install and Secure the Light Add the Light Source
- Install your chosen light source (solar fairy lights recommended).
Add the Light Source

Read more: DIY: Create Custom Canister Labels with Silhouette Cameo
Tips
- Use enough silicon to secure the objects but avoid excess that would prevent grout application.
- Leave 2-3 millimeters between objects for grout.
- Consider safety when installing outdoor lights, especially in elevated positions.
- Source materials creatively: ask neighbors for leftover tiles or glass.