Glitter tumblers are all the rage, adding a touch of sparkle and personality to everyday life. They're the perfect DIY project for crafting enthusiasts, offering a chance to unleash your creativity and personalize your drinkware. However, the dreaded air bubbles can quickly derail your crafting ambitions, resulting in an uneven, unprofessional finish. That's why we've created this ultimate guide to crafting flawless, bubble-free glitter tumblers. We'll equip you with the knowledge and techniques to avoid those pesky imperfections and achieve a stunning, professional-looking result every time.
Forget the frustration of uneven glitter distribution and unsightly bubbles; this comprehensive guide will walk you through each step of the process with crystal-clear instructions and helpful tips. From preparing your tumbler to the final sealing coat, we'll ensure you achieve that perfect, smooth, glittering finish. Ready to transform plain tumblers into dazzling masterpieces? Let's dive into the detailed step-by-step instructions below.
Preparation and Safety Guidelines
- Glass tumblers with pre-made openings
- Chunky glitter
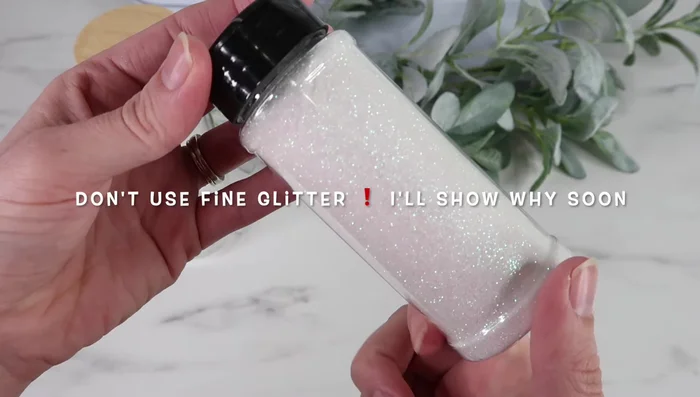
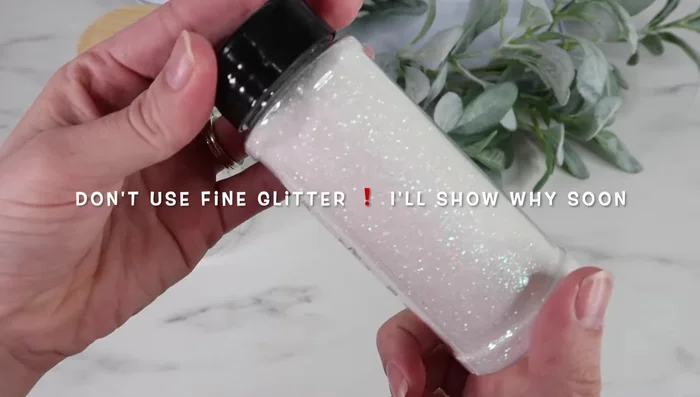
- Fine glitter (optional, but avoid)
- Water
- Vegetable glycerin
- Mixing cup
- Measuring cup
- Syringe
- Popsicle stick or similar tool
- Tape
- UV resin
- UV light
- Rubbing alcohol
- Cricut machine (for vinyl decals)
- Vinyl (various colors)
- Transfer paper
- Always work in a well-ventilated area. Glitter and epoxy resins can release fumes.
- Wear gloves to protect your skin from epoxy resin and glitter. Epoxy resin can cause skin irritation.
- Keep epoxy resin and glitter away from children and pets. Epoxy resin is toxic if ingested.
Step-by-Step Instructions
Prepare Materials
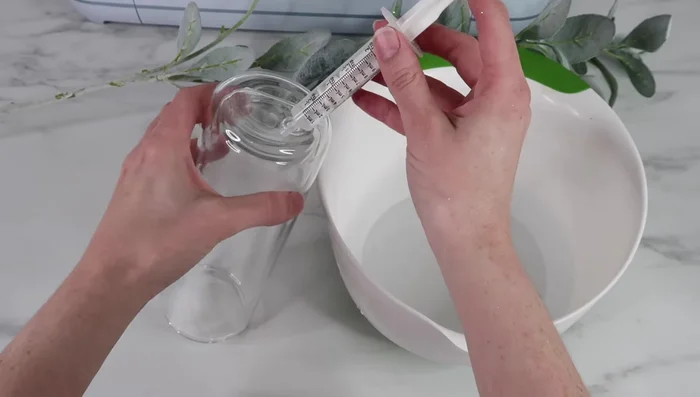
- Mix 2/3 cup water and 1/3 cup vegetable glycerin. This helps the glitter settle slower.
- Use chunky glitter. Avoid fine glitter as it clumps easily.
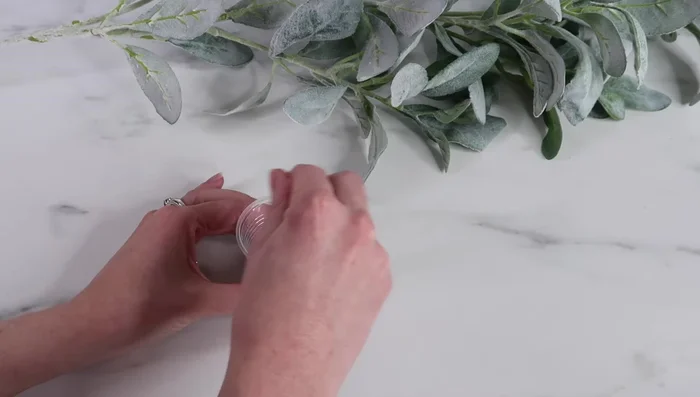
- Apply tape around the rim of the tumbler to contain glitter spillage.

Prepare Materials Initial Glitter and Liquid Addition
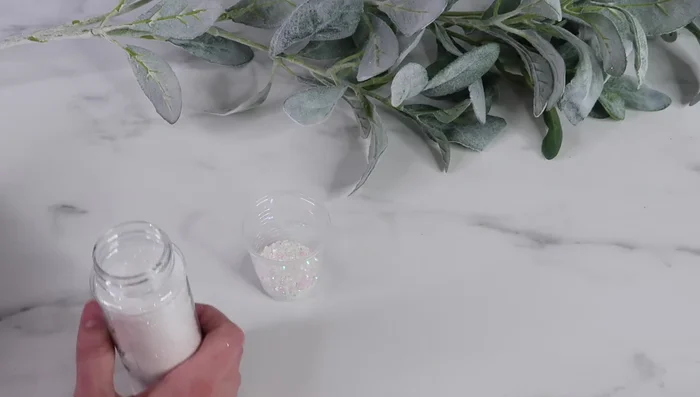
- Add a small amount of the liquid mixture to the tumbler first.
- Add chunky glitter to the tumbler, using a small cup and a popsicle stick to guide it into the opening. Tap gently to help settle the glitter.
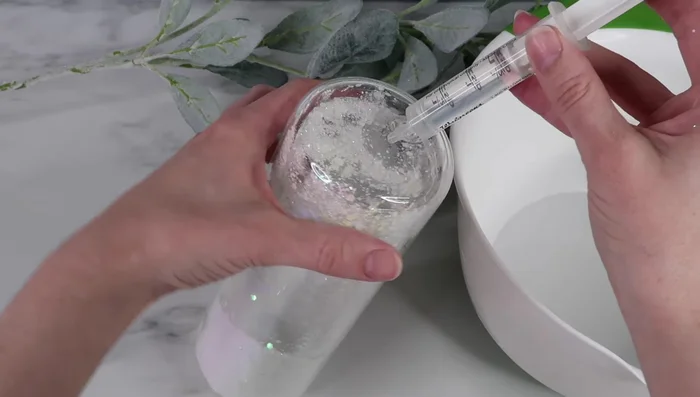
- Slowly add the liquid mixture, tilting and rotating the tumbler to minimize air bubbles.
Initial Glitter and Liquid Addition Fill and Settle
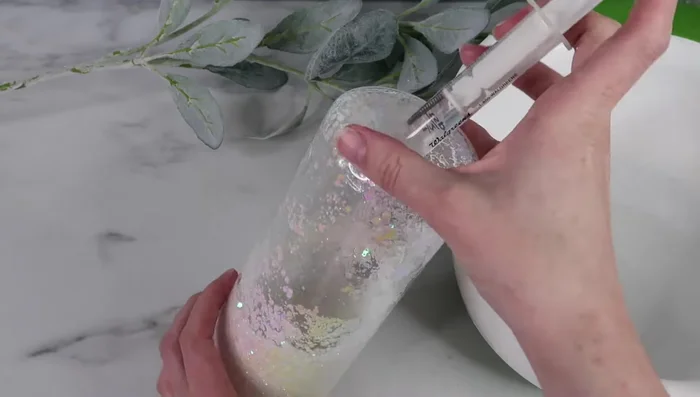
- Fill the tumbler completely to the top.
- Let the tumbler sit overnight to allow air bubbles to rise.
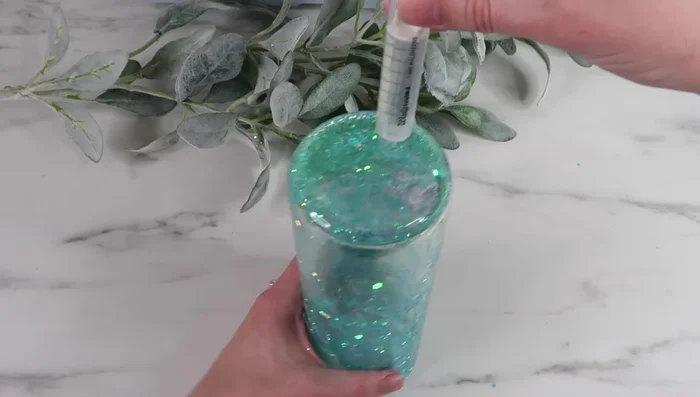
- Gently manipulate any remaining air bubbles to the opening and carefully add more liquid mixture to fill the space. If a large bubble persists, consider using a syringe with a fine tip.
Fill and Settle Seal and Finish
- Clean the top rim with rubbing alcohol.
- Seal with UV resin. Apply a layer, cure with UV light (approximately 3 minutes), and repeat for a smooth finish. Use a small vinyl circle or adhesive dots to cover the opening during curing. Do not use a large vinyl sheet as it may be visible.
Seal and Finish Decorate (Optional)
- Add vinyl decals using a Cricut machine. Use the parchment paper hack for precise placement.
Decorate (Optional)


Read more: DIY: Create Custom Canister Labels with Silhouette Cameo
Tips
- Avoid fine glitter; it clumps easily.
- Use tape around the rim to prevent glitter spills.
- Tilt and rotate the tumbler while adding liquid to reduce air bubbles.
- Let tumblers sit overnight to allow air bubbles to rise.
- Use a fine-tipped syringe to address persistent air bubbles.