Unleash your inner artist with this dazzlingly simple craft project! DIY glitter canvas art is the perfect way to add a touch of sparkle and personality to your home without breaking the bank. Forget expensive art prints and mass-produced decorations – this tutorial empowers you to create stunning, unique pieces that reflect your individual style, all while staying wonderfully budget-friendly. Using readily available materials and a dash of creativity, you can transform plain canvases into shimmering masterpieces that will elevate any room. The possibilities are endless, from subtle shimmer to vibrant explosions of color; the only limit is your imagination!
This captivating craft is easier than you think! Whether you're a seasoned crafter or a complete beginner, you'll be amazed at how quickly and easily you can achieve professional-looking results. Prepare to be captivated by the transformative power of glitter as we delve into the step-by-step process, guiding you through each stage of creating your own mesmerizing glitter canvas art.
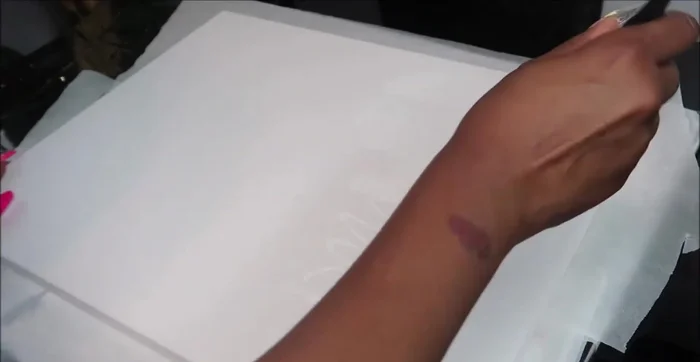
Preparation and Safety Guidelines
- White paint
- Black paint
- Paintbrush
- Chunky glitter flakes
- Black glitter
- White canvas
- Liquid glass (or resin/Mod Podge)
- Crushed glass (optional)
- Always work in a well-ventilated area. Glitter is fine and can be easily inhaled, causing respiratory irritation.
- Protect your work surface. Glitter is incredibly difficult to clean up once it's spread.
- Use a sealant to protect your finished artwork and prevent glitter shedding. Allow the sealant to dry completely before handling.
Step-by-Step Instructions
Prepare the Canvas
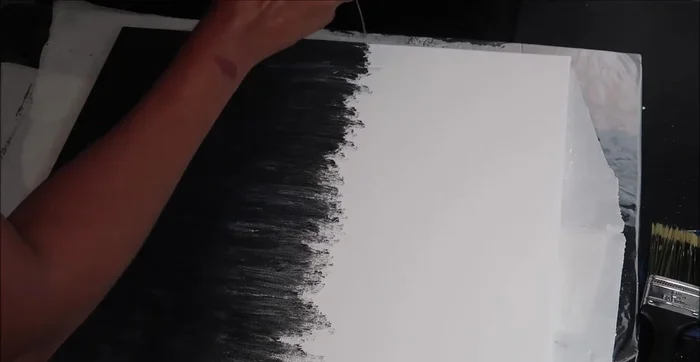
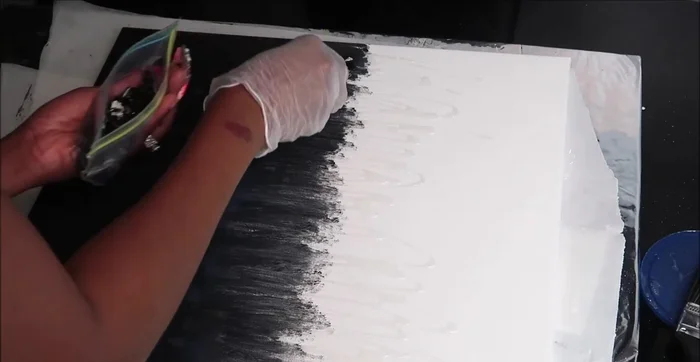
- Apply a base coat of white paint to the white canvas. This helps the other colors pop.
- Apply black paint to half of the canvas, leaving the other half white. Ensure even coverage and paint the edges.
- Blend the black and white paint together to soften the transition between the two colors.
- If needed, add a second coat of black paint to areas that appear too transparent or have visible brush strokes.

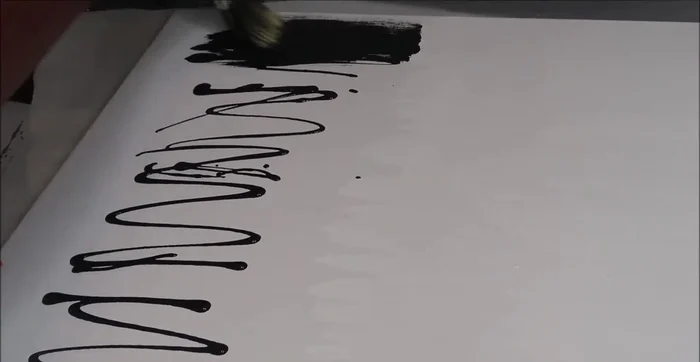
Prepare the Canvas Apply Adhesive
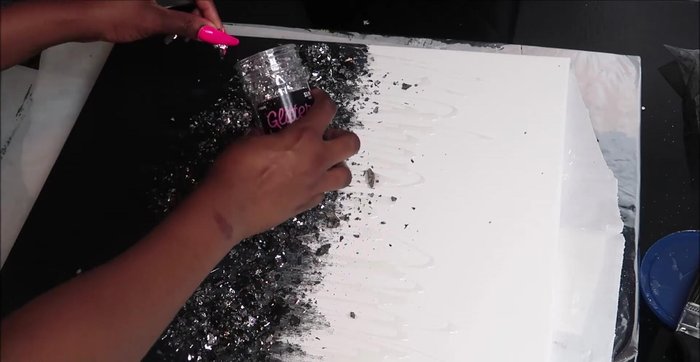
- Apply liquid glass (or resin/Mod Podge) to the canvas to act as an adhesive for the glitter and crushed glass.
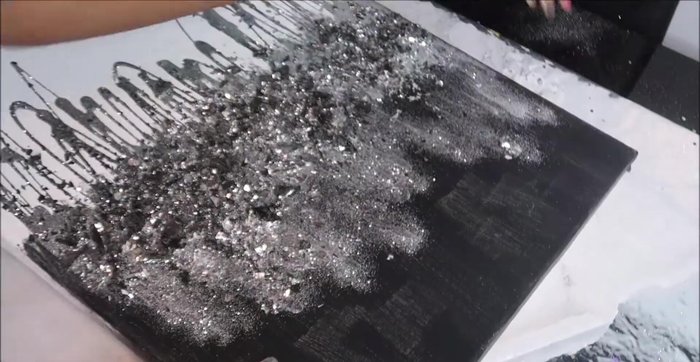
Apply Adhesive Add Glitter and Texture
- Apply crushed glass (if using) to the black area of the canvas for added texture and dimension.
- Sprinkle chunky glitter flakes and black glitter liberally over the black and white areas of the canvas.
- Add other types of glitter (fine glitter, glitter flakes, confetti glitter) as desired to enhance the sparkle and create different textural elements.
Add Glitter and Texture Dry and Clean Up
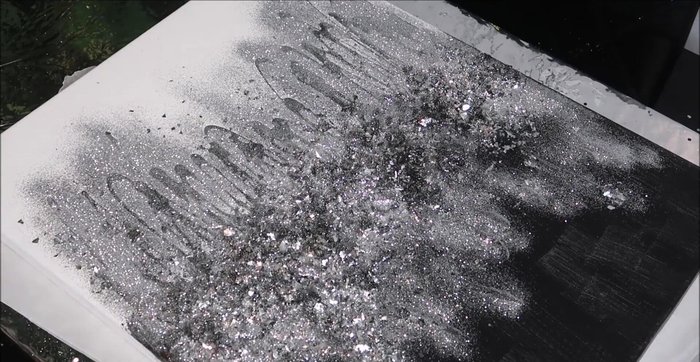
- Let the canvas dry completely (at least 5 hours).
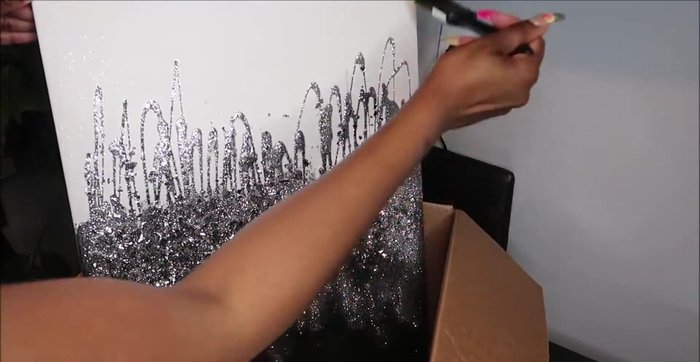
- Use a clean, dry brush to gently remove any excess glitter and glass from the canvas.
Dry and Clean Up
Read more: DIY: Create Custom Canister Labels with Silhouette Cameo
Tips
- Make sure you cover your entire canvas with paint to avoid seeing the background.
- Use plenty of paint for the black area to ensure a nice, dark, and well-coated look.
- Allow sufficient drying time for the paint before adding glitter and crushed glass. Fully dried paint helps prevent the glitter from blending into the paint.
- Experiment with different colors and types of glitter to achieve your desired look.
- Consider the texture of the glitter – chunky, fine, etc. to vary the canvas's appearance.