Transform ordinary glass jars into extraordinary centerpieces with this budget-friendly DIY project! Forget expensive floral arrangements; this "Scrap-ology" approach utilizes readily available materials you likely already have around the house, turning unwanted items into stunning décor. We'll explore the creative possibilities of repurposing glass jars of various sizes and shapes, showcasing how simple additions can elevate their aesthetic appeal significantly. This project is perfect for adding a touch of personalized elegance to any event or simply brightening your home with a unique, handcrafted piece.
Discover the magic of transforming discarded materials into beautiful home accents by following the step-by-step instructions below, where you'll learn how to easily create your own impressive glass riser centerpiece. From selecting the right jars to adding the finishing touches, we'll guide you through each stage of this exciting, affordable crafting endeavor, proving that stunning results don't require a hefty price tag.
Preparation and Safety Guidelines
- Five 8x10 framed glass panes
- One or two rolls of diamond wrap
- Tape measure
- Marker
- Epoxy glue
- Hot glue (for repairs)
- Handy-dandy tools
- Always wear safety glasses when working with glass. Broken glass can cause serious eye injuries.
- Use caution when cutting or scoring glass. Sharp edges can cause cuts. Consider using gloves.
- Never use excessive force when working with glass. This can lead to breakage and injury.
Step-by-Step Instructions
Centering and Preparing the Base
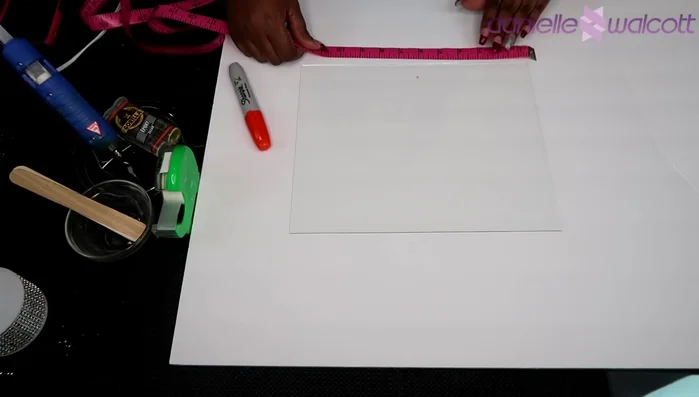
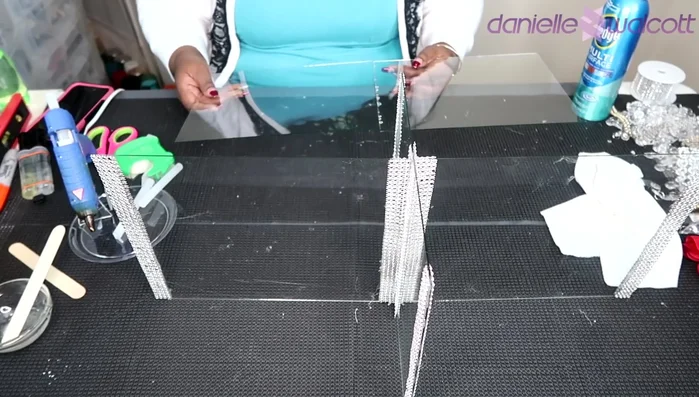
- Find the center of a glass pane using a tape measure and mark it with a marker.
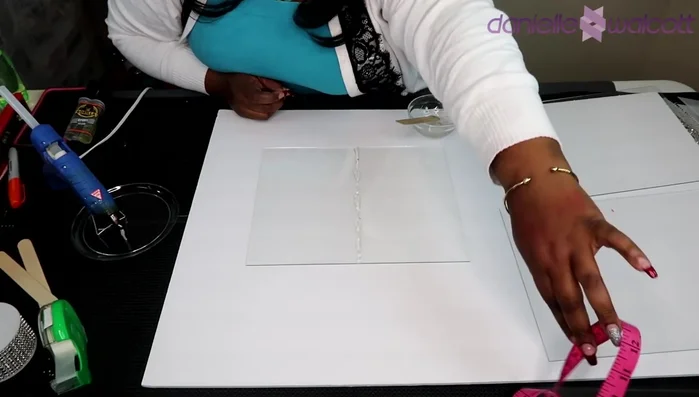
- Apply epoxy glue along a straight edge (using the tape measure as a guide) of the marked glass pane.
- Carefully place a second glass pane onto the epoxy, ensuring alignment with the marked center. Hold in place for 5-10 minutes to allow the epoxy to set. (Consider using assistance to hold the glass panes in place.)

Centering and Preparing the Base Edging the Base
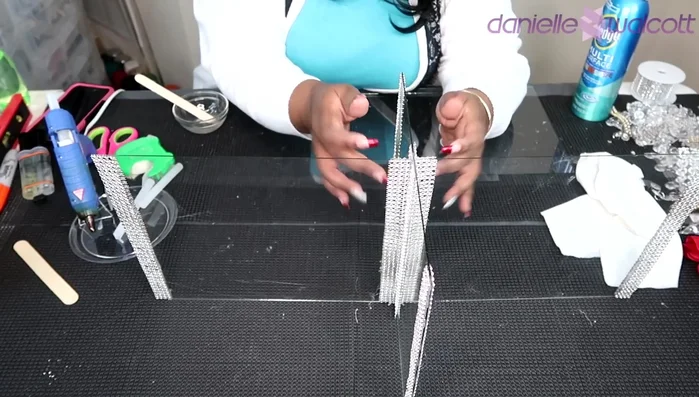
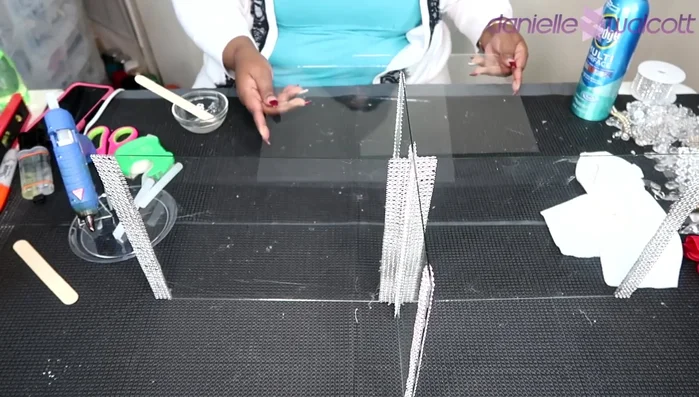
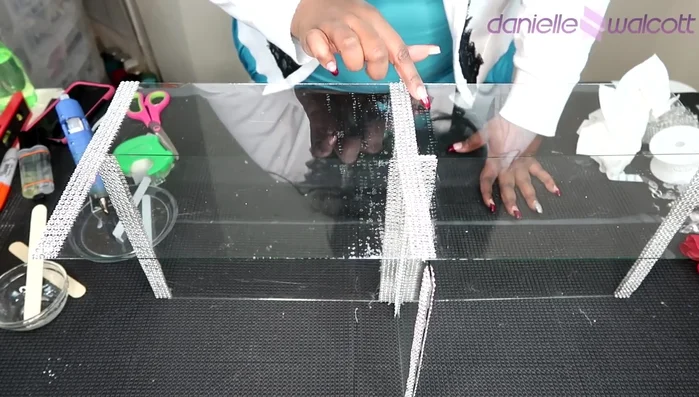
- Trim the edges of the joined glass panes with diamond wrap.
Edging the Base Creating the Shelf
- Apply epoxy glue to the edges of two additional glass panes to create the shelf.
- Carefully join the two glass panes for the shelf, ensuring alignment. Hold for 5-10 minutes to set.
Creating the Shelf Assembling and Finishing
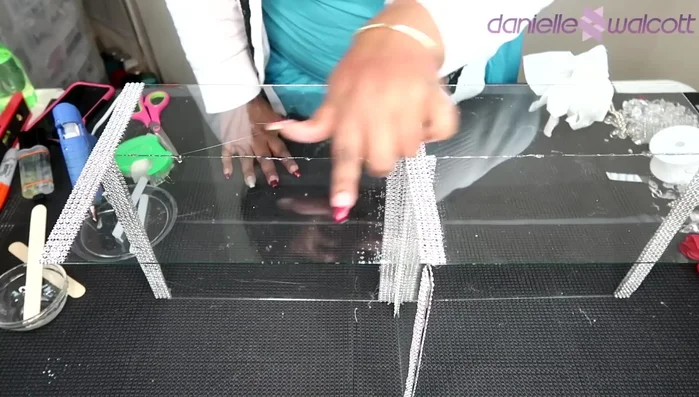
- Attach the shelf to the base using epoxy. If mistakes happen (as demonstrated in the video), hot glue can be used for a quick repair, but epoxy is preferred for a permanent bond.
- Once the epoxy/glue is dry, complete the diamond wrap edging around the entire centerpiece.
Assembling and Finishing
Read more: DIY: Create Custom Canister Labels with Silhouette Cameo
Tips
- Use a helper to hold the glass panes in place while the epoxy sets, especially for larger pieces.
- Don't worry too much about epoxy smudges; it dries clear, and the diamond wrap will cover any imperfections.
- For a truly permanent bond, use epoxy instead of hot glue where appropriate.