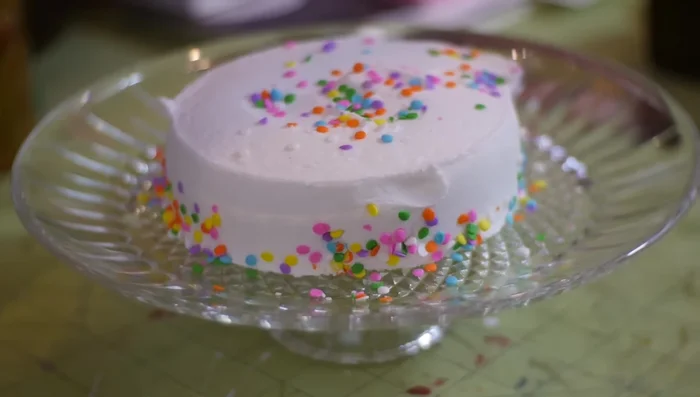
Thanksgiving is a time for gathering with loved ones, sharing delicious food, and creating lasting memories. And what better way to showcase your stunning Thanksgiving centerpiece – perhaps a magnificent pumpkin pie or a tower of delectable cupcakes – than with a beautiful cake stand? This year, ditch the expensive store-bought options and add a touch of personal charm to your holiday table with a DIY glass cake stand. Creating this elegant piece is surprisingly simple and affordable, requiring only a few readily available materials and a little bit of your time. It's the perfect blend of rustic charm and modern elegance, guaranteed to impress your guests.
This project is surprisingly easy, even for those with limited crafting experience. We'll guide you through each step, from selecting the right materials to assembling your beautiful, personalized cake stand, transforming a simple glass plate into a show-stopping Thanksgiving centerpiece. Get ready to learn how to craft your own unique and unforgettable cake stand, perfect for this year's festivities!
Preparation and Safety Guidelines
- Glass plate
- Small glass cup/bowl/candle holder
- Ruler
- Marker
- Heavy object (book or wood block)
- Loctite Go To Glue (or glass glue)
- Always use oven-safe glass and ensure it's completely cool before handling. Hot glass can cause severe burns.
- Wear safety glasses when cutting or working with glass to protect your eyes from shards.
- Adult supervision is required, especially when children are present near the project or using sharp tools.
Step-by-Step Instructions
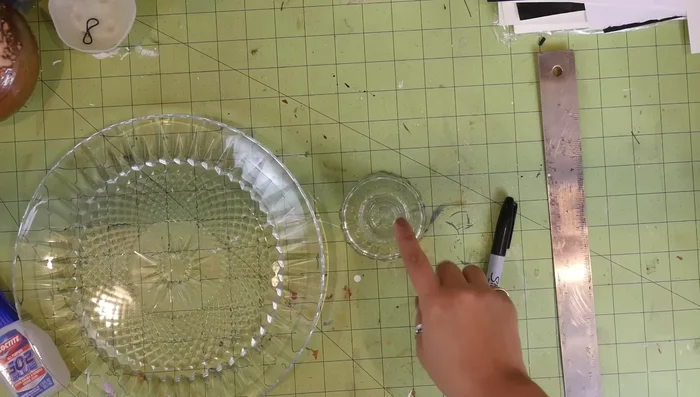
Measure and Mark the Plate
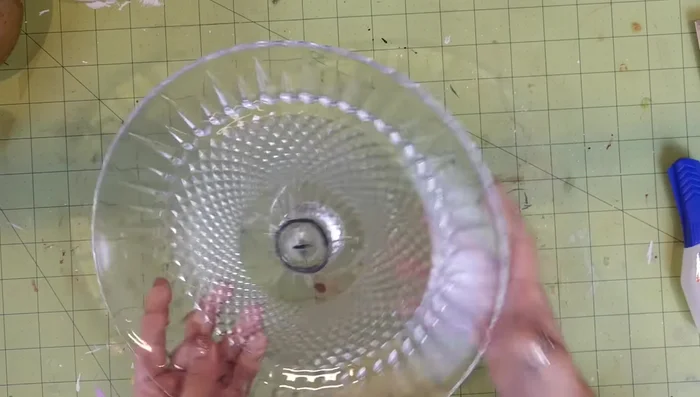
- Find the radius of the smaller side of your chosen base (cup, bowl, or candle holder).
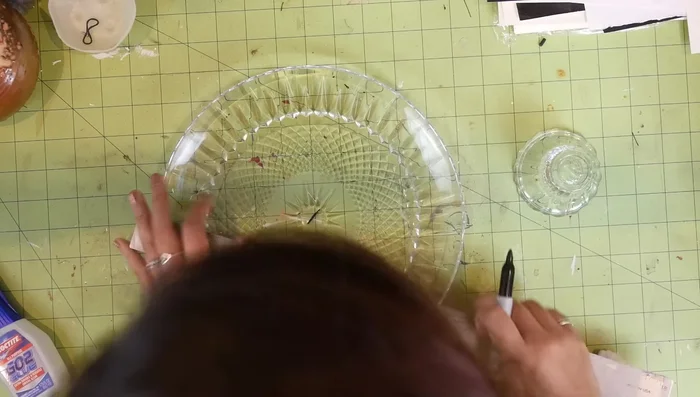
- On the bottom of the plate, use a ruler to mark the center with a small 'X'.
- From the center 'X', measure and mark the radius you found earlier, repeating this at several points around the center to create a circle.

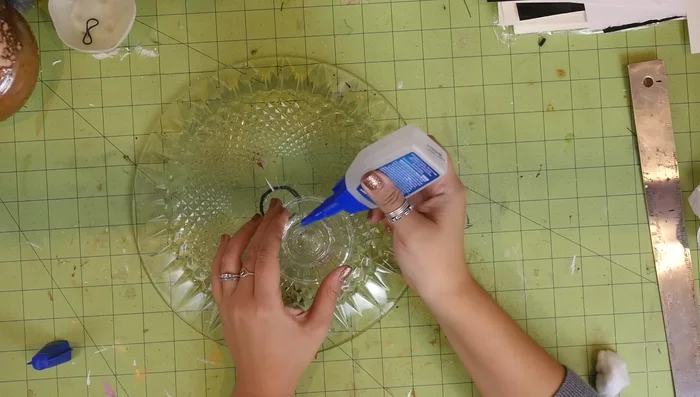
Measure and Mark the Plate Glue and Secure the Base
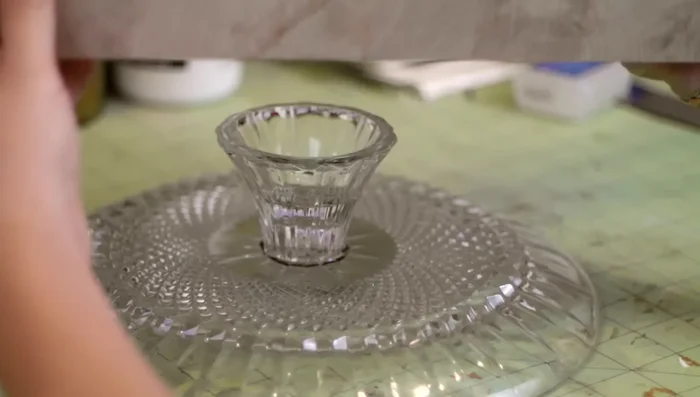
- Flip the plate over. Apply glue along the rim of your chosen base.
- Center the base onto the plate, using the marked circle as a guide.
- Place a heavy object (book or wood block) on top to press and secure. Let it cure overnight.
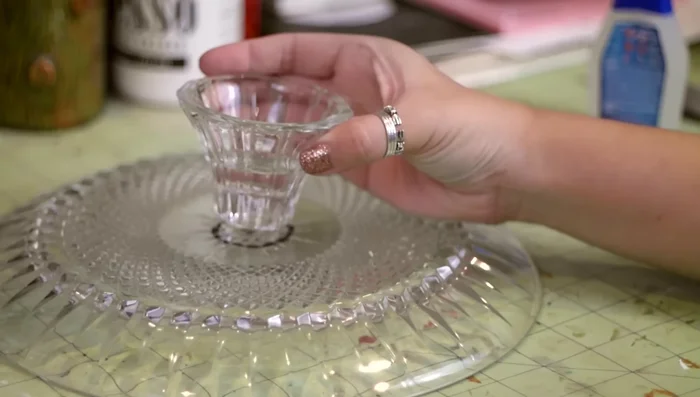
Glue and Secure the Base Clean and Finish
- Once cured, flip it over and clean off any marker residue.
- run through dishwasher to test glue durability)
Clean and Finish
Read more: DIY: Create Custom Canister Labels with Silhouette Cameo
Tips
- Use a Sharpie marker for easy removal with nail polish remover.
- Loctite Go To Glue is suggested, but a specialized glass glue may be preferable. Ensure your glue is dishwasher safe if desired.