Unleash your inner artisan and create a truly unique perfume bottle with this stunning DIY project! Forget mass-produced, generic scents and containers; elevate your fragrance experience with a personalized glass block perfume bottle. This elegant and surprisingly simple project allows you to showcase your favorite perfume in a beautifully crafted vessel, transforming a humble glass block into a sophisticated statement piece for your vanity or dressing table. The process involves minimal tools and readily available materials, making it perfect for crafters of all skill levels, from seasoned experts to enthusiastic beginners.
This tutorial will guide you through each step, from carefully selecting your glass block to adding the final touches of elegance. Prepare to be amazed by how easily you can transform a simple material into a captivating and personalized perfume dispenser. Ready to get started on this captivating DIY adventure? Let's dive into the step-by-step process!
Preparation and Safety Guidelines
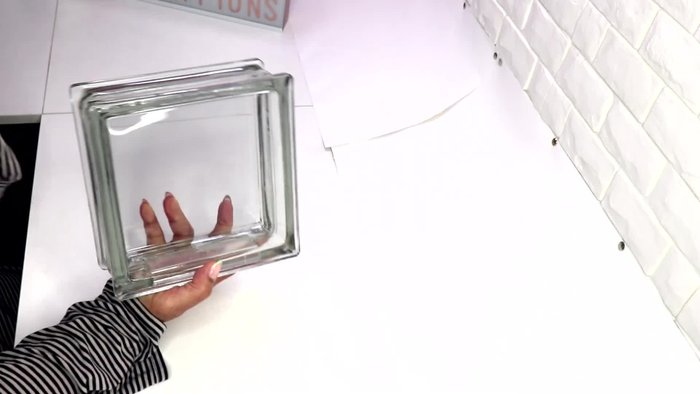
- Glass block
- Tower blocks (Dollar Tree)
- Spray paint (silver)
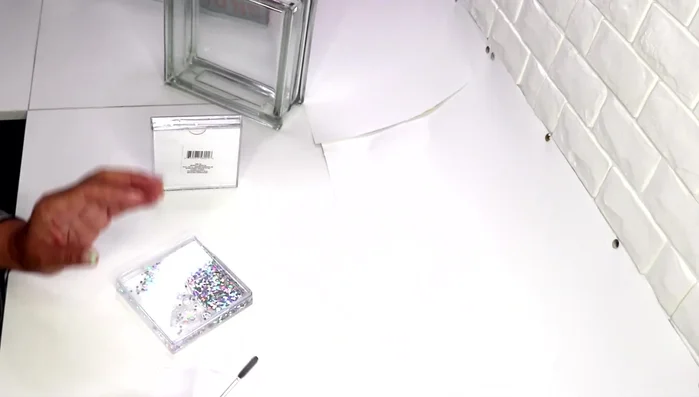
- Glitter photo frames (Dollar Tree)
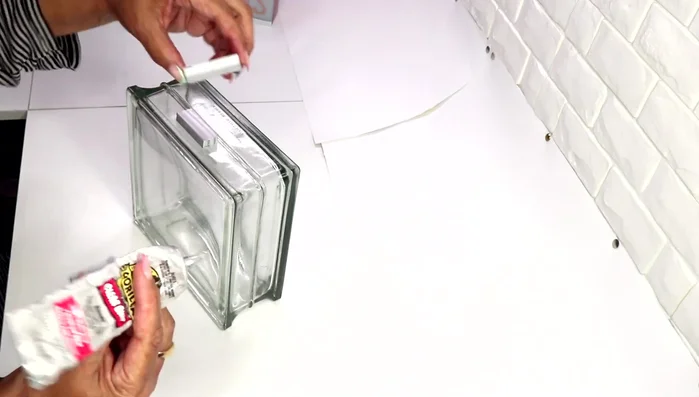
- Gorilla Glue (clear grip)
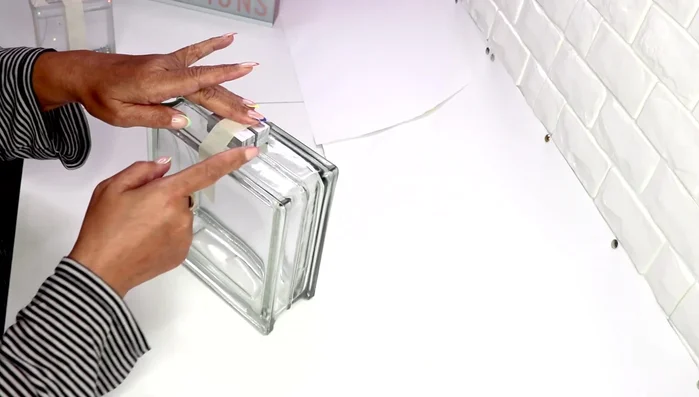
- Masking tape (Dollar Tree)
- Mirror tiles
- Mirror tile label
- Diamond blade
- Gems
- String lights
- Hot glue
- Always wear safety glasses when working with glass blocks and sharp tools to protect your eyes from potential injuries.
- Use caution when handling hot glue; it can cause burns. Allow ample cooling time before touching glued surfaces.
- Ensure proper ventilation when working with perfumes or essential oils to avoid inhaling strong fumes.
Step-by-Step Instructions
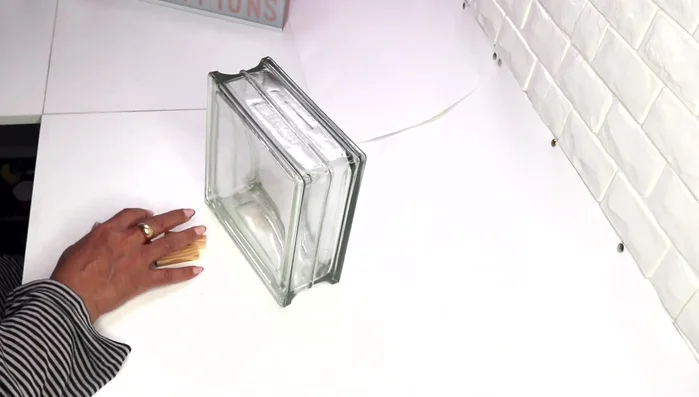
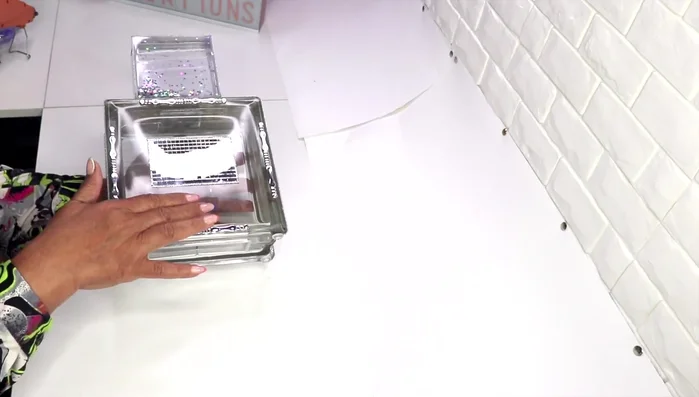
Prepare the Glass Block
- Remove any existing decals.

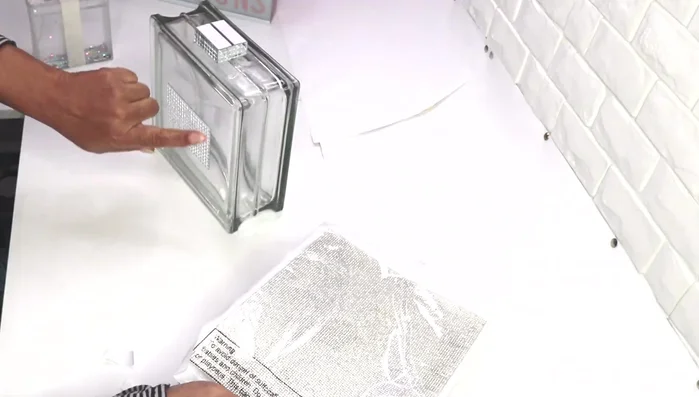
Prepare the Glass Block Prepare the Cap
- Spray paint four tower blocks silver and let them dry.
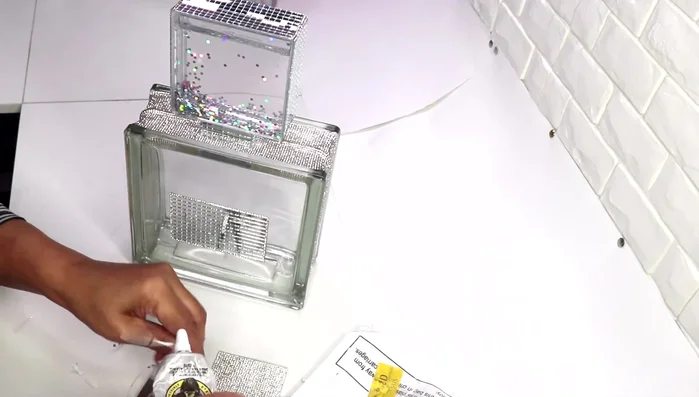
- Glue two glitter photo frames from Dollar Tree together, ensuring the stoppers are at the bottom. Secure with masking tape.
Prepare the Cap Assemble the Base
- Glue two silver tower blocks to each side of the frame assembly, centering them. Use masking tape to hold while the glue sets.
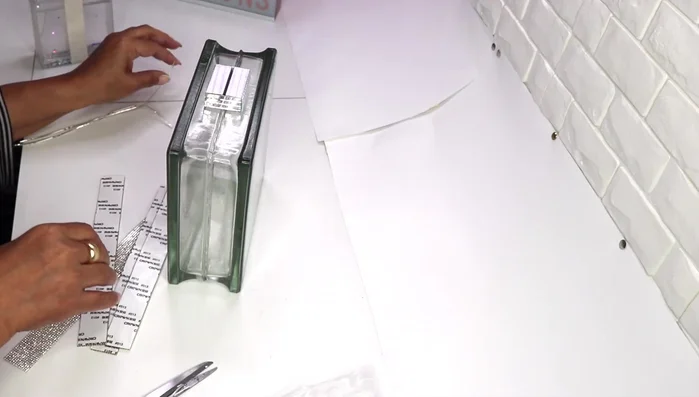
Assemble the Base Decorate the Base
- Apply a mirror tile label to the front. Glue three rows of mirror tiles around the blocks, ensuring they don't extend past the top.
- Use a diamond blade to trim the mirror tiles and label for a clean finish.
- Glue four strips of mirror tile around the sides of the base, leaving the top plastic on for easier cutting.
Decorate the Base Decorate the Cap
- Decorate the cap (photo frame assembly) with mirror tiles, ensuring even coverage.
Decorate the Cap Attach the Cap
- Glue the decorated cap to the glass block base using Gorilla Glue, securing it with masking tape while the glue sets.
Attach the Cap Add Final Embellishments
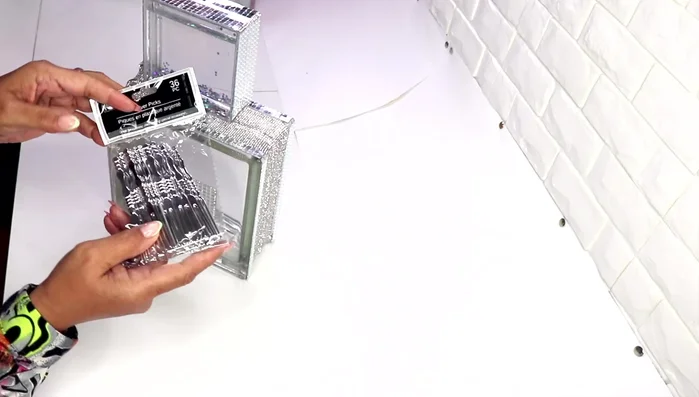
- Add embellishments to the front of the bottle with silver picks from Dollar Tree.
- Add small embellishments to the bottom of the bottle for better stability.
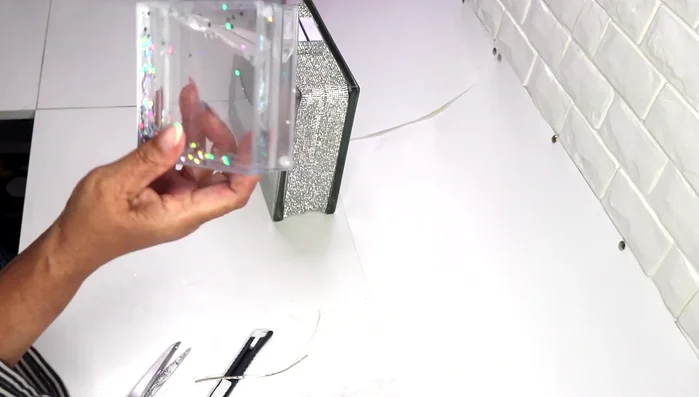
Add Final Embellishments Decorate the Interior
- Decorate the inside with gems, pearls, small flowers, or string lights. (Multiple options are shown)
Decorate the Interior

Read more: DIY: Create Custom Canister Labels with Silhouette Cameo
Tips
- Use clear grip glue for strong adhesion.
- Masking tape helps secure pieces while glue dries.
- Choose the least-scratched side of the photo frames for the front of the cap.