Love the look of those chic, frosted glass vases from West Elm but don't love the price tag? You're in luck! Creating your own stunning frosted glass vase at home is easier than you think, and significantly cheaper. This DIY project transforms ordinary glass vases into elegant, textured pieces that will elevate any home decor, from minimalist to bohemian. Forget pricey designer labels; with a few simple materials and a little bit of patience, you can achieve that coveted West Elm aesthetic without breaking the bank.
This project requires minimal crafting skills and readily available supplies, making it perfect for beginners. Prepare to be amazed by how dramatically a simple technique can change the look and feel of a plain vase. Ready to get started and achieve that sophisticated, frosted glass look? Let's dive into the step-by-step guide below to create your very own West Elm-inspired masterpiece.
Preparation and Safety Guidelines
- C Class spray paint
- Glue stick
- Vase
- Ruler
- Paper
- Scissors
- Acetone (optional)
- Always work in a well-ventilated area. Frosted glass sprays contain chemicals that can be harmful if inhaled.
- Protect your work surface. Use newspaper or a drop cloth to prevent the spray from damaging your furniture or floors.
- Wear gloves and eye protection. The spray can irritate skin and eyes.
Step-by-Step Instructions
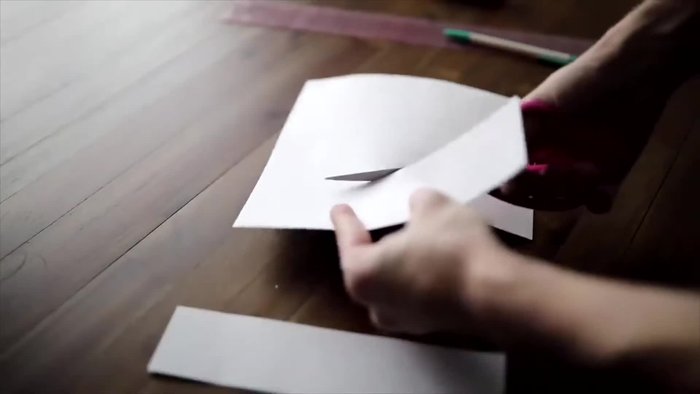
Prepare the Masks
- Cut out 2-inch strips of paper and create triangle shapes (or any desired shape) to use as masks.
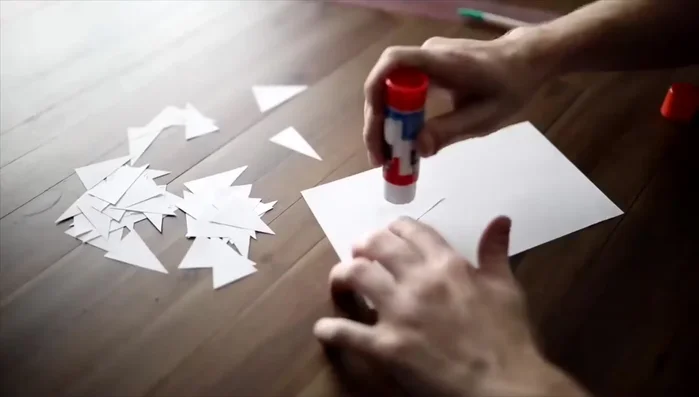
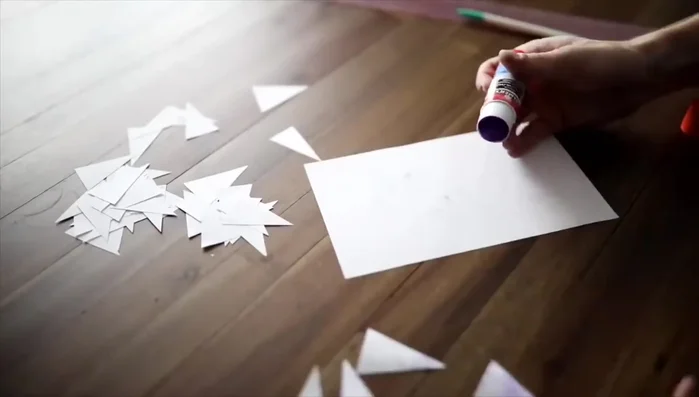
- Apply a thin layer of Elmer's glue stick to the back of the paper masks.
- Let the glue dry completely until it becomes slightly tacky but removable.

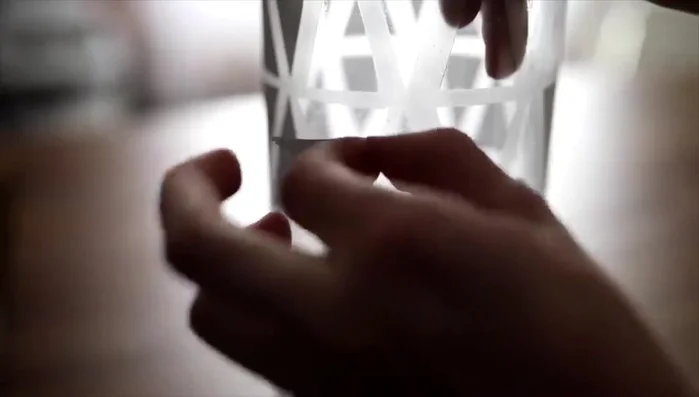
Prepare the Masks Apply Masks to Vase
- Place the paper masks onto the vase where you want the clear glass to show through.
Apply Masks to Vase Spray Paint the Vase
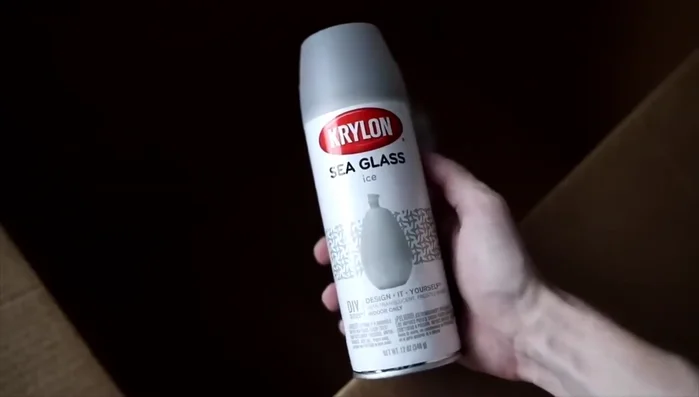
- Spray paint the vase with Krylon sea glass spray paint (or similar). It is suggested to protect the inside of the vase and use a mask on yourself for better protection.
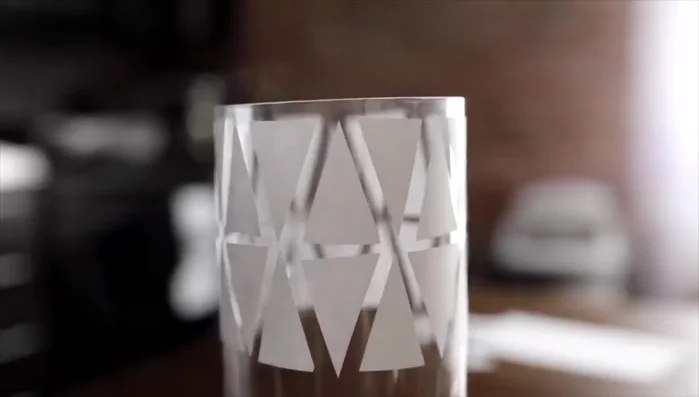
Spray Paint the Vase Reveal the Design
- Remove the paper masks carefully to reveal the frosted glass design.
Reveal the Design Clean Up (Optional)
- Clean any spray paint on the inside of the vase with acetone (if necessary).
Read more: DIY: Create Custom Canister Labels with Silhouette Cameo
Tips
- Use a coupon to save money on spray paint.
- Consider protecting the inside of the vase and wear a mask during painting.