Transform ordinary glass bottles into enchanting, ambient lighting with this easy DIY project! Upcycling is not only environmentally friendly but also incredibly rewarding, allowing you to create unique pieces that reflect your personal style. Imagine the soft, diffused glow of a frosted glass bottle lamp illuminating your living room, bedroom, or patio – a cozy addition that adds a touch of rustic charm or modern elegance, depending on your chosen bottle and decor. Forget expensive, mass-produced lamps; with a few simple materials and a little patience, you can craft stunning, personalized lighting solutions for any space.
This guide will take you through each stage of creating your own beautiful frosted glass bottle lamp, from gathering materials to enjoying the final, illuminated result. Get ready to unleash your inner crafter and learn the simple techniques involved in this step-by-step process. Let’s get started!
Preparation and Safety Guidelines
- Plain glass bottle
- German white glue (or school glue)
- Acrylic paints (black and red recommended)
- Cutter
- Formic shade or paper
- Optional: Poster colors
- Always unplug the lamp before handling or making any modifications. Electricity and water don't mix, and working with a live wire is extremely dangerous.
- Use caution when working with glass. Wear safety glasses to protect your eyes from shards of glass during the frosting process or handling of the bottle.
- Ensure adequate ventilation when using any sprays or chemicals involved in the frosting process. Read and follow all safety instructions on product labels carefully.
Step-by-Step Instructions
Prepare the Bottle
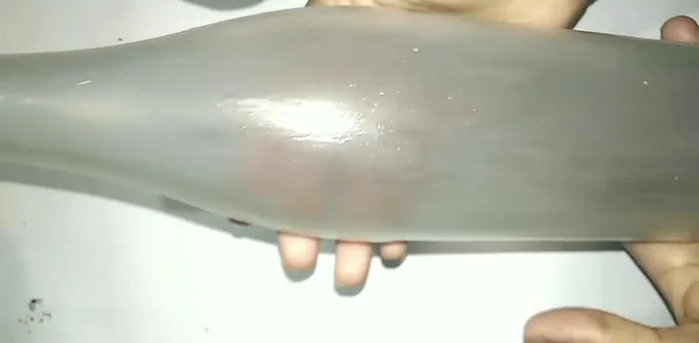
- If you don't have a frosted glass bottle, apply German white glue evenly to a plain glass bottle. Let it dry for 2-3 days.

Prepare the Bottle Design and Prepare Stencil
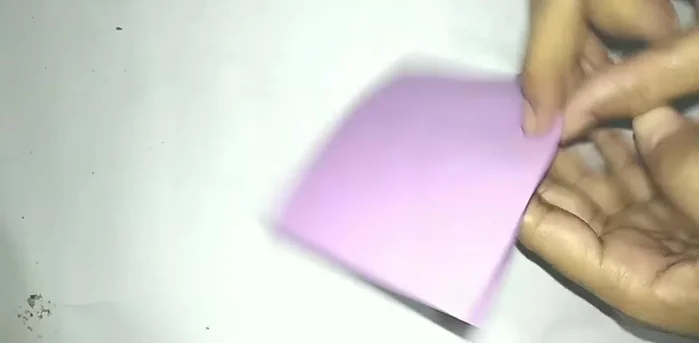
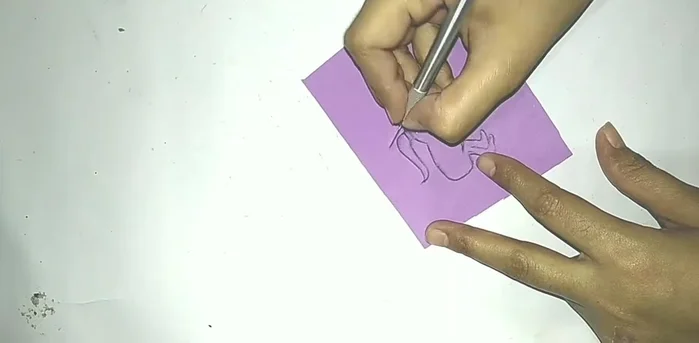
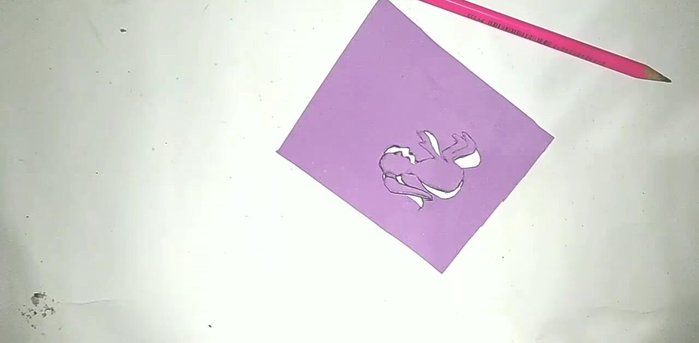
- Draw a design on formic shade or paper. You can freehand draw anything, the example uses cows.
- Carefully cut out your design using a cutter.
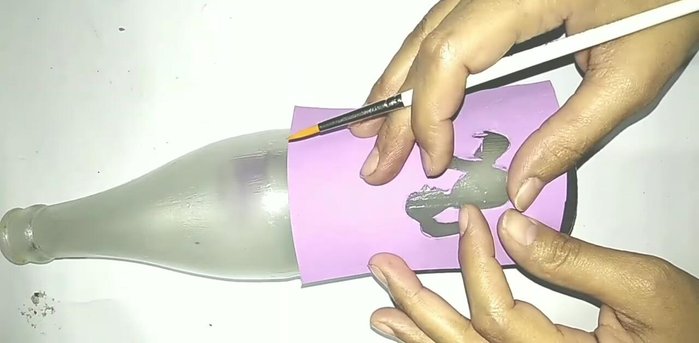
Design and Prepare Stencil Transfer Design to Bottle
- Transfer your design onto the frosted glass bottle. Leave space below for a shadow effect.
Transfer Design to Bottle Paint the Design
- Paint the design onto the bottle using black acrylic paint. Add details and shadows as desired.
Paint the Design Add Details and Finishing Touches
- Add details like branches, grass, and flowers using black and red acrylic paint (or other colors). The example uses a dark color for contrast and red to make the red stand out at night.
Add Details and Finishing Touches

Read more: DIY: Create Custom Canister Labels with Silhouette Cameo
Tips
- Use any glue available at home if you don't have German white glue.
- Use any paper available at home if you don't have formic shade.
- Use poster colors or any other black color if you don't have black acrylic paint.
- More branches will give more beauty to the final product.