Transform ordinary glass bottles into enchanting floral wind chimes that will add a touch of whimsical beauty to your garden or home. This delightful DIY project is surprisingly simple, requiring minimal crafting skills and readily available materials, making it perfect for beginners and seasoned crafters alike. Imagine the gentle tinkling of glass beads interwoven with the vibrant colours of preserved flowers, creating a captivating melody that dances with the breeze. The delicate floral arrangements encased within the glass bottles will bring a unique artistic flair to any space.
This stunning project allows you to unleash your creativity and personalize your wind chime with your favorite flowers and colors. From choosing the perfect bottles to carefully assembling the final piece, this detailed guide provides a clear, step-by-step process to guide you through creating your own mesmerizing floral glass bottle wind chime. Let's get started!
Preparation and Safety Guidelines
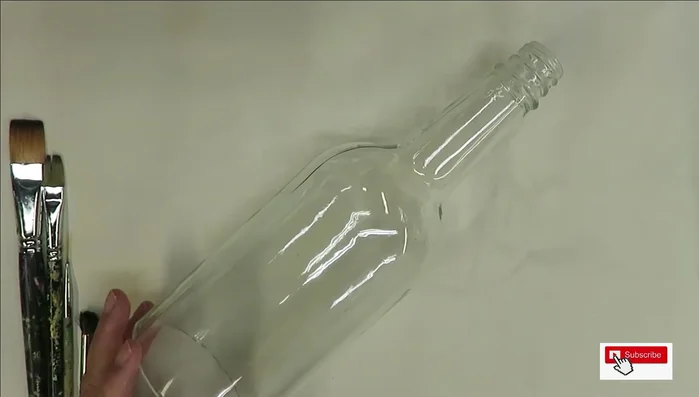
- Cut glass bottle (bottom removed)
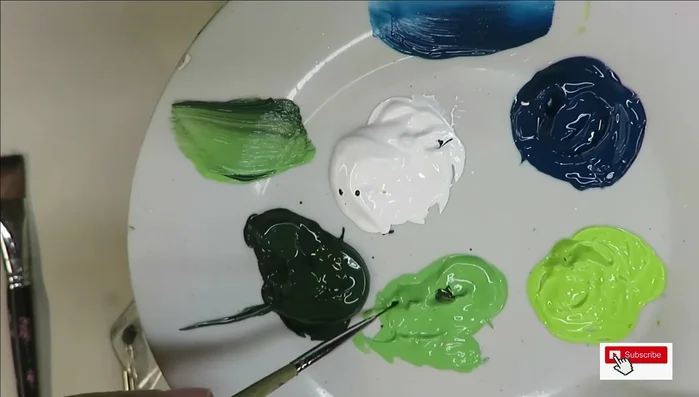
- Folk Art paints (enamels & multi-surface)
- 2a Magic paint brushes (#16, #10)
- Winstonia fine liner
- Deerfoot stippler brush (#8)
- Rubbing alcohol
- Outdoor varnish spray
- Oven
- Heat gun
- Always supervise children around glass bottles and sharp objects used in this project. Broken glass can cause serious injury.
- Use caution when handling hot glue; it can cause burns. Allow ample time for the glue to cool before handling the finished wind chime.
- Ensure the bottles are thoroughly cleaned and dried before use to prevent mold or mildew growth.
Step-by-Step Instructions
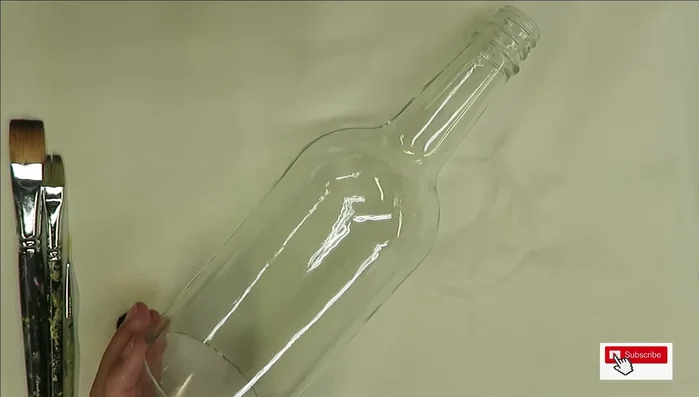
Prepare the Bottle
- Clean thoroughly and wipe with rubbing alcohol.

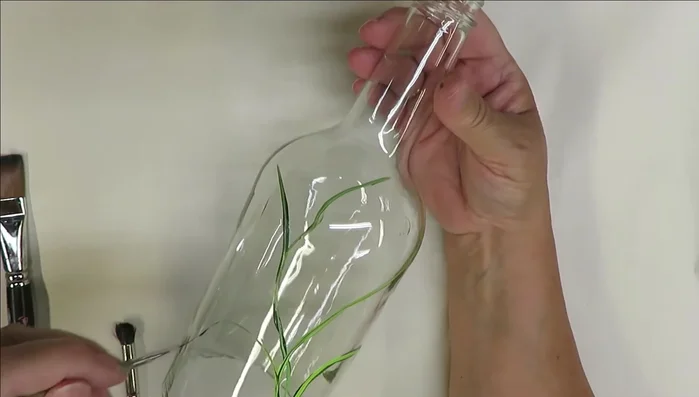
Prepare the Bottle Sketch the Floral Design
- Use various paint colors and create scrolling lines to form the base for your flowers.
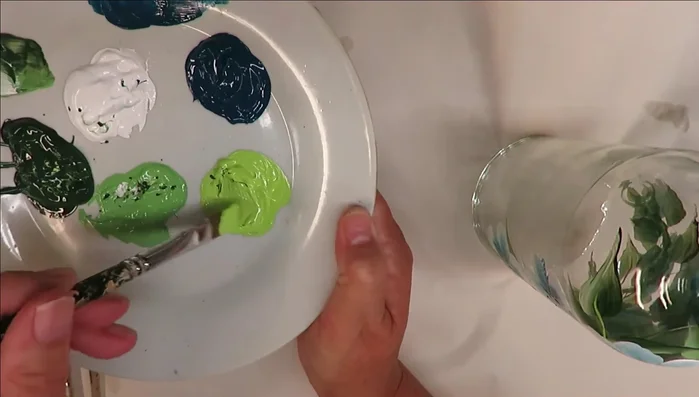
Sketch the Floral Design Paint the Base Layer
- Create flower shapes by layering colors and adding small details. Use a combination of flat and fine brushes.
- Use a flat brush (#10) to create blending strokes, adding more paint as needed for durability. Let it dry completely and add another layer if necessary.
Paint the Base Layer Bake the Bottle
- Preheat oven to 350°F (175°C). Place the painted bottle in the cold oven and THEN turn it on. Bake for 30 minutes. Let it cool completely (a few hours) before removing from the oven.
Bake the Bottle Add Floral Details
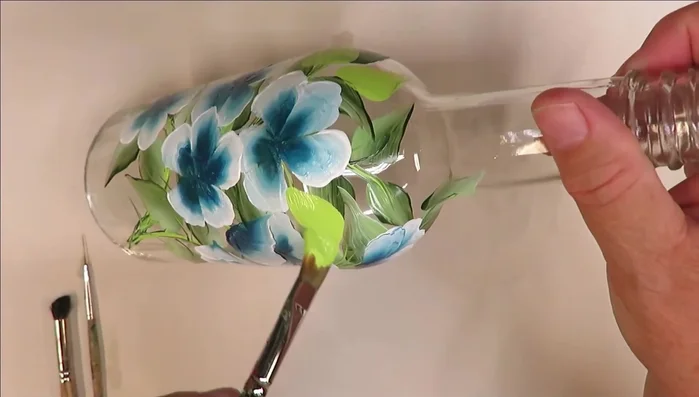
- Mix colors (e.g., cerulean blue and wicker white) and use blending strokes to create petals. Create full flowers and smaller buds, overlapping as desired.
Add Floral Details Add Accents and Stems
- Use a brush to apply a contrasting color (e.g., happy green) to enhance the design. Add details like stems using the fine liner.
Add Accents and Stems Add Final Touches
- Lightly apply a final color with a stippler brush (e.g., thicket) to the centers of flowers for subtle texture.
Add Final Touches Seal and Finish
- Spray with an outdoor varnish to protect the wind chime from the elements.
Seal and Finish


Read more: DIY: Create Custom Canister Labels with Silhouette Cameo
Tips
- Thicker paint applications create a more durable design.
- Allow drying time between paint layers for better coverage.
- Experiment with paint layering and blending for interesting effects.
- Consider the light source when painting leaves for depth.
- Overlapping petals and flowers in a single layer simplifies the process.