Have you ever dreamed of creating a stunning, personalized fish bowl, but felt intimidated by the process? Forget expensive, mass-produced aquariums! This guide empowers you to craft a beautiful and functional home for your aquatic friends, all from the comfort of your own home. DIY fish bowl making offers a rewarding creative outlet, allowing you to tailor the size, shape, and style to perfectly complement your existing décor and the needs of your finned companions. Choosing the right materials, ensuring proper sealing, and understanding the essential aspects of fish health are crucial steps in this exciting project.
This surprisingly straightforward process allows even complete beginners to create a unique and captivating fish bowl. From selecting the perfect glass container to adding the finishing touches, we’ll walk you through each step with clear instructions and helpful tips. Ready to dive in and bring your aquatic vision to life? Let's get started with our step-by-step guide to making your own DIY fish bowl!
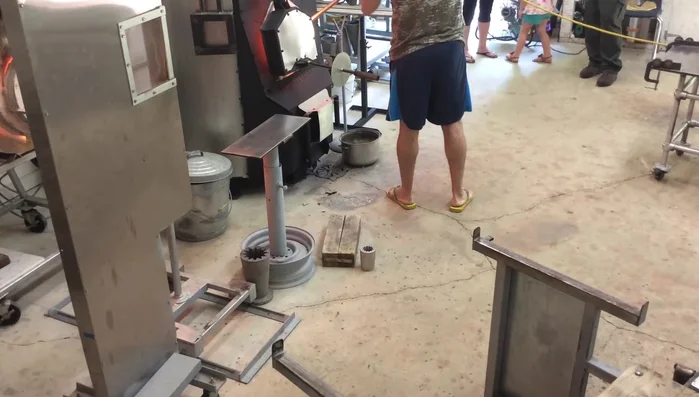
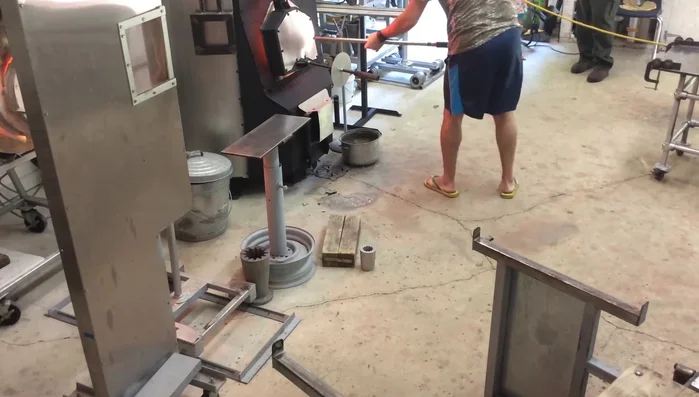
Preparation and Safety Guidelines
- Furnace
- Blowpipe
- Jacks
- Cherry wood block
- Cherry wood paddle
- Tweezers
- Newspaper
- Water
- Soffietta
- Wrap
- Always use safety glasses when working with glass or sharp tools. Glass can shatter unexpectedly.
- Ensure the sealant you use is aquarium-safe and completely cured before adding water and fish. Toxic fumes can harm your fish.
- Avoid using excessively hot water or placing the bowl near a heat source, as sudden temperature changes can cause the glass to crack.
Step-by-Step Instructions
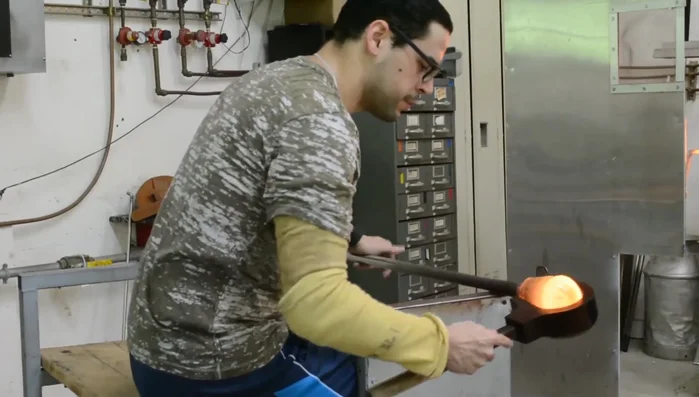
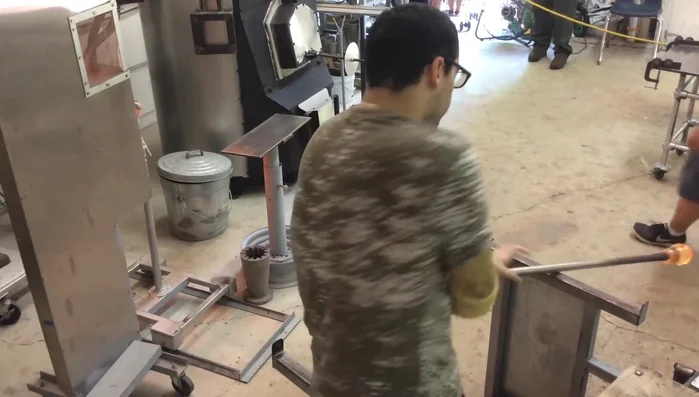
Gathering and Initial Shaping
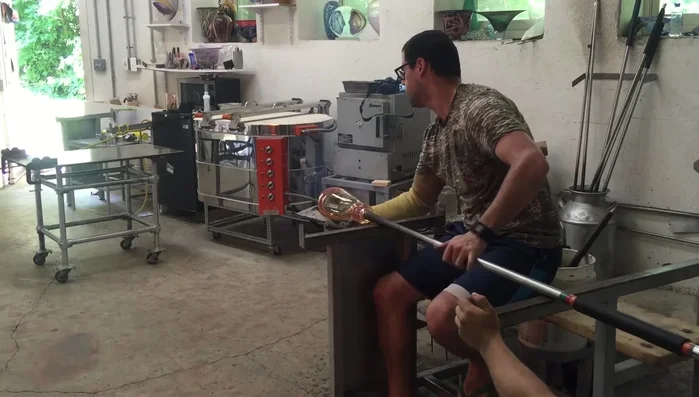
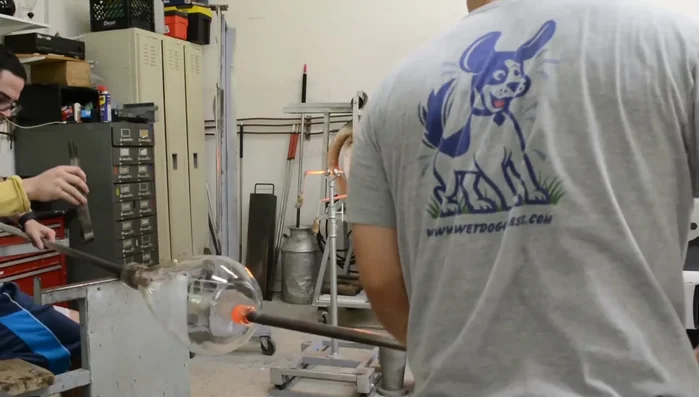
- Gather a small amount of glass onto the blowpipe, constantly turning to prevent it from falling off.
- Roll and smooth the gathered glass, allowing it to settle. Trap air inside to create a bubble, then smooth it out.

Gathering and Initial Shaping Adding and Shaping the Body
- Add more glass using the jacks, shaping and cooling specific areas to create a hard edge.
- Use a cherry wood block (soaked in water) to shape the piece symmetrically before blowing it out. This ensures even expansion.
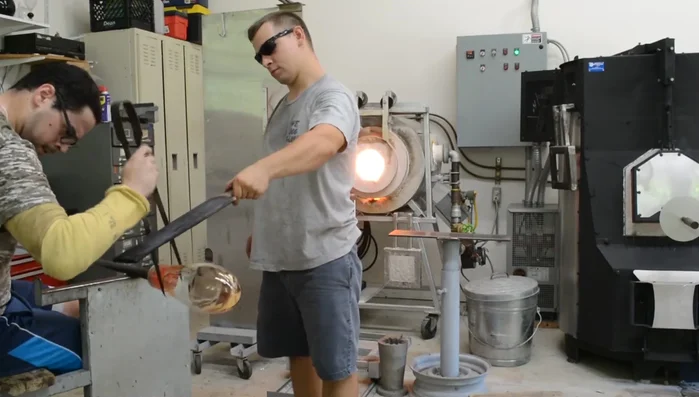
- Blow out the bubble to increase its size, ensuring uniformity. Let it cool before adding more glass.
- Focus on shaping the bottom two-thirds, keeping the top cool to control expansion. The bottom should be thick for stability.
Adding and Shaping the Body Final Shaping and Bottom Creation
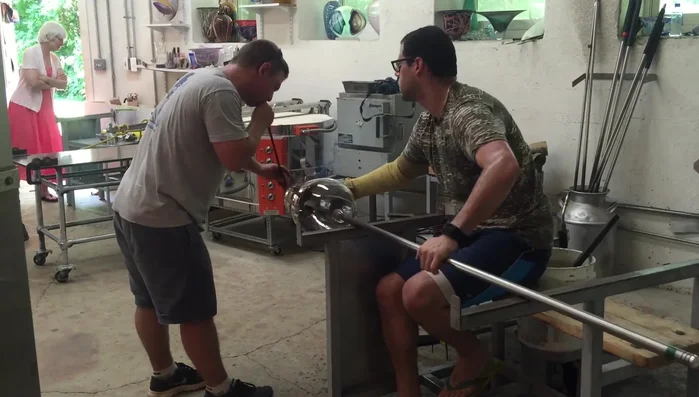
- Add the final gather of glass, ensuring the piece is cool to prevent bubble collapse.
- Use the cherry wood block and paddle to maintain symmetry and create a flat bottom.
- Use jacks and a paddle to shape the bottom edge and make it flat.
Final Shaping and Bottom Creation Expansion and Separation Prep
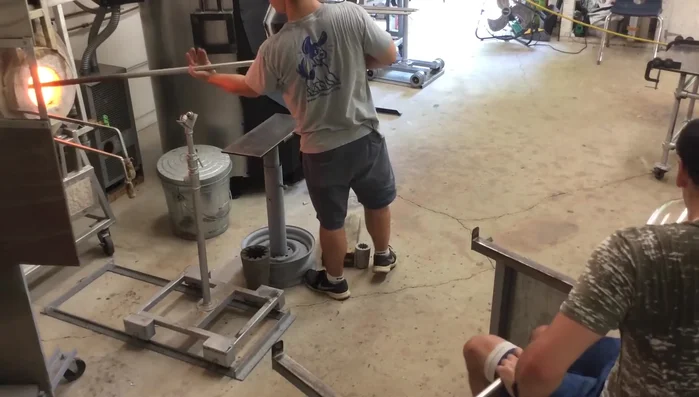
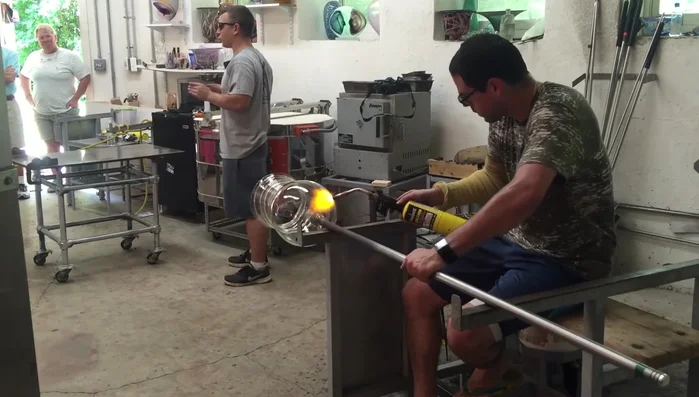
- Heat the piece and blow it out further, controlling the expansion with damp newspaper and a helper (Phil) providing air.
- Create a constriction at the top of the piece using jacks to facilitate clean separation from the blowpipe later.
Expansion and Separation Prep Separation from Blowpipe
- Create the “punny” (a bridge) to separate the piece from the blowpipe.
- Carefully break the piece off the pipe using water to shock the connection and a paddle to apply force.
Separation from Blowpipe Finishing and Lip Shaping
- Use a soffietta and damp newspaper to evenly open and shape the top lip.
- Apply final touch-ups to the lip, ensuring even heat distribution throughout the piece to prevent breakage.
Finishing and Lip Shaping

Read more: DIY: Create Custom Canister Labels with Silhouette Cameo
Tips
- Maintain symmetry throughout the process for a uniform shape.
- Use a helper for larger pieces to control both heat and shaping simultaneously.
- Ensure the bottom of the piece is thick and sturdy for stability.
- Keep the newspaper consistently damp to prevent burning, but avoid excessive water to control heat.
- Avoid reheating the top of the piece once the constriction is in place.