Christmas is a time for cherished memories and festive decorations, and what better way to capture the spirit of the season than by creating personalized, handcrafted ornaments? This year, ditch the mass-produced decorations and embrace the charm of DIY with etched Christmas plates. These unique pieces, adorned with your own designs or heartfelt messages, will become treasured keepsakes, adding a touch of rustic elegance to your holiday display, year after year. Imagine the joy of creating beautiful, personalized plates showcasing your family's favourite festive scenes or special inside jokes.
Forget expensive, store-bought decorations; transform ordinary ceramic plates into stunning, personalized works of art with surprisingly simple techniques. This step-by-step guide will walk you through the entire process, from selecting the right materials to unveiling your beautifully etched Christmas masterpiece, ready to hang or display proudly. Let's get started and create some unforgettable Christmas memories!
Preparation and Safety Guidelines
- Plates
- Computer
- Design Space Software
- SVG files
- Cricut Machine (or similar cutting machine)
- Stencil Vinyl
- Transfer Tape
- Weeder
- Armor Etch
- Foam Brushes
- Scraper
- Alcohol
- Gloves (optional)
- Light Pad (optional)
- Always work in a well-ventilated area. Etching cream produces fumes that can be harmful if inhaled.
- Wear appropriate safety gear: gloves, eye protection, and a respirator are crucial to prevent skin and respiratory irritation.
- Never leave etching cream unattended and follow the manufacturer's instructions precisely regarding application time and disposal.
Step-by-Step Instructions
Design & Prepare Artwork
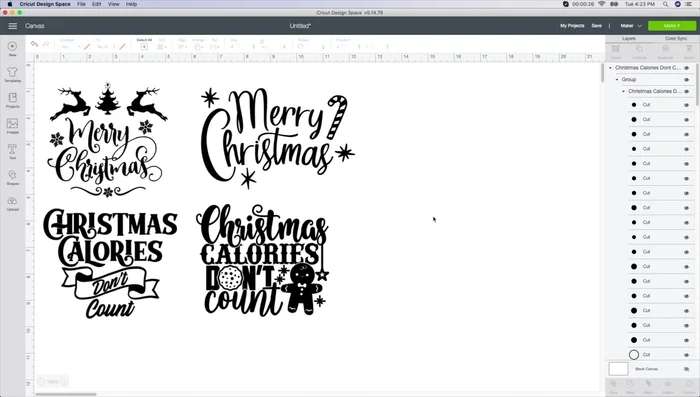
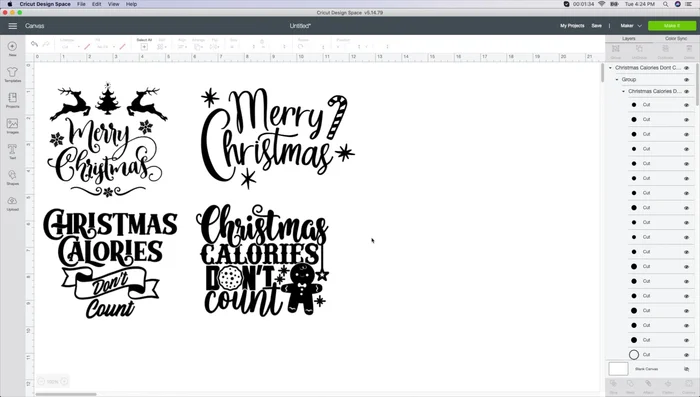
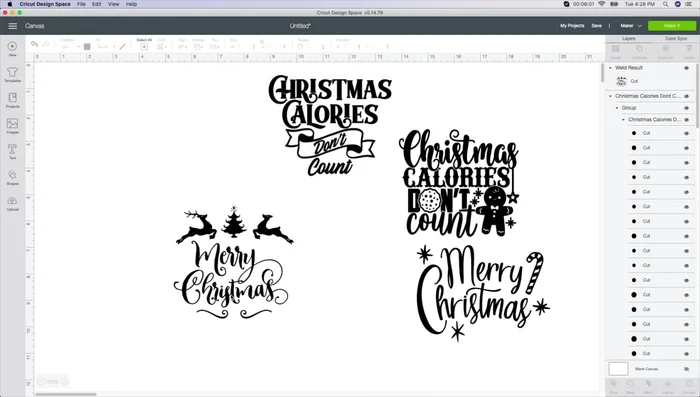
- Design and create SVG files in Cricut Design Space. Purchase or create your own Christmas designs.
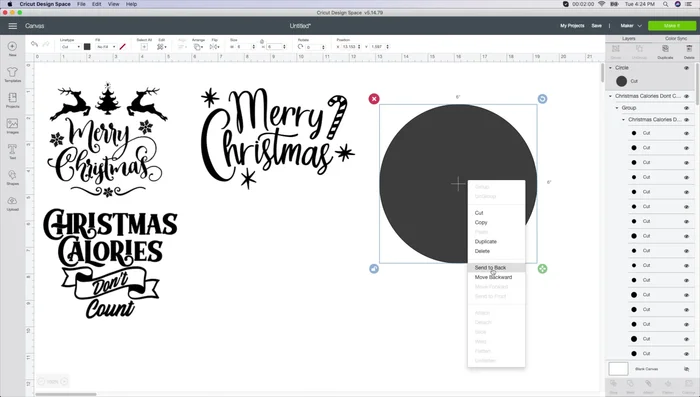
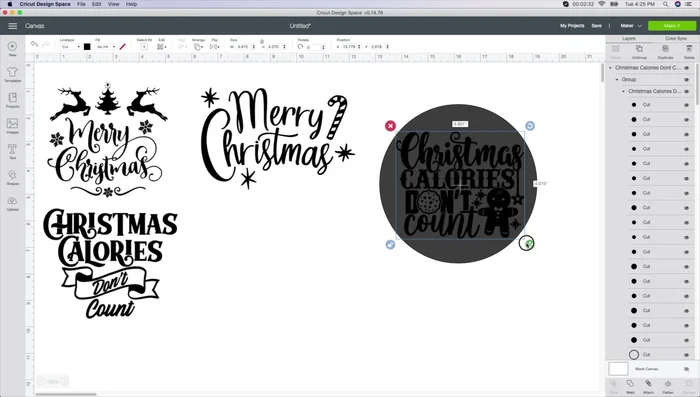
- Create a circle in Design Space matching the size of your plate to help with sizing and placement of your design.
- Import your SVG files into Design Space and position them within the circle guide on your plate.
- Adjust the size and placement of your SVG designs until you are satisfied with the arrangement on your plate.

Design & Prepare Artwork - Select all design elements, then use the 'weld' function in Design Space to combine them into a single cuttable object.
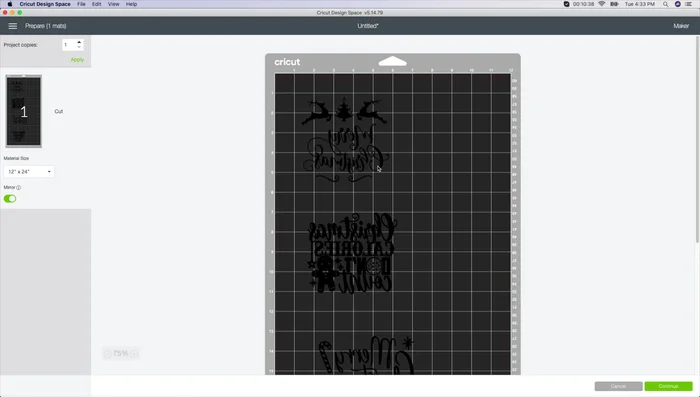
- Mirror your design so it will be the correct orientation once etched onto the back of the plate.
Design & Prepare Artwork Cut Vinyl Stencil
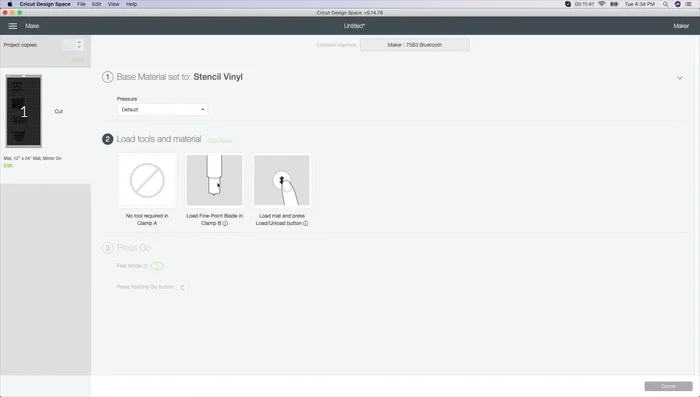
- Cut your mirrored design from stencil vinyl using your Cricut machine.
- Weed out the unwanted parts of your vinyl design, leaving only the design elements to be etched. Use a light pad to help with weeding small details.
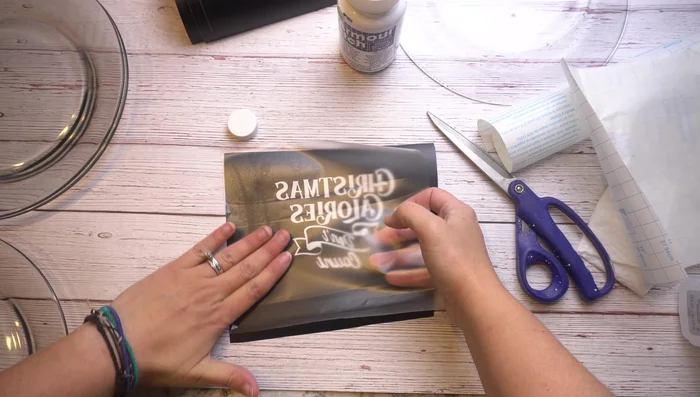
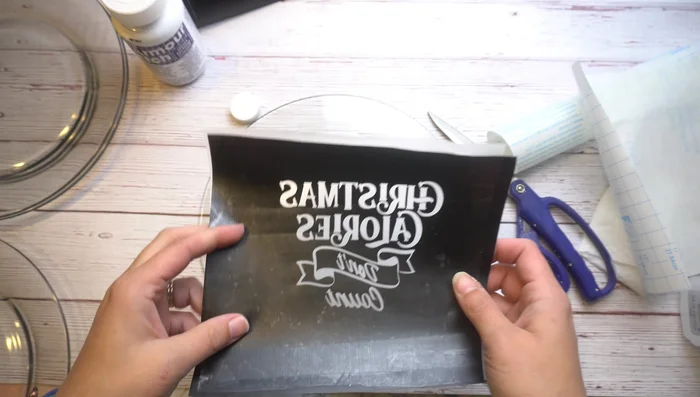
Cut Vinyl Stencil Prepare Plate & Apply Stencil
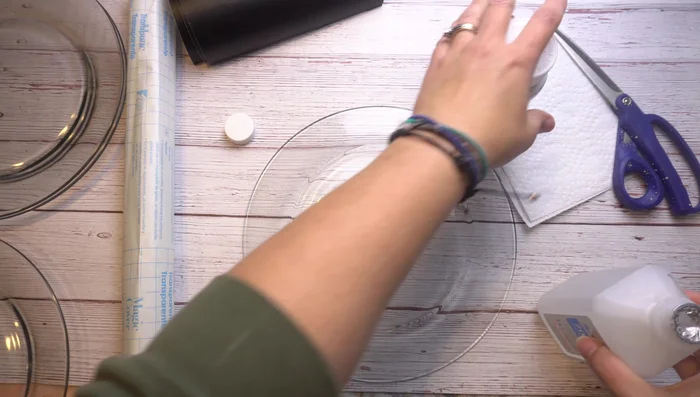
- Clean the back of your plate thoroughly with alcohol to remove any dust or smudges.
- Apply transfer tape to your weeded vinyl design, ensuring no bubbles are trapped underneath.
- Carefully transfer the vinyl design to the back of the plate, using a scraper to remove any air bubbles. Work slowly and methodically.
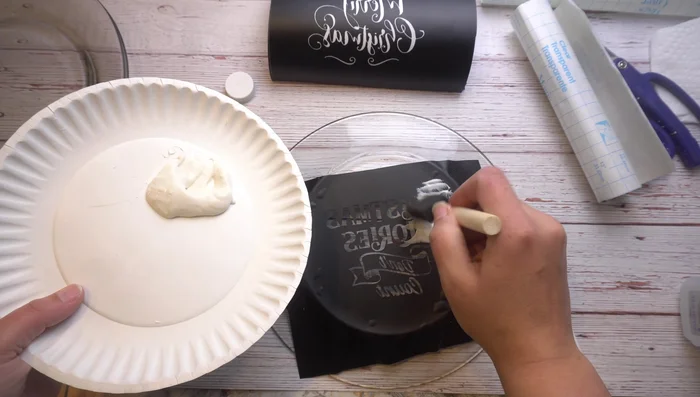
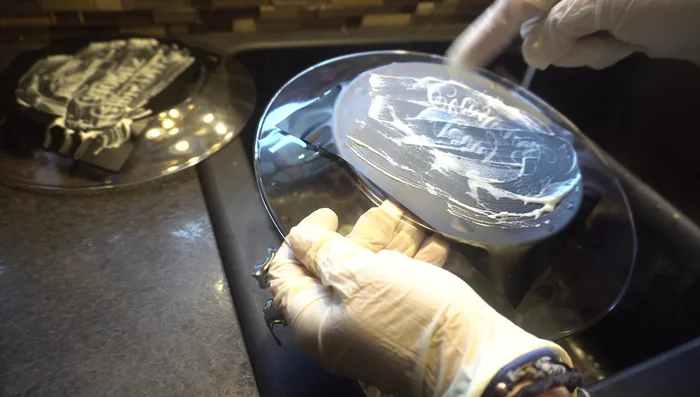
Prepare Plate & Apply Stencil Etching & Cleaning
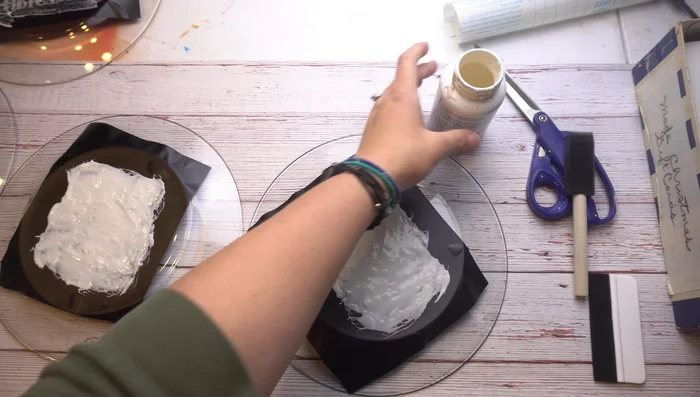
- Apply a thick layer of Armor Etch to the exposed areas of your plate, ensuring complete coverage of the design. Wear gloves for this step.
- Remove excess Armor Etch before vinyl removal).
- Rinse the plate thoroughly with warm water to remove any remaining Armor Etch. Carefully peel off any remaining vinyl.
Etching & Cleaning
Read more: DIY: Create Custom Canister Labels with Silhouette Cameo
Tips
- Use a light pad to help with weeding small details.
- Invest in cheap weeding tools from Harbor Freight for easier weeding.
- Leave extra space around your design when cutting to provide more room for working with the Armor Etch and to avoid accidental etching outside the design area.
- Apply Armor Etch thickly and evenly to prevent uneven etching. Work on a flat surface to avoid dripping.
- Wear gloves when working with Armor Etch to protect your hands. Eye protection is also recommended.