Tired of expensive serving trays that lack personality? Craving a stylish and functional addition to your home décor without breaking the bank? Then prepare to be amazed by this DIY project that transforms humble dollar store finds into a stunning, sturdy serving tray! We'll guide you through a simple yet transformative process, proving that impressive craftsmanship doesn't require a hefty price tag. Forget about generic, mass-produced trays; this project lets you unleash your creativity and tailor your tray to perfectly match your personal style. Imagine the compliments you'll receive when you serve your guests on this beautiful, handcrafted piece.
This tutorial will take you step-by-step through the creation of your own unique dollar store serving tray, showcasing how easily inexpensive materials can be upcycled into a truly impressive home accessory. Get ready to discover the simple techniques and readily available materials that will bring your vision to life; let's get crafting!
Preparation and Safety Guidelines
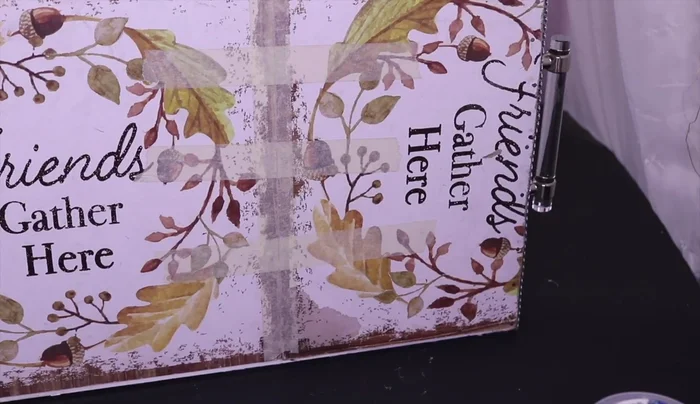
- Dollar Tree signs
- Dollar Tree wooden sticks
- Tower blocks (at least 2 packs)
- Strong blade
- Box cutter
- Strong adhesive (Gorilla Glue or wood glue)
- Masking tape
- Nails (1-inch)
- Paint (white and silver)
- Pure stick wall tiles (Dollar Tree)
- Fix All adhesive
- Rhinestones
- Felt
- Handles (from Amazon)
- Drill or Dremel
- Drill bits
- Popsicle stick
- Always supervise children around crafting projects and ensure they do not put small craft items in their mouths.
- Use caution when working with hot glue guns. Keep away from flammable materials and allow glue to cool before handling.
- If using materials like wood or metal from the dollar store, check for splinters or sharp edges before use and sand/file them smooth as needed.
Step-by-Step Instructions
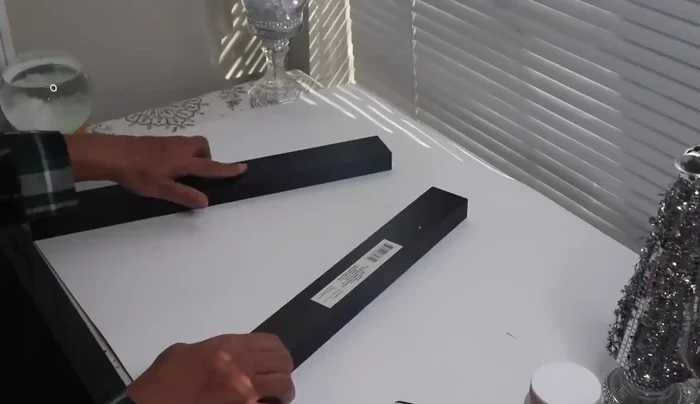
Gather Materials
- Dollar Tree signs, wooden sticks, tower blocks, strong adhesive, masking tape, nails.

Gather Materials Prepare Wooden Pieces
- Remove labels and residue from the Dollar Tree signs and wooden sticks.
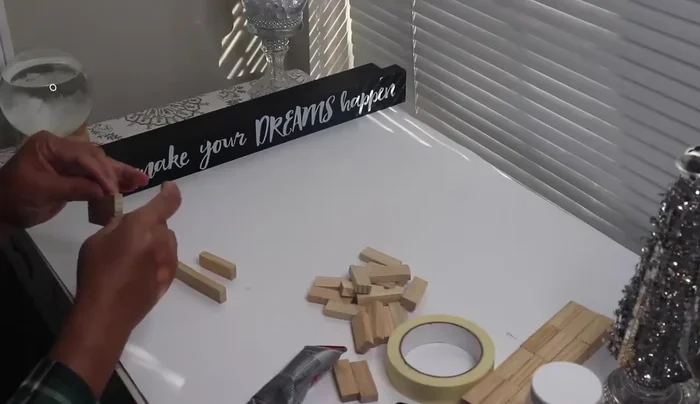
Prepare Wooden Pieces Construct Side Pieces
- Glue tower blocks together to form two identical rectangular pieces (24 blocks each). Use masking tape to hold them in place while drying.
Construct Side Pieces Assemble Tray Frame
- Apply glue to the tower block structures and attach them to the Dollar Tree wooden sticks, creating the tray frame. Secure with tape until dry.
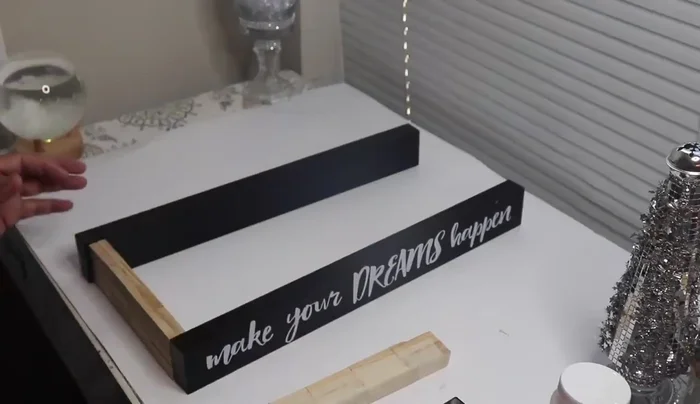
Assemble Tray Frame Attach the Base
- Glue the Dollar Tree base pieces to the bottom of the tray frame. Use additional tape for support until the glue sets.
Attach the Base Reinforce the Base
- Nail the base securely to the tray frame for added strength.
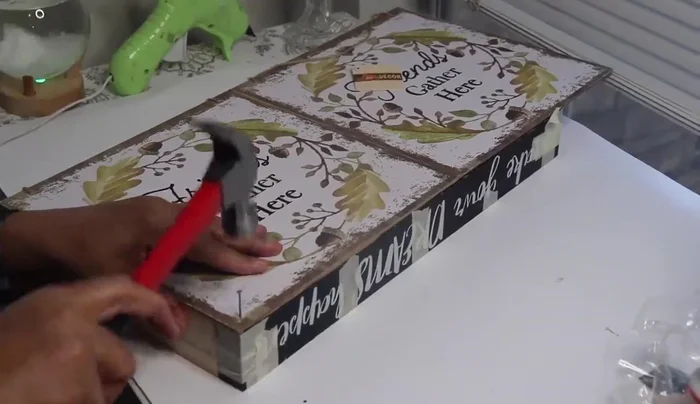
Reinforce the Base Cut Excess Frame
- Use a box cutter to trim the excess frame to create a neat finish.
Cut Excess Frame Paint and Decorate Interior
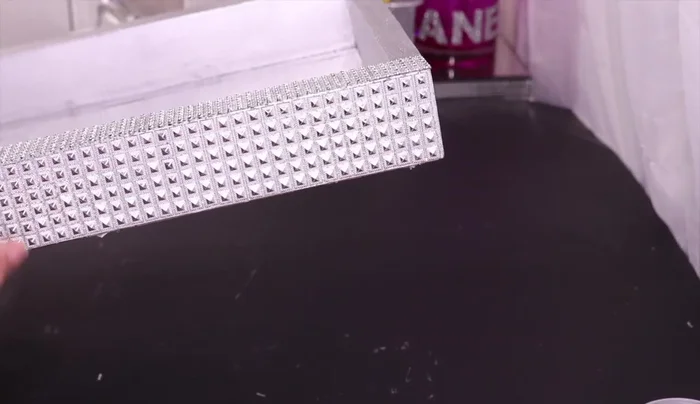
- Paint the tray white and then silver. Apply Pure Stick wall tiles to the inside of the tray using Fix All adhesive.
Paint and Decorate Interior Attach Handles
- Measure and mark the positions for the handles. Drill pilot holes and enlarge them to fit the screws. Attach handles using screws. Cover screw heads with rhinestones.
Attach Handles Add Exterior Bling
- Decorate the tray's exterior and interior with bling wrap and rhinestones.
Add Exterior Bling Final Touches
- Add felt to the bottom of the tray for protection.
Final Touches


Read more: DIY: Create Custom Canister Labels with Silhouette Cameo
Tips
- Use Gorilla Glue or wood glue for strong bonds between wooden pieces.
- Use masking tape to hold pieces together while glue dries.
- For a cleaner look, use Fix All adhesive instead of hot glue for bling.
- Use hot glue for rhinestones to easily remove them later.