Transform ordinary glass into stunning, chip-resistant works of art with the magic of chip-proof glass painting! Forget the frustration of fragile, easily-damaged projects – this guide unlocks the secrets to creating durable, beautiful pieces that will last. Whether you're a seasoned crafter or a curious beginner, discover the techniques and materials needed to confidently tackle a wide range of DIY projects, from whimsical coasters and vibrant suncatchers to elegant vases and sophisticated decorative plates. This isn't your grandma's stained glass; we're talking about modern, resilient designs with long-lasting impact.
This ultimate guide delves into the exciting world of chip-proof glass painting, providing everything you need to know from choosing the right paints and primers to mastering essential techniques like layering, blending, and achieving a professional finish. Ready to unleash your creativity and embark on your next crafting adventure? Let's dive into the step-by-step process and learn how to make chip-proof glass masterpieces!
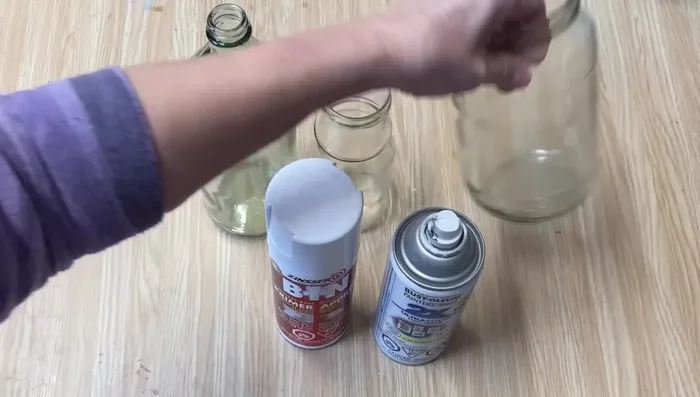
Preparation and Safety Guidelines
- Chalk paint
- Spray paint (flat white or primer)
- Chip brush
- Sponge
- Rubbing alcohol
- Hot soapy water
- Always work in a well-ventilated area. Glass paints and their solvents can release fumes that are harmful if inhaled.
- Use caution when handling glass. Wear gloves to protect your hands and consider using safety glasses to prevent eye injuries from broken glass or paint splashes.
- Cure your painted glass according to the manufacturer's instructions. Incomplete curing can result in a less durable and chip-prone finish.
Step-by-Step Instructions
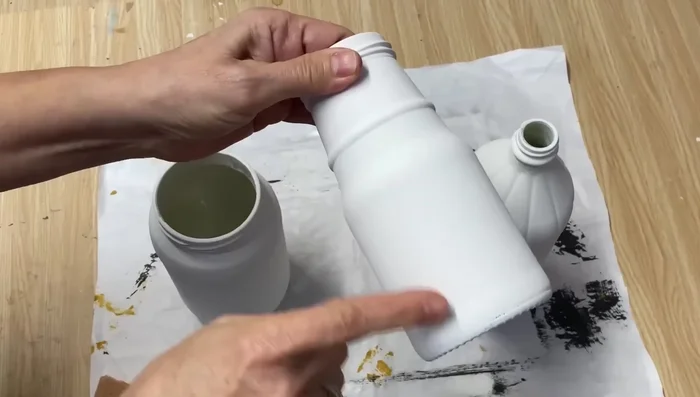
Prepare the Glass
- Clean the glass jars thoroughly with hot soapy water, then wipe them down with rubbing alcohol to remove any grease or residue.
Create a Base Coat
- Lightly spray the glass jars with flat white spray paint or primer. This creates a base for the chalk paint to adhere to.

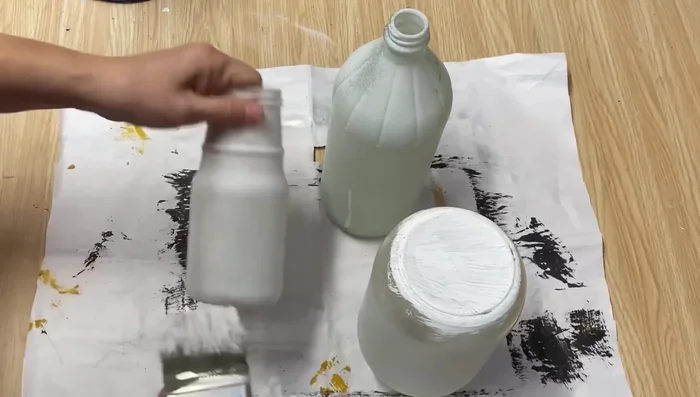
Create a Base Coat Apply First Coat of Chalk Paint
- Apply the first coat of chalk paint using a chip brush. Apply a light coat, not too thick.
Apply First Coat of Chalk Paint Dry and Apply Second Coat
- Let the first coat dry completely before applying the second coat.
- Apply the second coat of chalk paint using a chip brush. If coverage is good, you may skip to step 6.
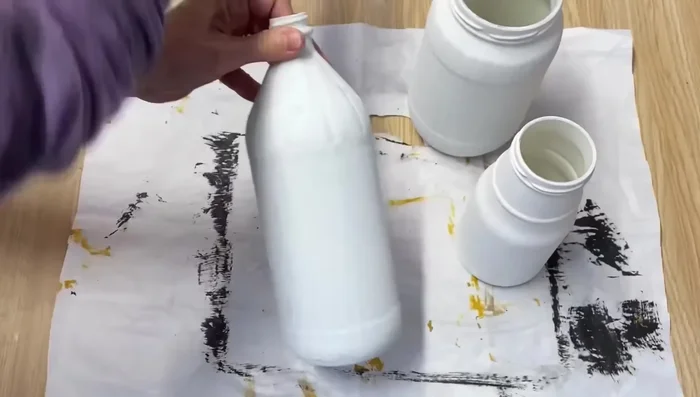
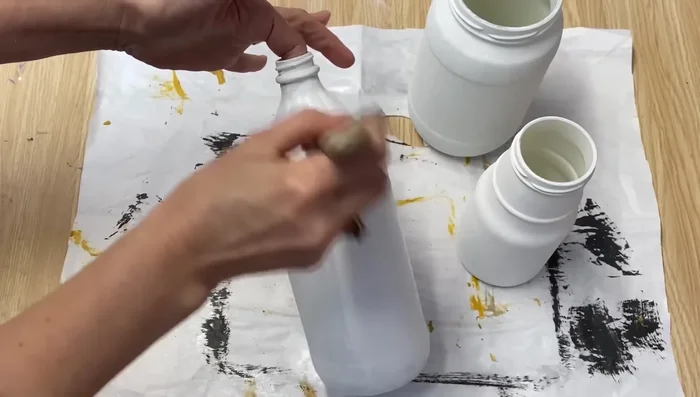
Dry and Apply Second Coat Apply Final Coat with Sponge
- Apply the third coat using a sponge, dabbing it on for a smooth finish. This helps eliminate brush strokes.
Apply Final Coat with Sponge Final Drying and Check for Durability
- Allow the final coat to dry completely. The paint should adhere strongly to the glass and resist chipping or peeling.
Final Drying and Check for Durability

Read more: DIY: Create Custom Canister Labels with Silhouette Cameo
Tips
- Don't skip the cleaning step! Grease and residue will prevent the paint from sticking.
- A light spritz of primer is key for optimal adhesion. You don't need to cover the whole jar.
- Let each coat dry completely before applying the next. Painting wet-on-wet will cause lifting.