Embrace the timeless beauty of Celtic knotwork with this simple yet elegant DIY coaster project! Transform plain cork coasters into stunning pieces of home décor that reflect rich cultural heritage and add a touch of sophistication to your living space. This craft requires minimal materials, making it a perfect project for beginners or anyone looking for a quick and rewarding creative outlet. You'll be amazed at how easily you can achieve professional-looking results with just a few readily available supplies and a bit of patience.
Forget expensive store-bought coasters – create unique, personalized pieces that perfectly complement your style. This project is ideal for adding a personal touch to your own home, or making thoughtful, handmade gifts for friends and family. Ready to get started on creating your own set of beautiful Celtic coasters? Let's dive into the easy step-by-step instructions below!
Preparation and Safety Guidelines
- Blank coasters (with removable bubble feet)
- Paint thinners or nail polish remover
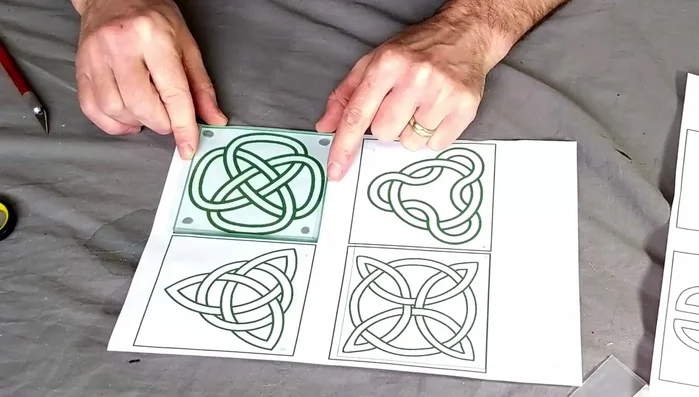
- Green printed Celtic designs
- Gold paint outliner
- Pebeo paints (Vivid, non-bakeable)
- Piping bag
- Fine paintbrush
- Bubble feet (optional)
- Glue (optional)
- Blue tack
- Always supervise children when using sharp objects like craft knives or scissors.
- Ensure the surface you are working on is heat-resistant, especially when using hot glue or resin.
- Allow adequate drying time for glue and resin to prevent damage or warping of your coasters.
Step-by-Step Instructions
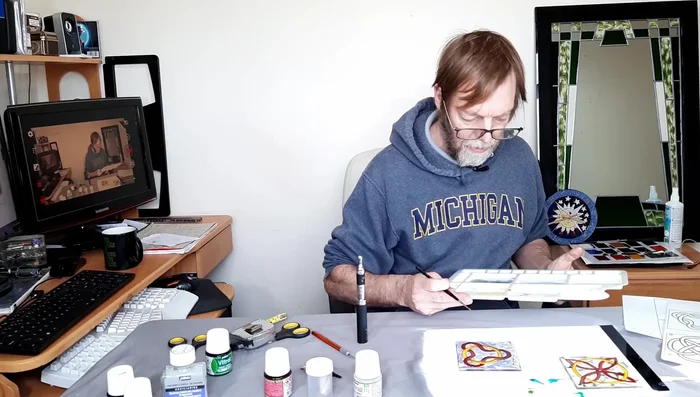
Prepare Coasters
- Remove bubble feet and clean the coasters using paint thinners or nail polish remover to remove any residue. Rinse with soapy water and then plain water. Let them air dry.
Secure Design
- Blue tack your printed Celtic design (printed in green for visibility) to the coaster, ensuring it's square and the blue tack is out of the way of the design.

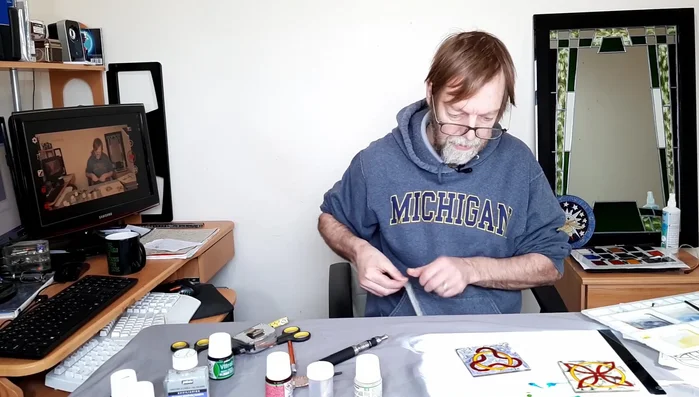
Secure Design Outline Design
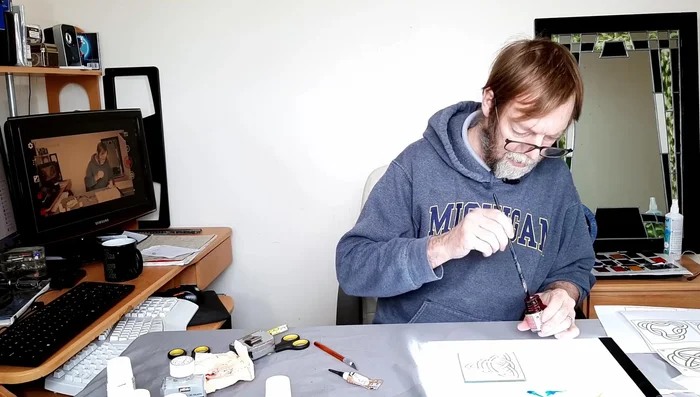
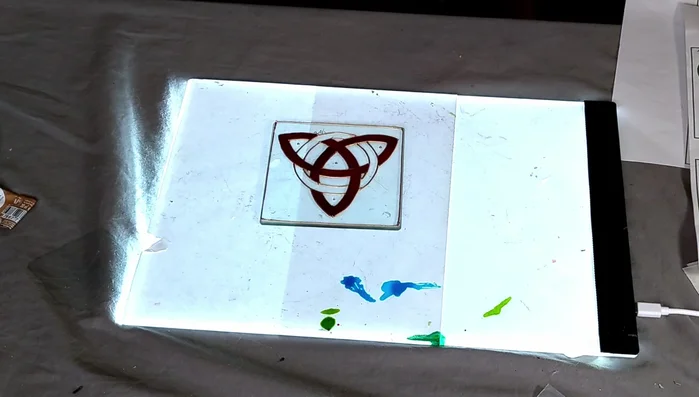
- Use a gold paint outliner and a piping bag to outline your Celtic design. This creates a clean, defined edge.
Outline Design Flood Fill with Red
- Apply red Pebeo paint to the main areas of your design using a flood-filling technique. Ensure you get the paint right up to the gold outline.
Flood Fill with Red Add Yellow Accents
- Once the red paint is dry, add yellow paint to specific areas of the design.
Add Yellow Accents Create Mottled Background
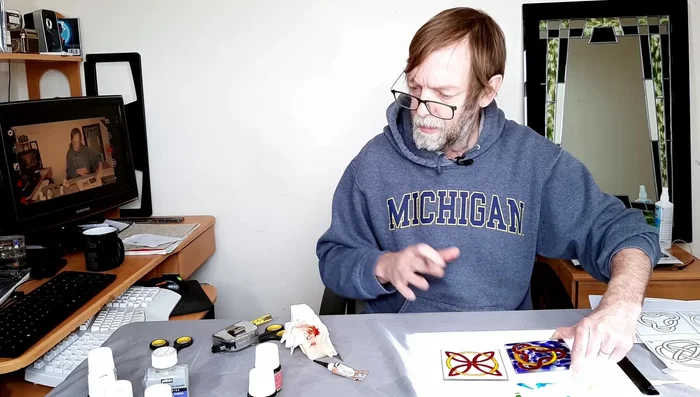
- Mix white and a lighter green Pebeo paint for a mottled background. Apply this gently, avoiding bubbles, to the areas surrounding the red and yellow shapes.
Create Mottled Background Add White Highlights
- Carefully add white paint to create highlights and further enhance the mottled effect. Avoid mixing the white too much with the green to maintain the mottled look.
Clean Up Paint
- If any colored paint gets on your gold outline, use a tiny bit of water and the gold outliner to gently touch up and blend.
Clean Up Paint Add Bubble Feet
- Once the paint is completely dry (after a couple of days), carefully reattach the bubble feet to the bottom of the coaster.
Add Bubble Feet

Read more: DIY: Create Custom Canister Labels with Silhouette Cameo
Tips
- Print your design in green for better visibility during outlining.
- Use a flood-filling technique for even paint coverage. It's okay if the paint is a bit gloopy; work with it.
- Apply dots (if desired) while outlining, not afterward.
- Don't overmix your paints when creating the mottled effect to keep that textured look.