Transforming ordinary glass jars into enchanting candle lanterns is a rewarding DIY project, perfect for adding a touch of rustic charm to any space. The possibilities are endless – from simple, minimalist designs to intricately decorated pieces, the only limit is your imagination. But one common hurdle in this craft is removing the jar's bottom cleanly and safely, often leading to frustration and broken glass. This seemingly simple task can drastically impact the final look and safety of your lantern.
Fortunately, there's a clever and surprisingly easy method to overcome this obstacle: using string and the power of controlled thermal expansion. This technique, detailed below in our step-by-step guide, minimizes the risk of injury while ensuring a clean, even cut. Ready to create stunning DIY candle lanterns without the stress of shattered glass? Let's get started!
Preparation and Safety Guidelines
- Glass jars with lids
- Candles
- Methylated spirits
- Syringe
- Bucket of cold water
- String
- Eye protection
- Always use caution when working with hot glass. Allow jars to cool completely before attempting to remove the bottom.
- Wear protective gloves to avoid cuts from broken glass. Even seemingly intact glass can have sharp edges.
- Work in a well-ventilated area to avoid inhaling any dust or fumes from the string and/or the candle wax.
Step-by-Step Instructions
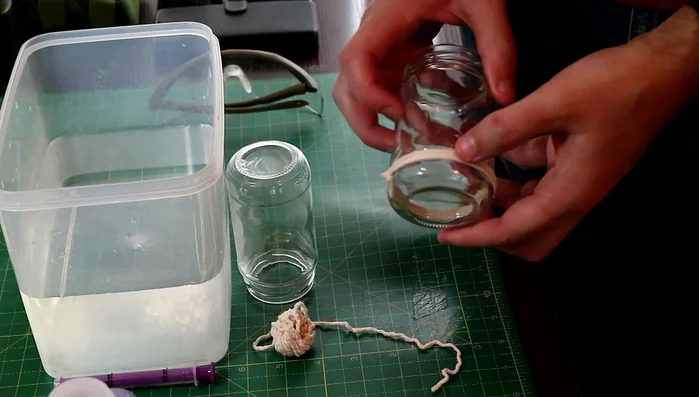
Prepare the Jar
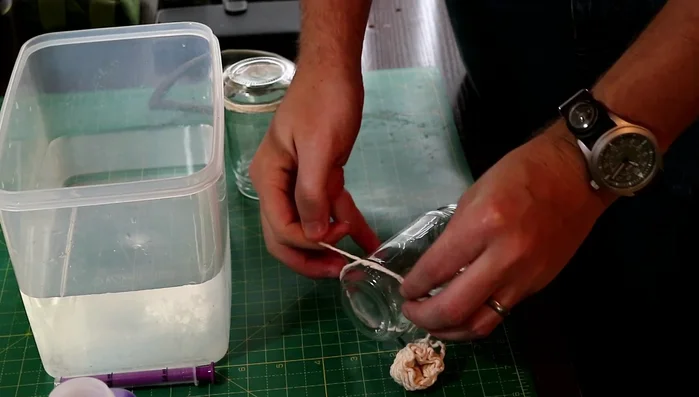
- Tie a string around the bottom of the glass jar, focusing on a natural weak point or ridge at the base.
- Wrap the string around the jar three or four times and tie it off securely.

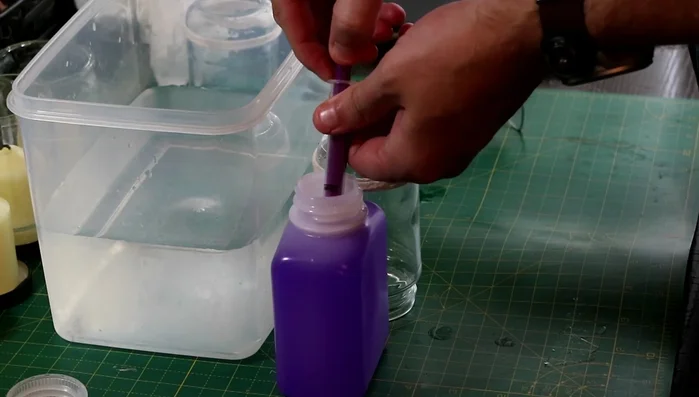
Prepare the Jar Apply the Solvent
- Using a syringe, apply methylated spirits to the string.
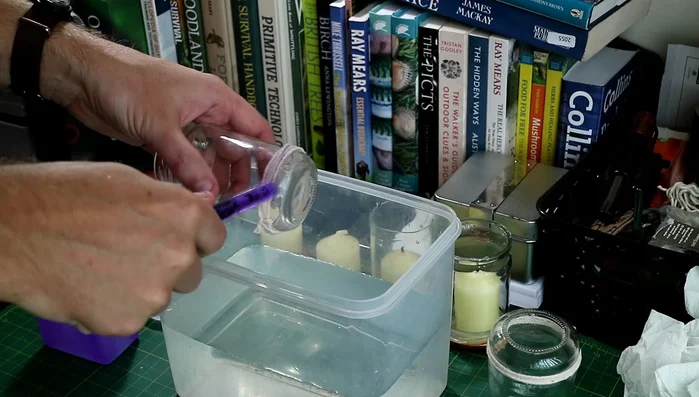
Apply the Solvent Cut the Jar Bottom
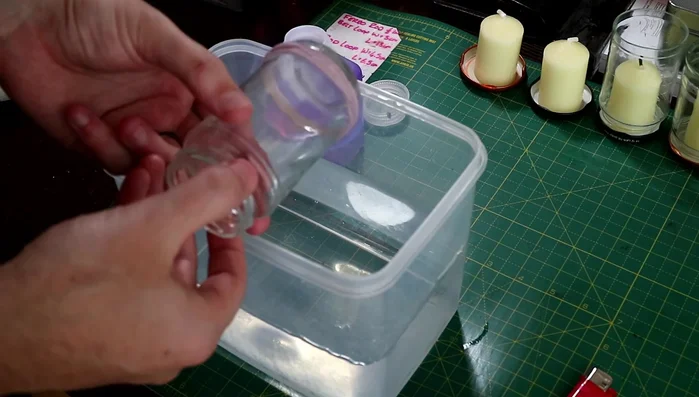
- Carefully lower the jar into a bucket of cold water, rotating gently while the string burns through.
Cut the Jar Bottom Clean Up and Finish
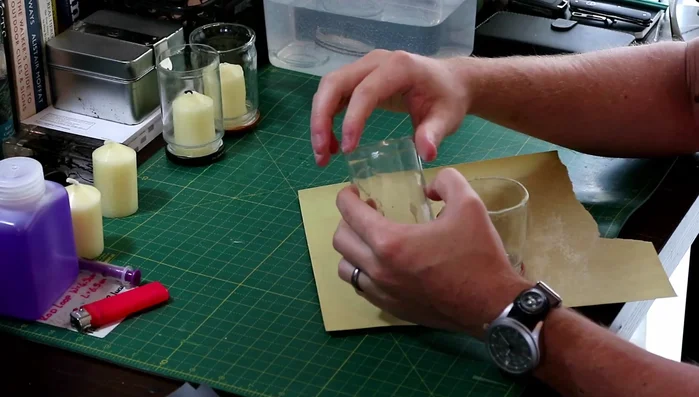
- Once the bottom of the jar separates, remove it from the water.
- Lightly sand the edges to smooth them if desired.
Clean Up and Finish
Read more: DIY: Create Custom Canister Labels with Silhouette Cameo
Tips
- Wear eye protection during the process.
- Turn off fire alarms before starting.
- Find a natural weak point in the glass to tie the string for easier separation.
- Applying the methylated spirits with a syringe is more controlled than dunking.
- Keep the water cold to prevent accidental burns.