Transforming your kitchen or bathroom can be surprisingly affordable and rewarding with a DIY backsplash project. A stunning backsplash instantly elevates the look of your space, adding personality and protecting your walls from splashes and spills. Forget expensive contractors and intimidating installations; creating a beautiful, professional-looking backsplash is entirely within your reach with the right tools and guidance. Whether you're envisioning sleek subway tiles, vibrant mosaics, or rustic brick, the possibilities are endless, limited only by your imagination and a few simple supplies.
This guide offers a comprehensive, step-by-step approach to backsplash installation, ensuring you achieve flawless results. From careful planning and preparation to the final grout application, we’ll walk you through every stage of the process, providing helpful tips and tricks along the way. Ready to embark on this exciting and fulfilling home improvement project? Let's get started!
Preparation and Safety Guidelines
- Painters table
- Heat gun or blow dryer
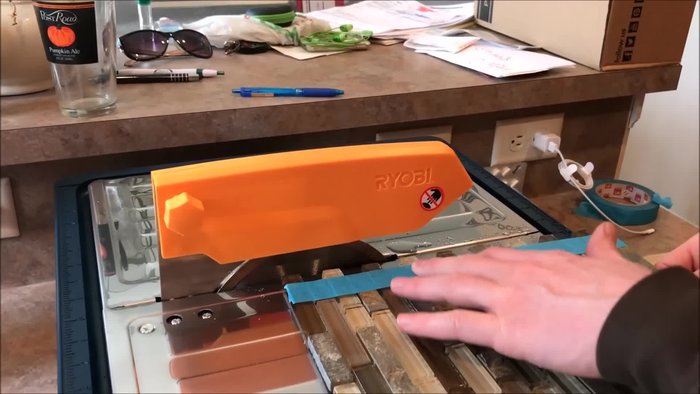
- Tile cutter
- Grout
- Spacers
- Always wear safety glasses and a dust mask to protect your eyes and lungs from debris and dust generated during demolition and installation.
- Turn off the power to the electrical outlets and circuits in the area where you'll be working before starting any demolition or drilling. Failure to do so could result in serious injury or electrocution.
- Use appropriate caution when working with sharp tools like utility knives or tile cutters. Always cut away from yourself and keep your fingers clear of the blade.
Step-by-Step Instructions
Planning and Preparation
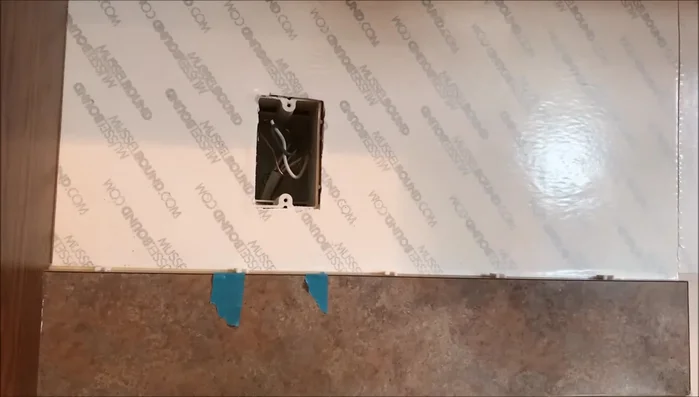
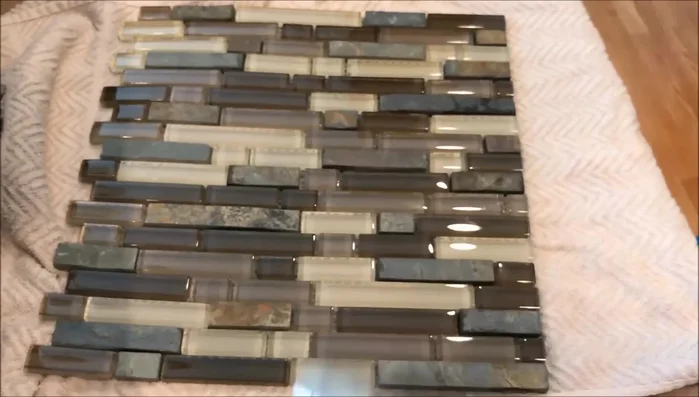
- Decide on the backsplash design and layout. Pre-plan cuts for outlets and switches.
- Mock up the backsplash to determine cut locations for electrical outlets and switches. Count the rows of tiles needed to clear the void.

Planning and Preparation Pre-Installation Tile Prep
- Dry the stones completely using a heat gun or blow dryer before applying adhesive.
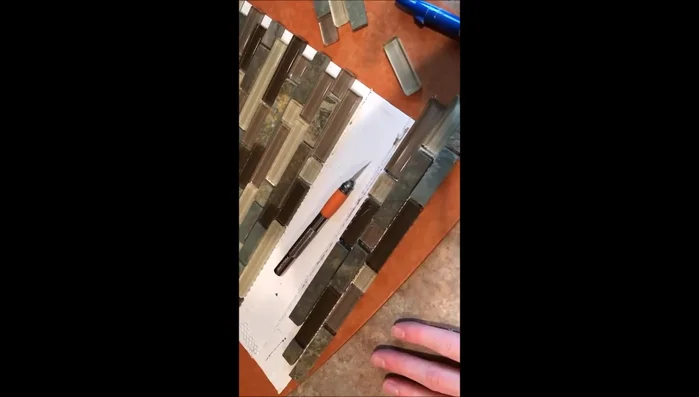
- Cut the mesh backing of the tile to separate sections for easier installation around outlets and switches.
Pre-Installation Tile Prep Installing the Bottom Section
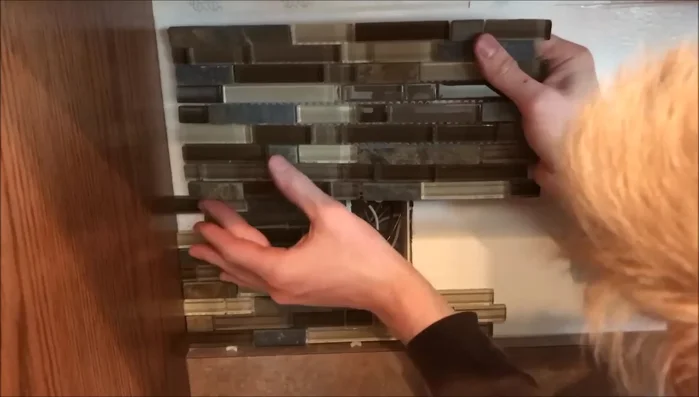
- Apply adhesive to the wall and carefully position the bottom section of the backsplash, ensuring consistent spacing. Use spacers under glass tiles to maintain levelness.
Installing the Bottom Section Installing the Middle Section
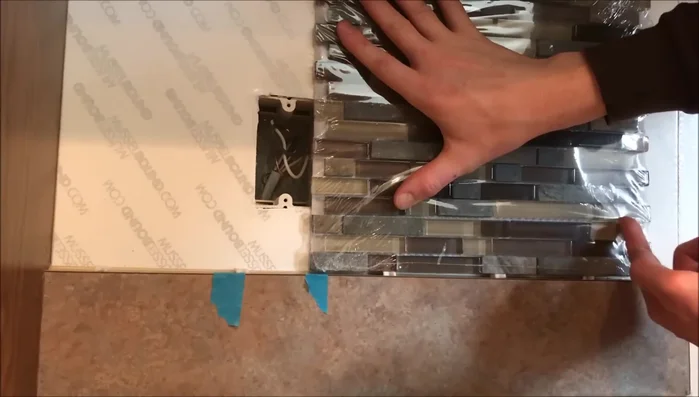
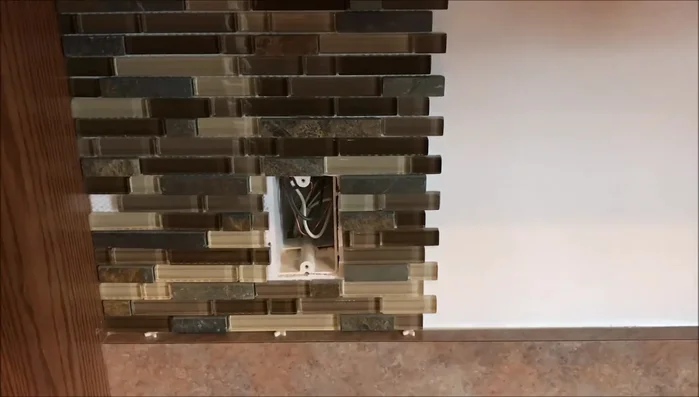
- Install the middle section, making necessary cuts to accommodate outlets and switches. Fit the top section, ensuring consistent spacing between tiles.
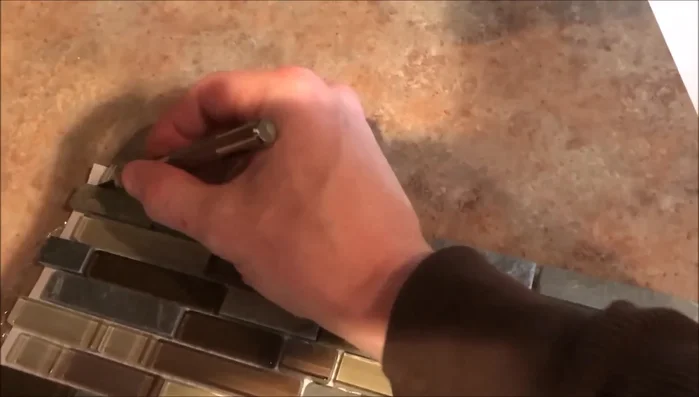
- For tight spaces, cut tiles into smaller strips to adjust spacing and ensure a precise fit. Don't be afraid to cut up sections into smaller, individually fitted pieces.
- Remove excess tile rows if needed, such as when installing near a microwave. Tiles are easily removed and repositioned.
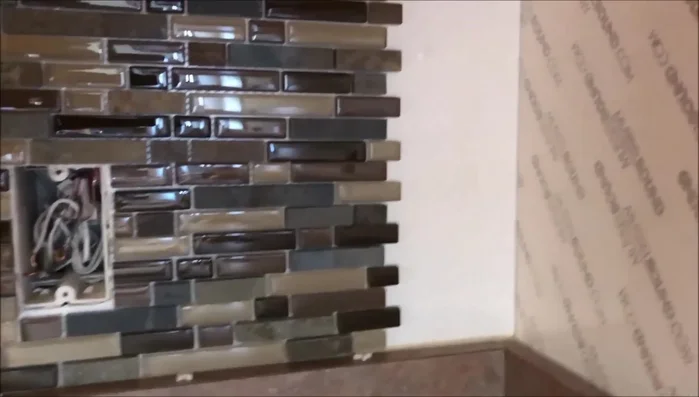
Installing the Middle Section Installing Corners and Top Row
- For corner cuts, measure and cut into sections, trimming individually to achieve a precise fit and consistent spacing.
- Install the top row, possibly trimming pieces to achieve the desired fit and spacing. Pay attention to starting and stopping points to avoid excessive cutting of small pieces.
Installing Corners and Top Row

Read more: DIY: Create Custom Canister Labels with Silhouette Cameo
Tips
- Ensure stones are completely dry before hanging to ensure proper adhesion.
- Use a painter's table as a guide for cutting tiles, though not strictly necessary.
- Don't hesitate to cut tiles into smaller strips for better spacing control, especially in tight areas.
- Consider starting points carefully to minimize the need for small, potentially visible cuts.