March brings a burst of springtime energy, and Pretty Pink Posh's latest release is no exception! This month's collection is all about playful whimsy, and we're diving headfirst into creating adorable DIY 3D pinwheels and stunning pinwheel cards. Get ready to unleash your creativity with vibrant colours and delightful designs, perfect for adding a touch of charming movement to your crafting projects. Imagine the delightful spin of these intricate creations, bringing a fresh and exciting dimension to your cards, scrapbook pages, or even home décor.
This tutorial will guide you through the process of crafting both charming 3D pinwheels and incorporating them into beautifully designed cards, using the beautiful Pretty Pink Posh March release products. From cutting precise shapes to assembling the delightful pinwheel components, we’ll walk you step-by-step through each stage, ensuring a fun and successful crafting experience. Let's get started and create some enchanting spring-themed masterpieces!
Safety Guidelines
- Always supervise children when using sharp tools like scissors or craft knives. Adult assistance is crucial during cutting and assembling.
- Be mindful of small parts, particularly when making the pinwheels. Keep them away from young children who might put them in their mouths.
- Use a sturdy surface to work on to prevent accidental damage to your work surface or injury from dropped tools.
Methods: Creating Layered 3D Pinwheels
Tools Needed
- Pretty Pink Posh 3D Pinwheel Dies (large and small)
- 12x12 patterned paper (double-sided)
- Brad
- Poker tool
- Glue dots
- Optional: Felt flowers, buttons
Step-by-Step Instructions
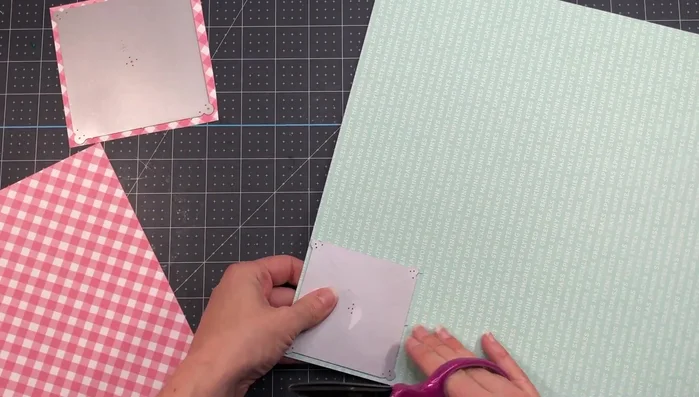
Prepare Patterned Paper
- Cut patterned paper to fit the die sizes.

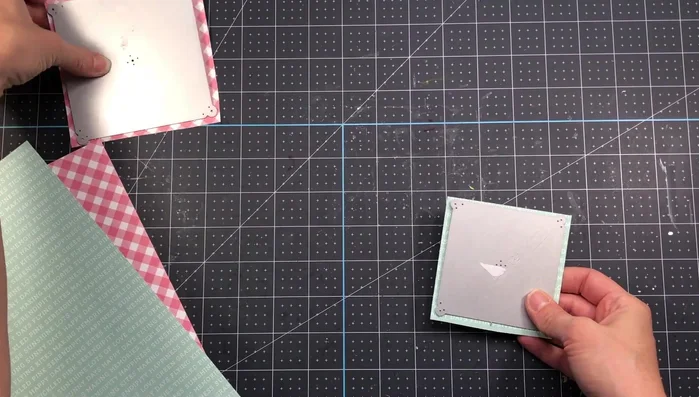
Prepare Patterned Paper Die Cut Pinwheels
- Run dies through die-cutting machine.
- Remove center part of die cuts that are not needed.
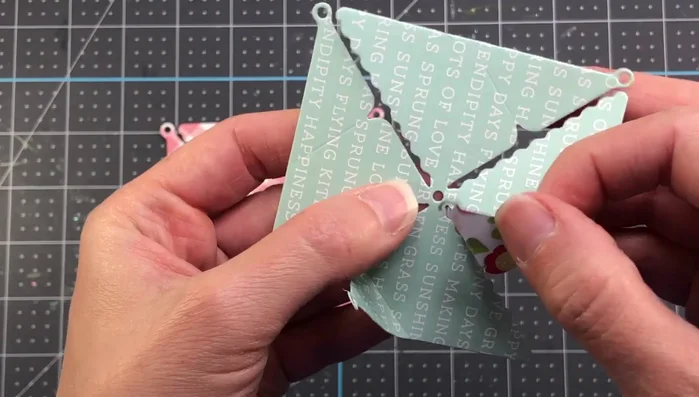
Die Cut Pinwheels Assemble Single-Layer Pinwheel
- Fold the score lines upward, aligning the circles.
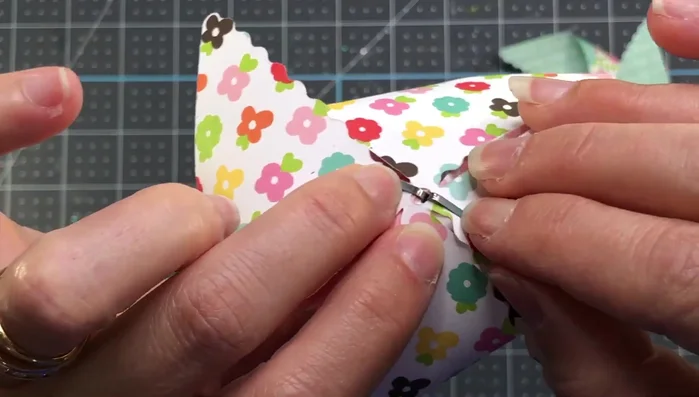
- Attach the brad to the first hole and then add all the folded panels to the brad.
- Push the brad through the center hole and secure it.
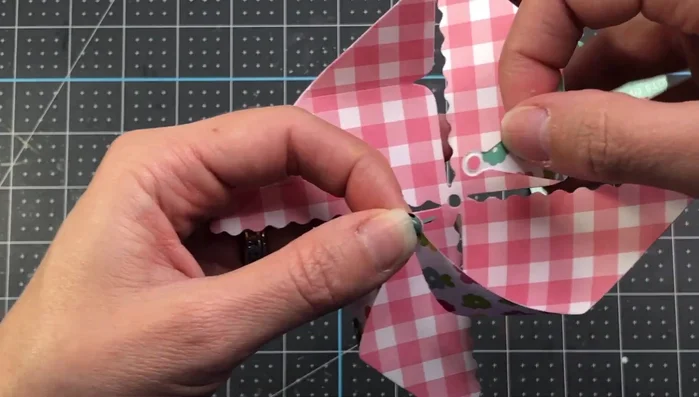
Assemble Single-Layer Pinwheel Assemble Layered Pinwheel
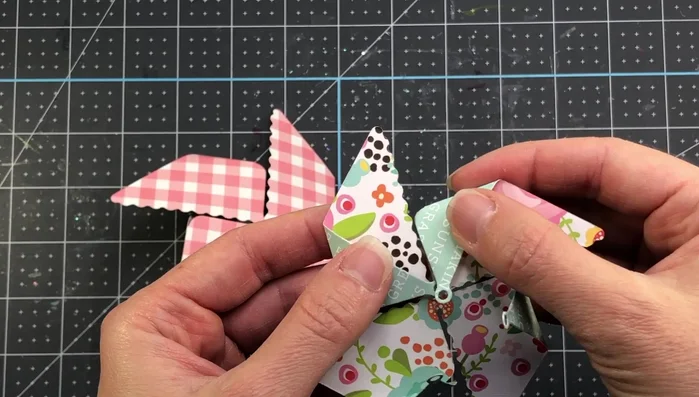
- For layered pinwheels, create a smaller and larger pinwheel as described above. Leave the brad of the smaller pinwheel open.
- Attach the smaller pinwheel to the flat side of the larger pinwheel, securing the brad through the center.
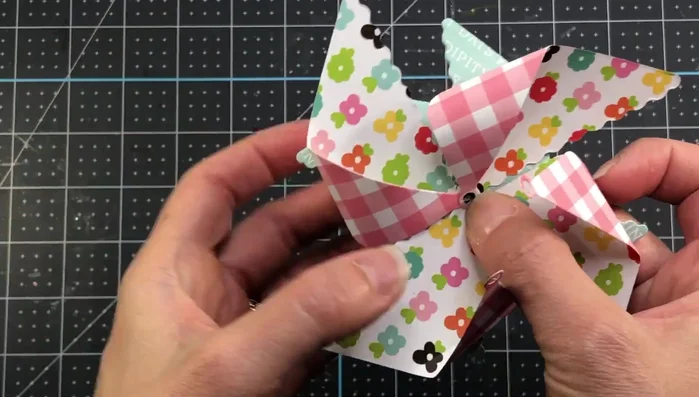
Assemble Layered Pinwheel Decorate Pinwheel
- Add embellishments to the center, such as felt flowers or buttons.
Decorate Pinwheel


Tips
- Use patterned paper with patterns on both sides for a more visually appealing result.
- You can layer the pinwheels to create a more dimensional look and showcase multiple patterns.
Methods: Creating a Pinwheel Scene Card
Tools Needed
- Pretty Pink Posh layered clouds stencil
- Tumbled glass and broken china distress oxide inks
- Scalloped border die
- Pretty Pink Posh flat pinwheel dies
- Patterned paper
- Green cardstock
- Pretty Pink Posh birthday script stamp set
- Ink
- Glue
- Flamingo Pearl
- Nature border die
- White cardstock
- A2 card base
Step-by-Step Instructions
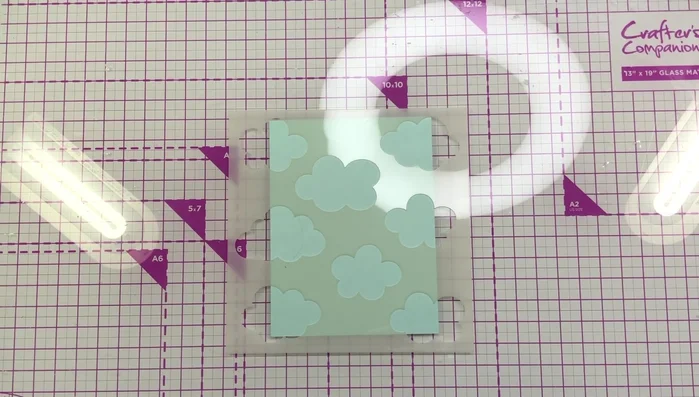
Prepare the Card Base
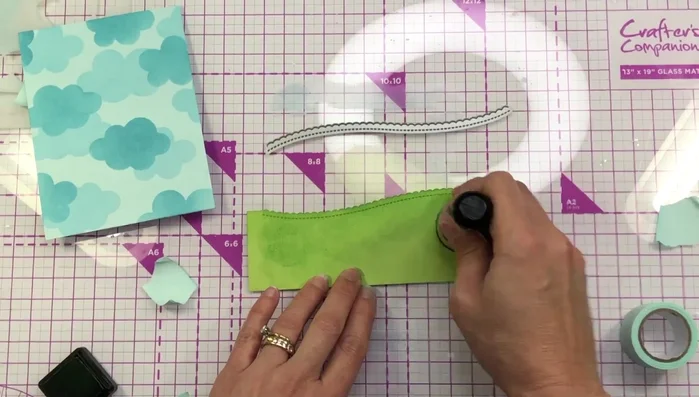
- Stencil clouds onto light blue cardstock using distress oxide inks.
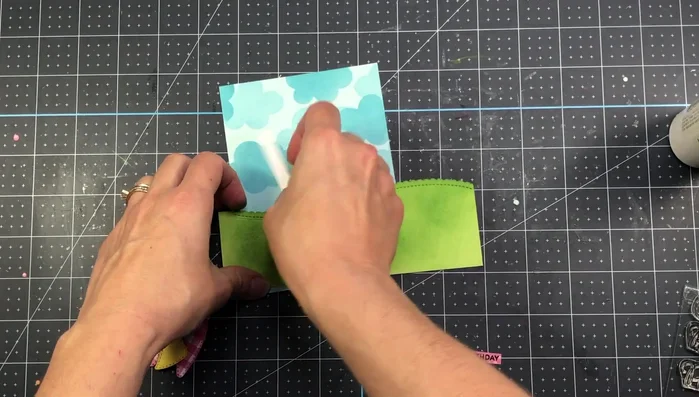
- Die cut a scalloped border from green cardstock and add ink for dimension.
Prepare the Card Base Create the Pinwheels
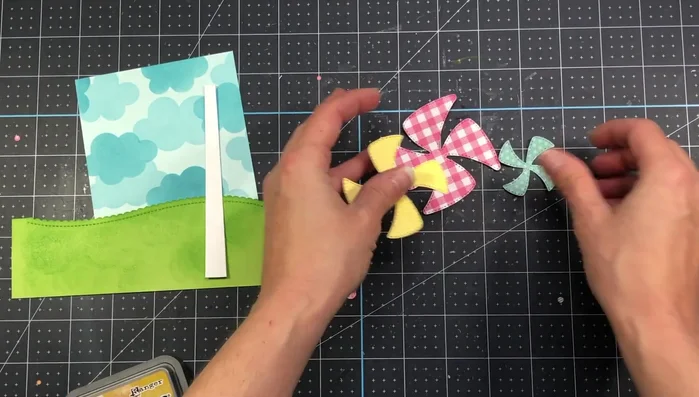
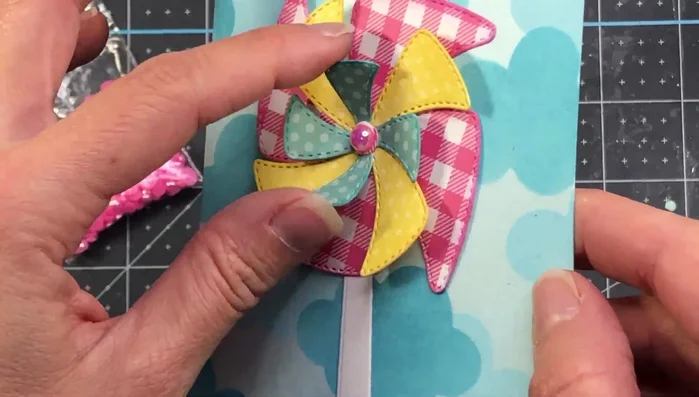
- Die cut pinwheels from patterned paper, adding ink to edges for depth.
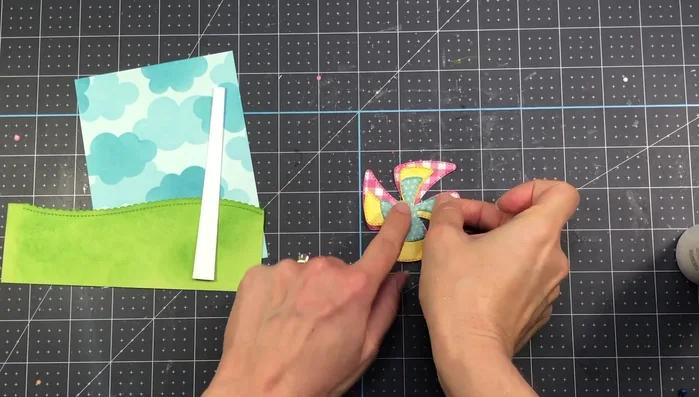
- Layer pinwheels and add a circle to the center.
Create the Pinwheels Prepare the Sentiment
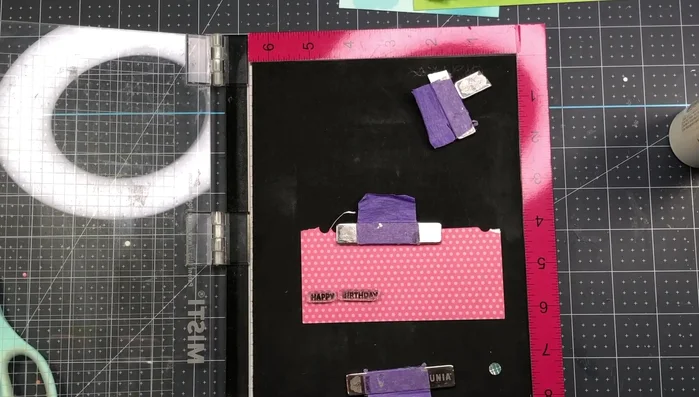
- Stamp and cut a sentiment.
Prepare the Sentiment Assemble the Scene
- Die cut a tree bark stand from white cardstock. Glue the stand to the card panel, adding the hillside border and pinwheel. Snip off excess.
- Add the sentiment and pearl. Attach the card layer to the patterned paper and then to the A2 card base.
Assemble the Scene
Tips
- Adding ink to the edges of the die cuts adds dimension and visual interest.
- Only glue down parts of the pinwheel to create a dimensional look on the card.
Read more: DIY 4 Stunning Handmade Christmas Gift Tags with Paper Quilling