Christmas is just around the corner, and what better way to add a personal touch to your gifts than with handcrafted gift tags? This year, ditch the generic store-bought options and embrace the charm of DIY! We'll be exploring the delightful art of paper quilling to create four stunning and unique Christmas gift tags, perfect for adding a sprinkle of handmade magic to your presents. Forget mass-produced monotony; these tags are a testament to thoughtful gifting, showcasing your creativity and care. The intricate designs are surprisingly easy to achieve, even for beginners.
This tutorial provides a simple and rewarding crafting experience, guiding you through each step of the process with clear instructions and helpful images. Get ready to unleash your inner artist and prepare to be amazed by the beautiful results! To learn exactly how to craft these four gorgeous paper quilled Christmas gift tags, follow our detailed step-by-step instructions below.
Safety Guidelines
- Always supervise children when using sharp tools like scissors or awls, especially during the paper cutting and quilling process.
- Be mindful of small quilling pieces; keep them away from small children to prevent choking hazards.
- Use non-toxic glues and paints suitable for crafting and avoid contact with eyes or skin. If contact occurs, rinse thoroughly with water.
Methods: Reindeer Gift Tag
Tools Needed
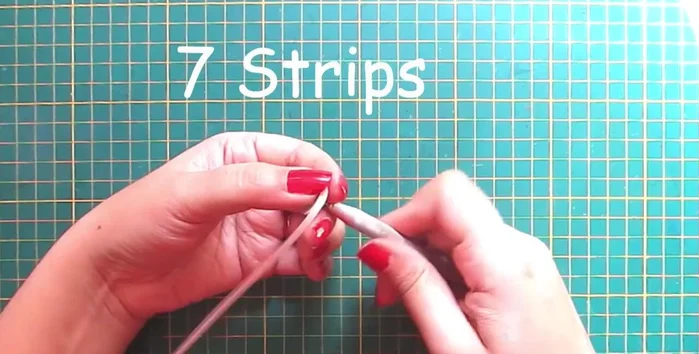
- multicolored 3mm quilling strips
- scissors
- googly eyes
- hole punch
- quilling tool
- black marker
- quilling mold
- liquid glue
- dark brown quilling strips
- golden quilling strips
- white cardstock (6.5 x 9 cm)
- green cardstock (7 x 9.5 cm)
- corner punch
- stencils
- ink/watercolors
- blending tool
- brown ribbon
Step-by-Step Instructions
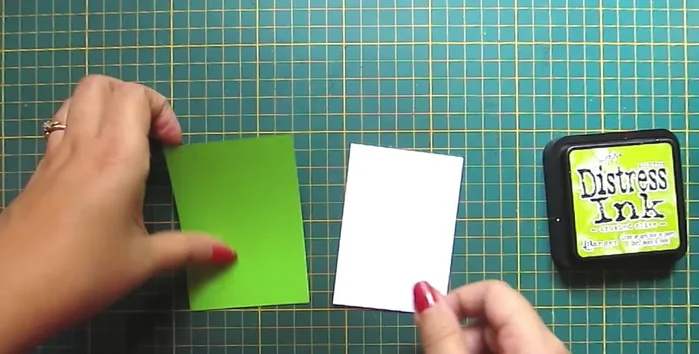
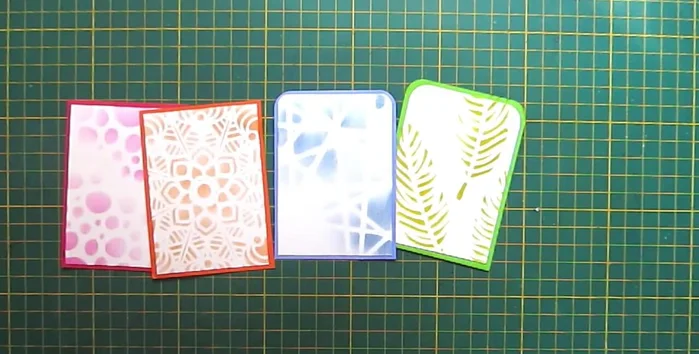
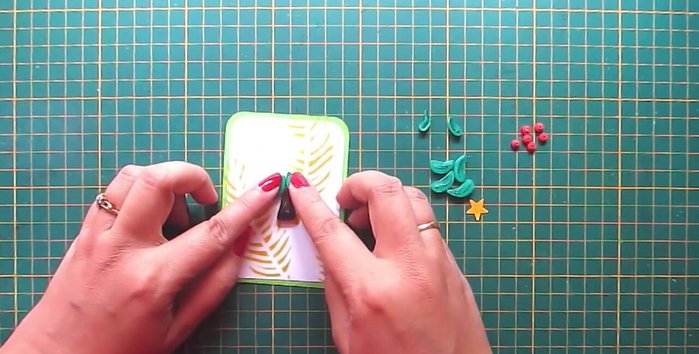
Prepare the Tag Base
- Cut and shape white and green cardstock, using corner punch and stencils with ink/watercolors.

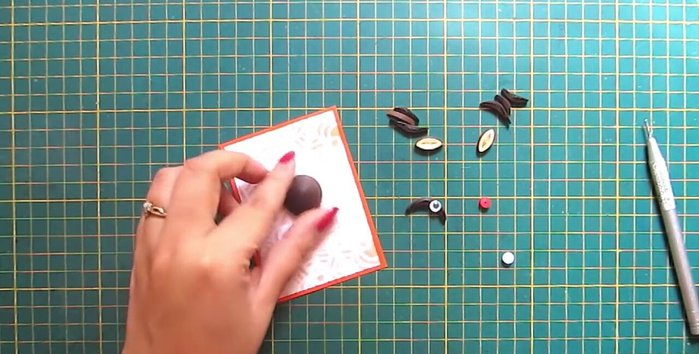
Prepare the Tag Base Create Reindeer Body
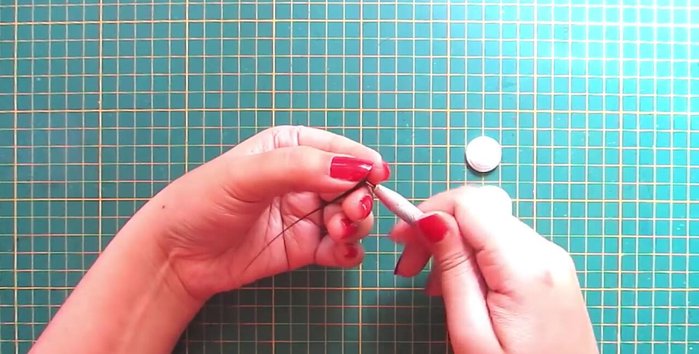
- Create the reindeer's body using a tied coil with eight dark brown strips. Shape it into a dome using a quilling mold.
Create Reindeer Body Create Reindeer Face and Legs
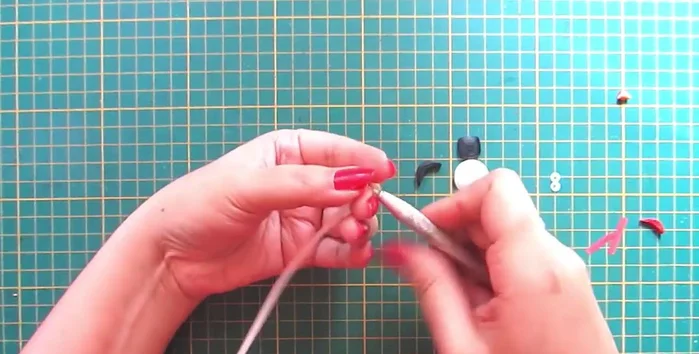
- Create a semicircle with a dark brown strip for the muzzle. Add a golden strip for detail.
Create Reindeer Face and Legs Create Reindeer Antlers
- Make thin, bended semicircles with dark brown strips.
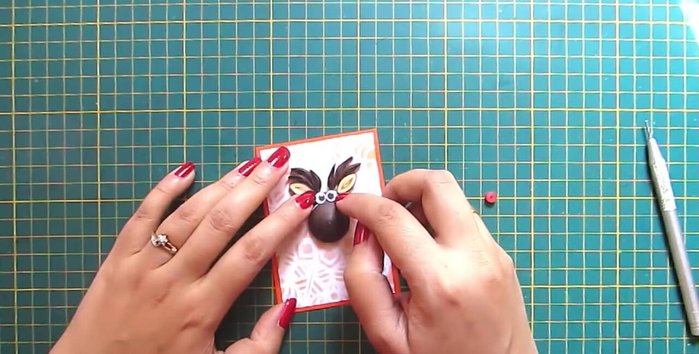
Create Reindeer Antlers Assemble the Reindeer
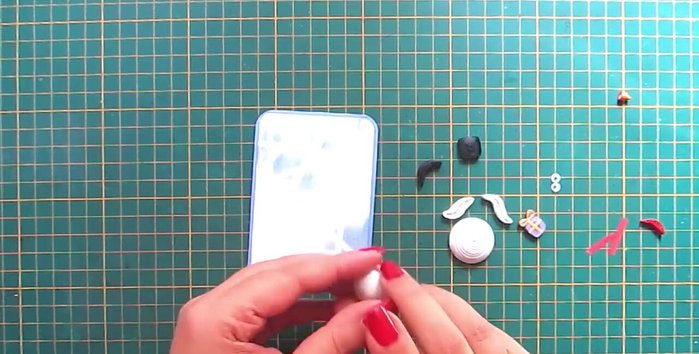
- Glue the body, face, antlers, and googly eyes onto the tag.
Assemble the Reindeer Add Finishing Touches
- Write 'Merry Christmas' and attach a ribbon.
Add Finishing Touches


Tips
- Use a quilling mold to create perfectly shaped domes.
- Let the ink or watercolors dry completely before assembling the tag.
Methods: Snowman Gift Tag
Tools Needed
- white quilling strips
- black quilling strips
- orange quilling strips
- googly eyes
- hole punch
- brown ribbon
- quilling mold
- liquid glue
- white cardstock (6.5 x 9 cm)
- green cardstock (7 x 9.5 cm)
- corner punch
- stencils
- ink/watercolors
- blending tool
- red quilling strips
Step-by-Step Instructions
Prepare the Tag Base
- same as reindeer tag.
Prepare the Tag Base Create Snowman Components
- Create the snowman's body and head using tight coils of white strips. Shape them into domes.
- Create a square shape with two black strips, and add a bended semicircle for the brim.
- Make leaf shapes with white strips for the hands and a cone with orange strip for the nose.
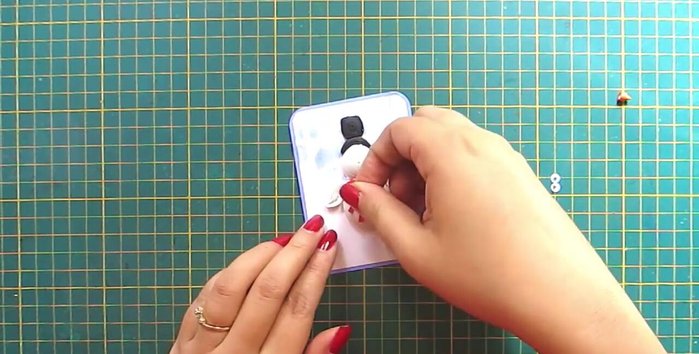
Create Snowman Components Assemble the Snowman
- Glue the body, head, hat, hands, nose, and googly eyes onto the tag.
Assemble the Snowman Add Finishing Touches
- Add a scarf and write 'Merry Christmas'. Attach a ribbon.
Add Finishing Touches
Tips
- Use a quilling mold to create perfectly shaped domes for snowman's body and head.
Methods: Christmas Tree Gift Tag
Tools Needed
- green quilling strips
- red quilling strips
- dark brown quilling strips
- star punch
- liquid glue
- quilling tool
- white cardstock (6.5 x 9 cm)
- green cardstock (7 x 9.5 cm)
- corner punch
- stencils
- ink/watercolors
- blending tool
- green ribbon
Step-by-Step Instructions
Prepare Tag Base
- same as reindeer tag.
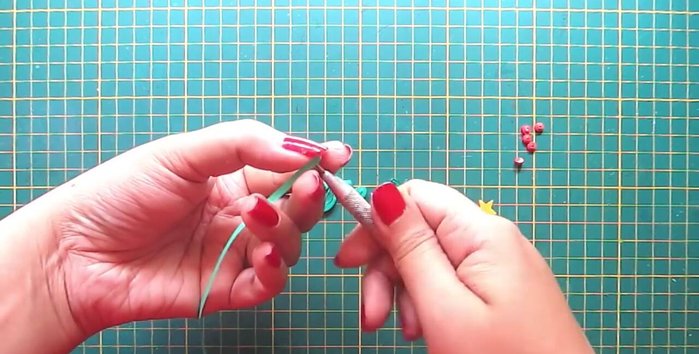
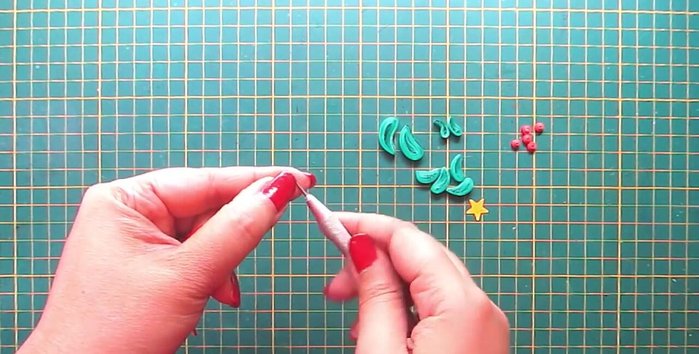
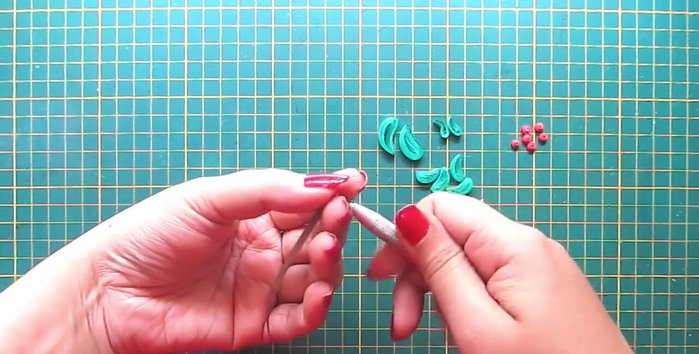
Prepare Tag Base Create Tree Components
- Make bended teardrop shapes with green strips in various sizes.
- Make tight coils with red strips and shape them into small domes.
- Make a triangle shape with a dark brown strip.
Create Tree Components Assemble the Tree Tag
- Glue the leaves, cherries, trunk, and star onto the tag.
Assemble the Tree Tag Add Finishing Touches
- Write 'Merry Christmas' and attach a ribbon.
Add Finishing Touches

Tips
- Use a star punch for a perfect star shape.
- Cut 3mm strips from the center to make thin strips for the cherries if you don't have 2mm strips.
Methods: Santa Claus Gift Tag
Tools Needed
- peach quilling strips
- white quilling strips
- red quilling strips
- googly eyes
- liquid glue
- quilling tool
- white cardstock (6.5 x 9 cm)
- green cardstock (7 x 9.5 cm)
- corner punch
- stencils
- ink/watercolors
- blending tool
- red ribbon
Step-by-Step Instructions
Prepare the Tag Base
- same as reindeer tag.
Prepare the Tag Base Create Santa's Face
- Make a large tight coil with peach strips.
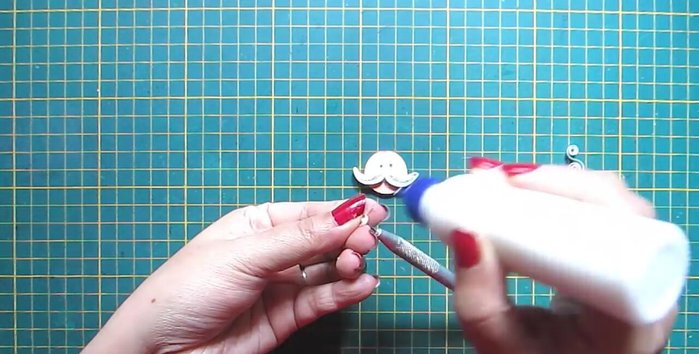
Create Santa's Face Create Santa's Mustache
- Make bended teardrop shapes with white strips.
Create Santa's Mustache Create Santa's Nose
- Make a small dome with a peach strip.
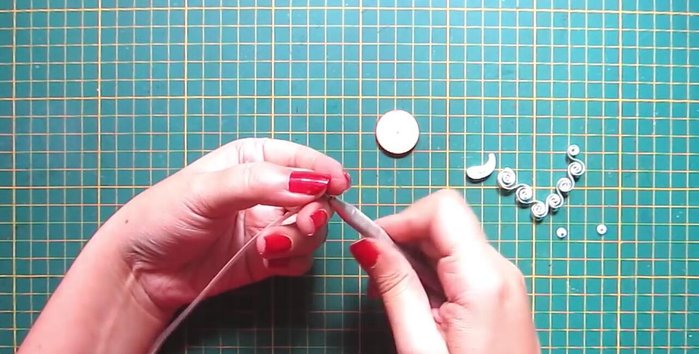
Create Santa's Nose Create Santa's Beard
- Make small, equal-interval scrolls with white strips.
Create Santa's Beard Create Santa's Hat
- Make a bended semicircle with a red strip and add a tight coil pom-pom.
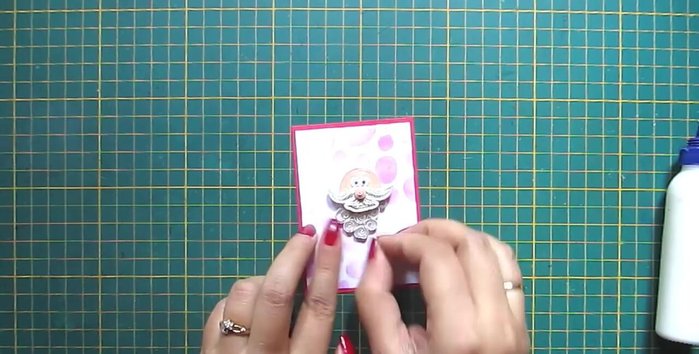
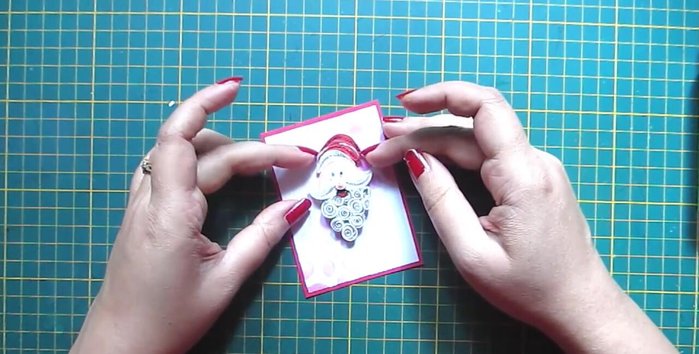
Assemble Santa Claus
- Glue the face, mustache, nose, beard, and hat onto the tag.
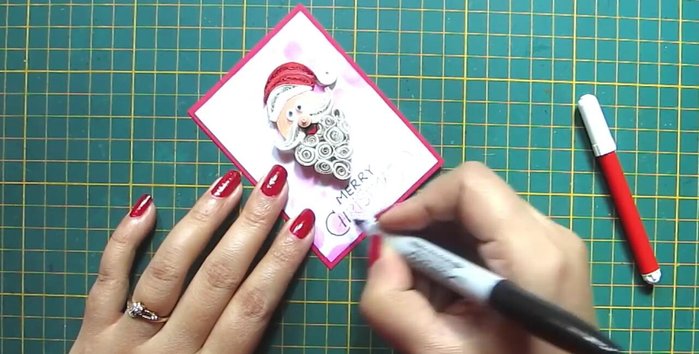
Assemble Santa Claus Add Finishing Touches
- Write 'Merry Christmas' and attach a ribbon.
Add Finishing Touches

Tips
- Use a quilling tool to create perfectly shaped scrolls for the beard.