Tired of cluttered countertops and disorganized utensils? A stylish and functional utensil holder can dramatically improve your kitchen's aesthetic and efficiency, but store-bought options can be expensive and lack personality. Why not create your own? This guide presents the fastest and easiest method for building a stunning, ten-sided utensil holder, perfect for adding a touch of modern design to your kitchen without breaking the bank or spending hours crafting. We'll utilize readily available materials and simple techniques, making this project accessible to even the most novice DIY enthusiast.
Forget complex patterns and intricate woodworking; this project focuses on speed and simplicity. We'll achieve a beautiful, geometric shape with minimal effort and maximum impact. Ready to transform your kitchen with this eye-catching, practical addition? Let's dive into the step-by-step instructions and create your very own DIY 10-sided utensil holder.
Preparation and Safety Guidelines
- Table saw
- Miter gauge
- Magnetic stop
- Paddle
- Router (optional)
- Sandpaper
- Wood glue
- Oil finish
- Band saw (or coping saw/jigsaw)
- Plywood
- Straight edge
- Painter's tape
- Digital angle gauge
- Always use caution when working with sharp objects like scissors or craft knives. Adult supervision is recommended, especially for younger crafters.
- Ensure the chosen adhesive is suitable for both the material of your chosen container and the intended use (contact with food/water). Allow adequate drying time before using the utensil holder.
- If using a recycled container, thoroughly clean and dry it before starting the project to prevent residue or bacteria from transferring to your utensils.
Step-by-Step Instructions
Cut Main Boards
- Cut the main boards to length using a table saw and miter gauge.

Cut Main Boards Cut Grooves for Base and Inlay
- Cut a groove on the bottom of each board to hold the plywood base. Use a table saw and fence, employing a paddle for safe, controlled cutting.
- Cut a shallower groove on the outside of each board for optional decorative inlay. Use a table saw and fence with the paddle for safety.
Cut Chamfers
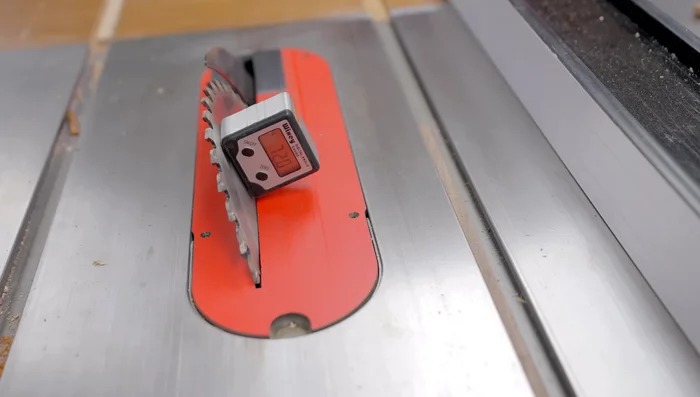
- Cut 45-degree chamfers along the top and bottom edges of each board using a table saw. Adjust the blade to 45 degrees and carefully cut small sections at a time.
Prepare Inlay
- Cut thin inlay strips to fit the grooves. Use a table saw with a magnetic stop, keeping the small piece on the outside of the blade for safety and precision.
Install Inlay
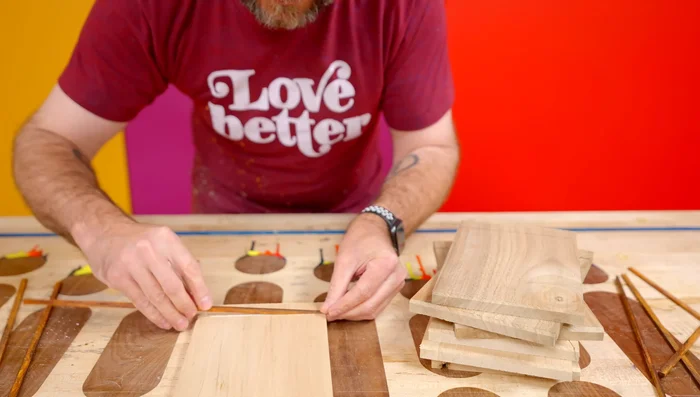
- Glue the inlay strips into the grooves and cut off the excess. Make sure one side is flush with the edge.
- Sand flush any inlay pieces that are sticking up.
Install Inlay Cut Side Pieces
- Rip thin strips for the sides at a 72-degree angle using a table saw. Use a digital angle gauge for accuracy, making incremental adjustments until a perfect fit is achieved.
Cut Side Pieces Assemble Sides and Base
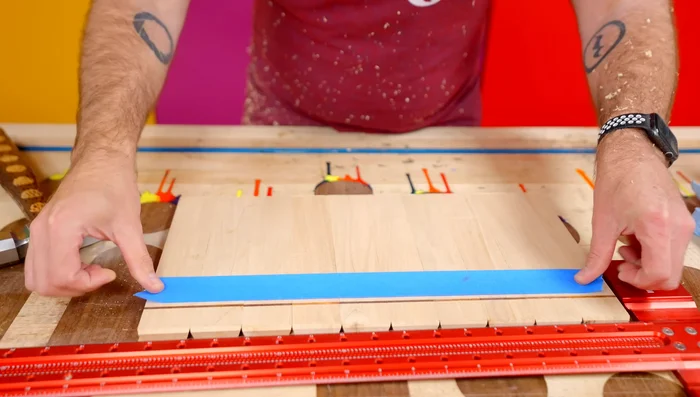
- Glue the sides together, using a straight edge and painter's tape to ensure alignment. Draw and cut the plywood base.
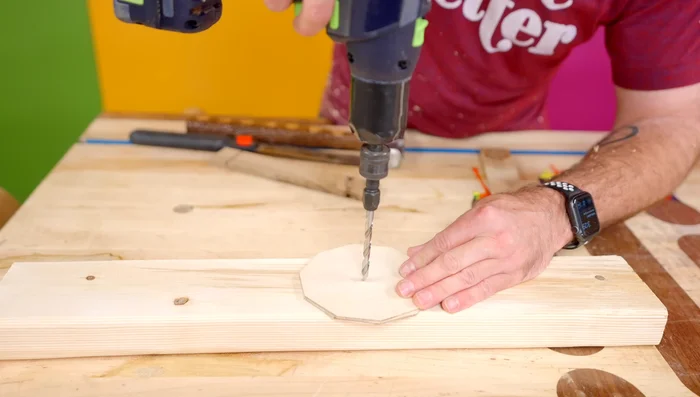
- Drill a drainage hole in the plywood base. Add glue to the base and insert into the holder.
Assemble Sides and Base Finishing Touches
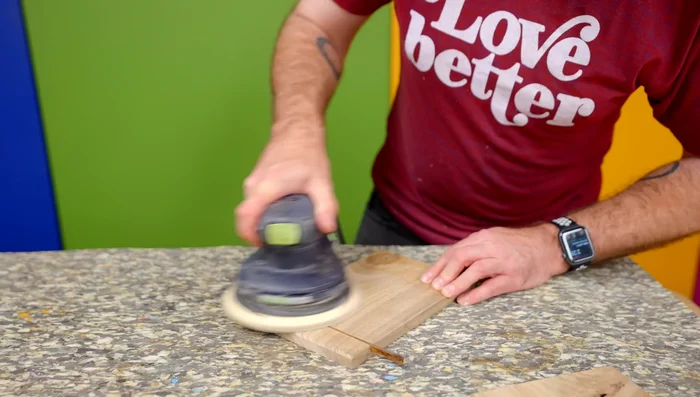
- Sand the finished holder, taking care to preserve the chamfers. Apply oil finish.

Read more: DIY: Create Custom Canister Labels with Silhouette Cameo
Tips
- Use a paddle to hold boards securely against the fence during table saw cuts for safety and consistency.
- When cutting small pieces on the table saw, place the small piece on the outside of the blade to prevent kickback and improve safety.
- Use a digital angle gauge for accurate angled cuts on the table saw for a precise fit.
- Use painter's tape to hold the sides together for a clean glue-up. Don't use too much glue.