Upcycling ordinary items into unique, personalized treasures is a rewarding craft, and today we'll be transforming a humble wooden Kleenex box into a decorative masterpiece using the delightful technique of decoupage. This simple yet elegant craft allows you to personalize your home décor with minimal cost and maximum creativity. Imagine adding a touch of vintage charm, a splash of vibrant color, or even incorporating cherished photos to create a truly bespoke piece. Decoupage offers endless possibilities, allowing you to express your individual style.
This project is perfect for beginners and seasoned crafters alike, providing a satisfying sense of accomplishment with relatively little effort. From selecting your paper and preparing the box to applying the final sealant, we will guide you through each step with clear instructions and helpful tips. Let's dive into the step-by-step process and discover the joy of creating your own decoupaged Kleenex box!
Preparation and Safety Guidelines
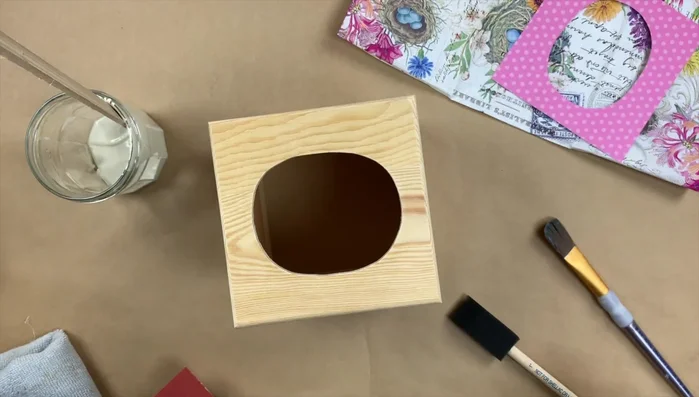
- Wooden Kleenex box
- Latex acrylic paint (white or light color)
- Scrap paper
- Spring pattern napkins
- Mod Podge (matte and high gloss)
- Plastic food wrap or saran wrap
- Sandpaper
- Clear acrylic sealer
- Always work in a well-ventilated area. Decoupage mediums and finishes can release fumes.
- Use caution when handling sharp craft tools like scissors or utility knives, especially when cutting paper or fabric.
- Allow ample drying time between coats of Mod Podge or other decoupage mediums to prevent warping or bubbling.
Step-by-Step Instructions
Prepare the Surface
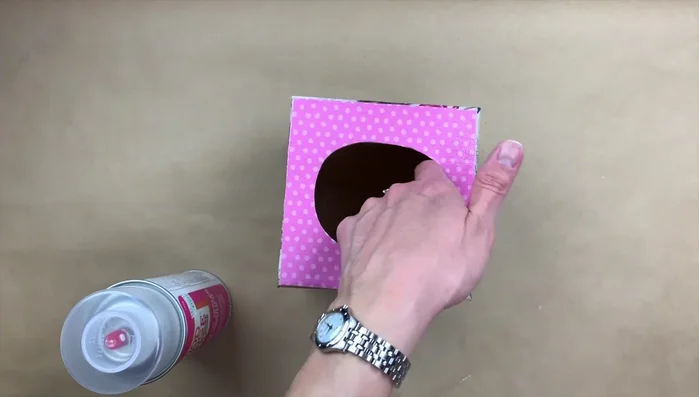
- Paint the wooden Kleenex box with a primer (latex acrylic paint) and let it dry overnight.
- Gently sand the box to smooth any rough edges.

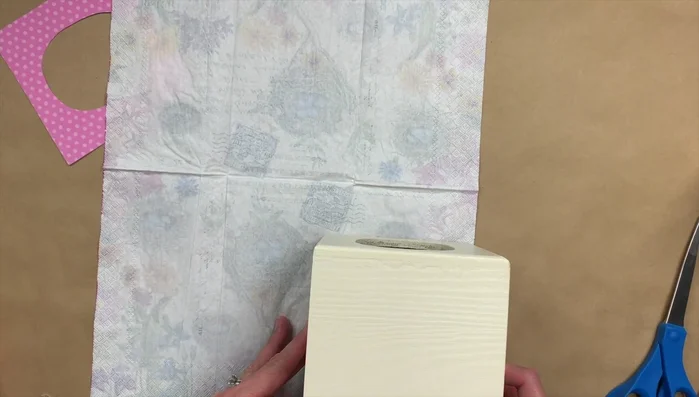
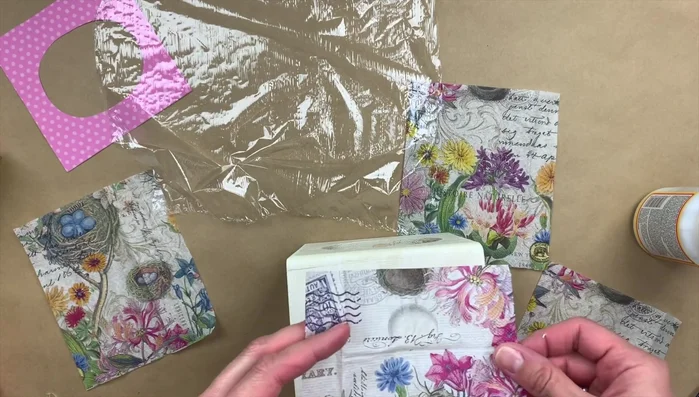
Prepare the Surface Prepare Napkins and Paper
- Prepare the napkins by separating the layers. Cut or tear them to fit the sides of the box.
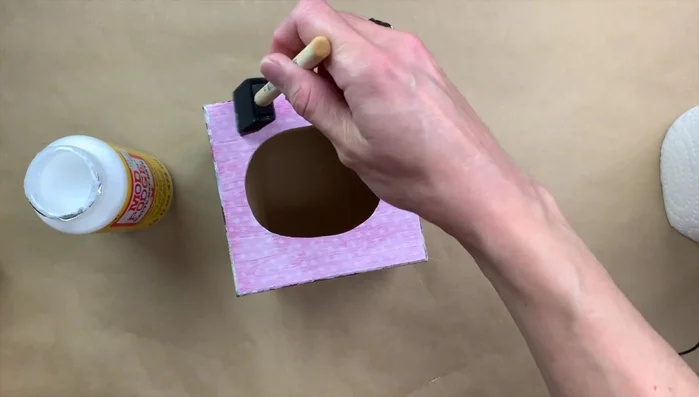
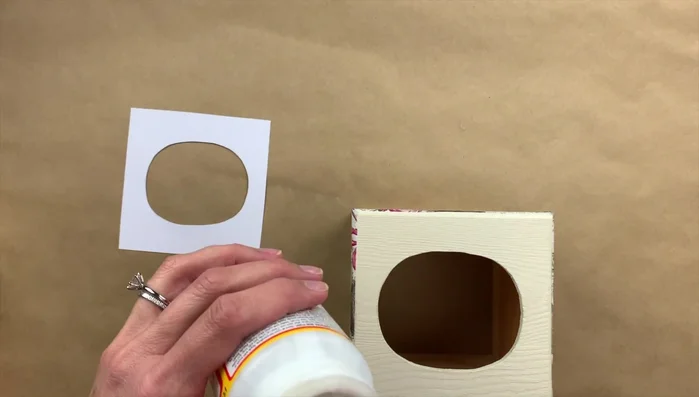
- Cut out scrapbook paper to fit the top of the box. Apply Mod Podge and attach the paper.
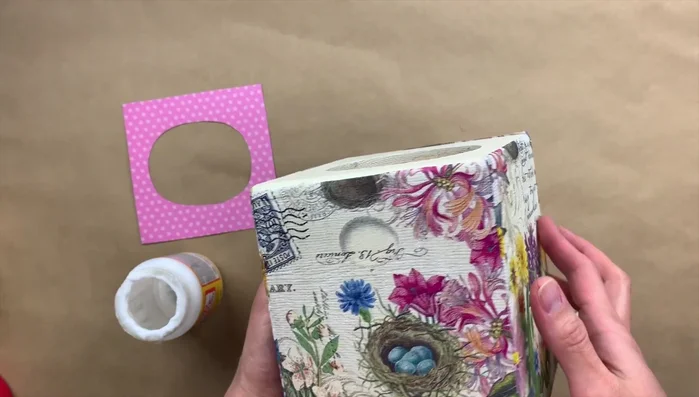
Prepare Napkins and Paper Decoupage the Sides
- Apply a layer of Mod Podge to a section of the box. Gently place the napkin piece, centering it as best as possible. Use plastic wrap to smooth out wrinkles and bubbles.
- Repeat step 3 for all four sides of the box. Allow each section to dry for 15-20 minutes before applying another layer of Mod Podge. It's best to do two adjacent sides, let them dry, then do the other two.
Decoupage the Sides Seal the Top
- Apply a top coat of Mod Podge to the scrapbook paper. Let it dry completely. It will appear white initially but will dry clear.
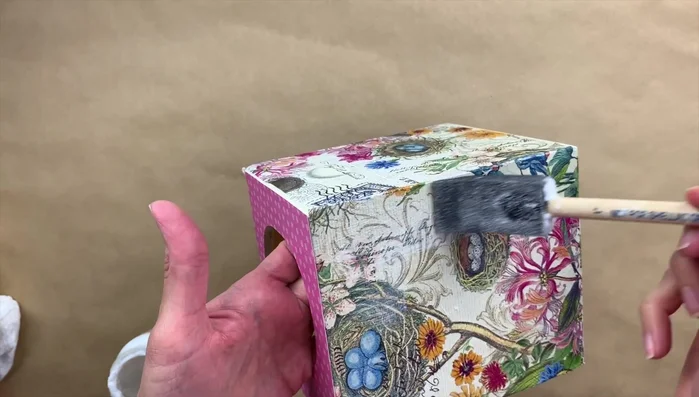
Seal the Entire Box
- Apply another coat of Mod Podge to all sides of the box to seal and protect the decoupage.
- Apply two coats of a clear acrylic sealer (Mod Podge Super High Shine) outdoors, allowing 10 minutes of drying time between coats.
Seal the Entire Box
Read more: DIY: Create Custom Canister Labels with Silhouette Cameo
Tips
- If the decoupage looks a little off or bumpy, that's okay; it adds to the shabby-chic design.
- Work on two adjacent sides at a time and let them dry to avoid sticking.
- Don't be alarmed if the Mod Podge looks white when first applied; it dries clear.
- Use light, quick brushstrokes when applying Mod Podge to prevent it from becoming too thick.