Ever dreamt of creating personalized glassware with intricate designs, but felt intimidated by traditional etching techniques? Forget messy acids and complicated tools! This guide reveals a surprisingly simple and effective method for achieving professional-looking etched glass using your Cricut machine and a readily available stencil. Say goodbye to frustrating imperfections and hello to stunning, customized pieces that will impress your friends and family – from elegant wine glasses to charming decorative jars, the possibilities are endless.
This revolutionary approach utilizes the precision of your Cricut to create perfect stencils, allowing for incredibly detailed etched designs. We’ll walk you through each step of the process, from designing your artwork in Cricut Design Space to achieving that crisp, professional etched finish. Ready to transform ordinary glass into extraordinary works of art? Let’s dive into the step-by-step guide and start etching!
Preparation and Safety Guidelines
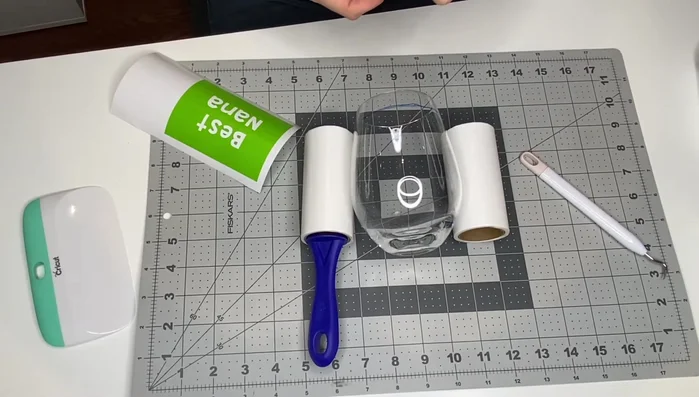
- Glass (stemless wine glass used in example)
- Etching cream (Armor Etch used in example)
- Paintbrush
- Vinyl
- Cricut Maker (or similar cutting machine)
- Design Space (or similar design software)
- Rubbing alcohol
- Dry erase marker
- Painter's tape
- Gloves
- Transfer tape
- Lint rollers (optional)
- Scraper or spatula (optional)
- Always wear safety glasses to protect your eyes from flying glass fragments or etching cream splashes.
- Work in a well-ventilated area. Etching cream produces fumes that can be harmful if inhaled. Consider using a respirator.
- Etching cream is corrosive. Wear gloves and avoid skin contact. Immediately rinse with plenty of water if contact occurs.
Step-by-Step Instructions
Design and Prepare Stencil
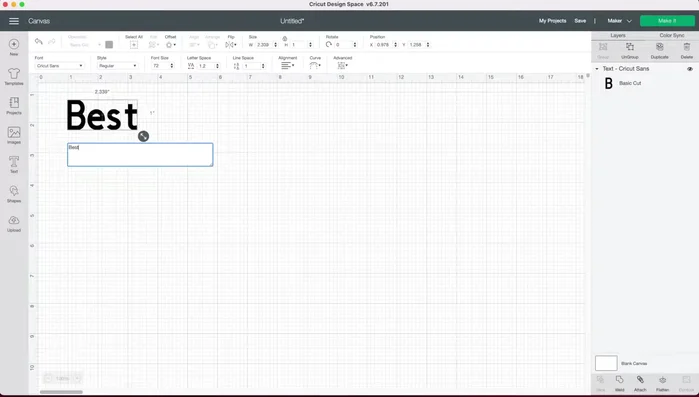
- Design your stencil in design software (e.g., Cricut Design Space). Choose your text, font, size (2.2 inches wide in example), and arrange elements.
- Create a square shape behind the text to create spacing when etching. Slice the shapes to create separate pieces for each word.

Design and Prepare Stencil Cut and Weed Vinyl
- Cut your design using your cutting machine. Weed away unnecessary vinyl.
Cut and Weed Vinyl Prepare the Glass
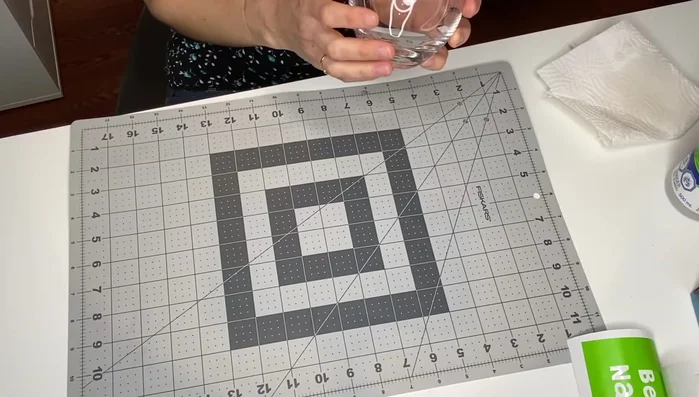
- Clean your glass with rubbing alcohol.
- Use a dry erase marker to trace the waterline on the glass to aid in stencil placement.
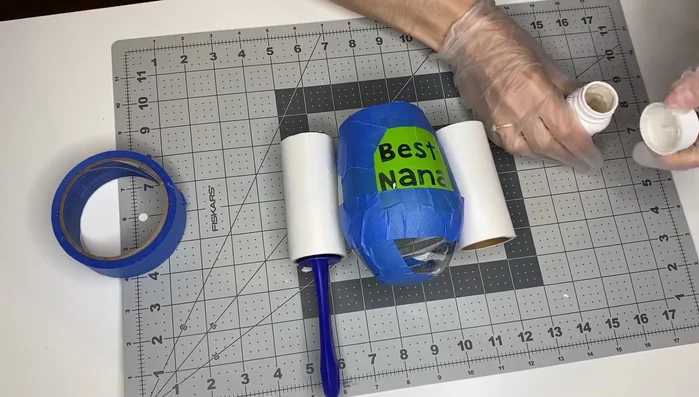
Prepare the Glass Apply Stencil to Glass
- Apply transfer tape to your design and then to the glass, ensuring it's smooth and bubble-free.
- Carefully peel away the backing of the transfer tape, leaving your vinyl stencil adhered to the glass.
- Apply painter's tape around your stencil to protect the rest of the glass.
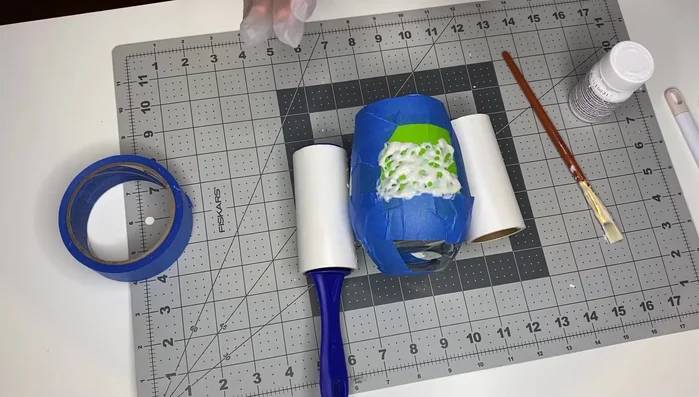
Apply Stencil to Glass Etch the Glass
- Apply etching cream using a paintbrush, ensuring full coverage of the exposed areas of the glass.
- Let the etching cream sit for 10 minutes. Then, scrape off excess cream and rinse thoroughly with water flowing away from the unprotected glass.
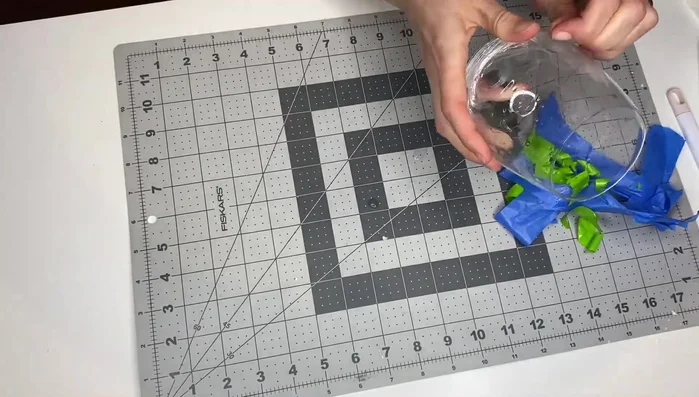
Etch the Glass Reveal Design
- Remove the tape and stencil to reveal your etched design.
Reveal Design


Read more: DIY: Create Custom Canister Labels with Silhouette Cameo
Tips
- Use a square to create space around your design, preventing accidental etching.
- Always peel the mat from the vinyl, not the vinyl from the mat.
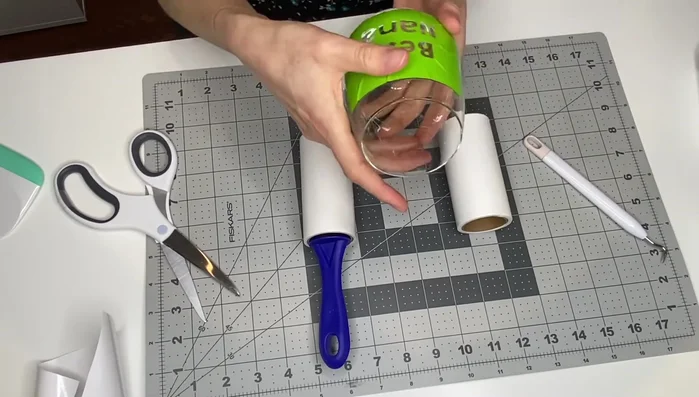
- Use a waterline to help with placement on curved surfaces.
- Use lint rollers to secure the glass while applying the stencil and etching cream.
- Make small slits in the sides of the stencil to aid in application on a curved surface.