Looking for a unique and personalized gift that’s both beautiful and surprisingly easy to make? Then look no further than etched glass! Forget generic store-bought presents; this DIY project allows you to create stunning, custom glassware, perfect for weddings, anniversaries, birthdays, or any special occasion. With the help of your Cricut machine, transforming plain glass into elegant, personalized pieces is simpler than you might think. The possibilities are endless – from delicate floral designs to bold monograms, you can create a truly bespoke gift that will be treasured for years to come.
Etching glass with your Cricut opens up a world of creative possibilities, and the process is surprisingly straightforward. This guide provides a detailed, step-by-step tutorial that will walk you through each stage, from designing your perfect etching stencil to achieving a professional-looking finish. Ready to create your own breathtaking etched glass masterpiece? Let's get started!
Preparation and Safety Guidelines
- Cricut Machine
- Permanent Adhesive Vinyl (Starcraft HD recommended)
- Transfer Tape
- Armor Etch Etching Cream
- Popsicle Stick
- Baby Wipes
- Isopropyl Alcohol
- Coffee Filter
- Painter's Tape
- Always wear safety glasses to protect your eyes from flying glass shards or etching cream splashes.
- Work in a well-ventilated area. Etching cream produces fumes that can be harmful if inhaled.
- Use gloves when handling etching cream. It's corrosive and can irritate or burn skin.
Step-by-Step Instructions
Design and Prep
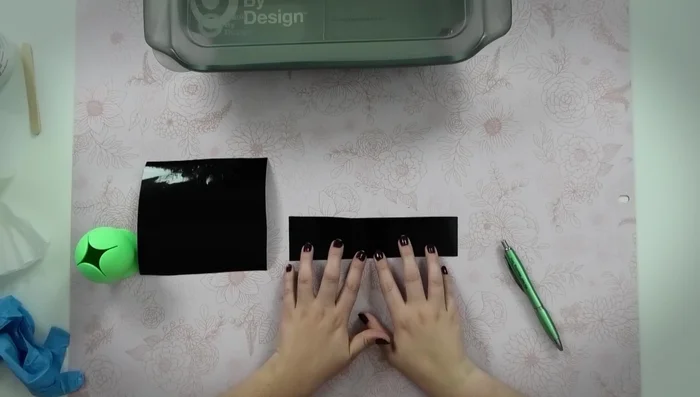
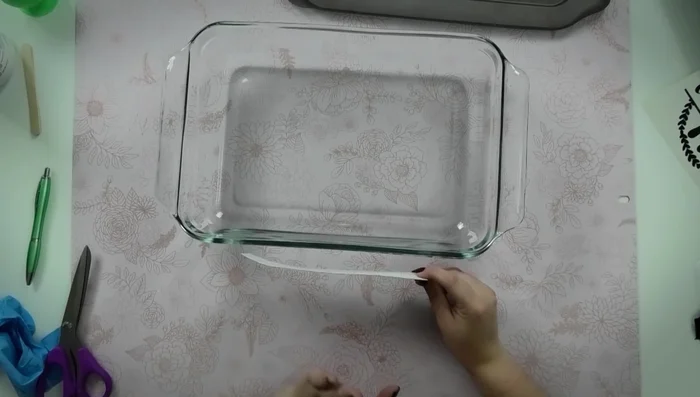
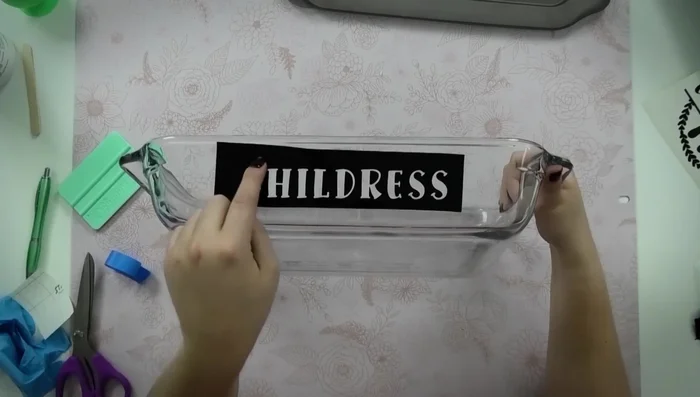
- Prepare your design in Cricut Design Space. Choose a simple, easy-to-read font for best results, especially for side etching.
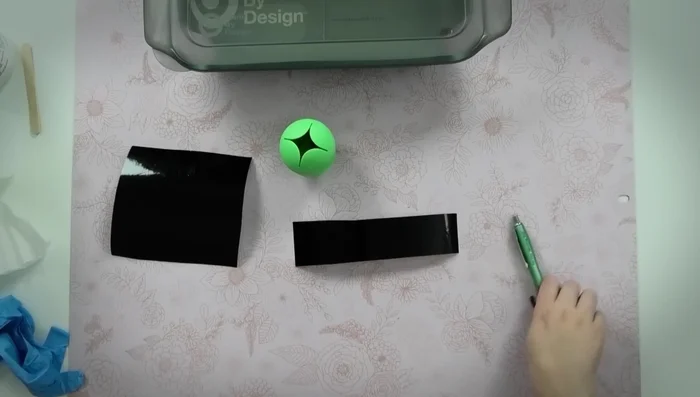
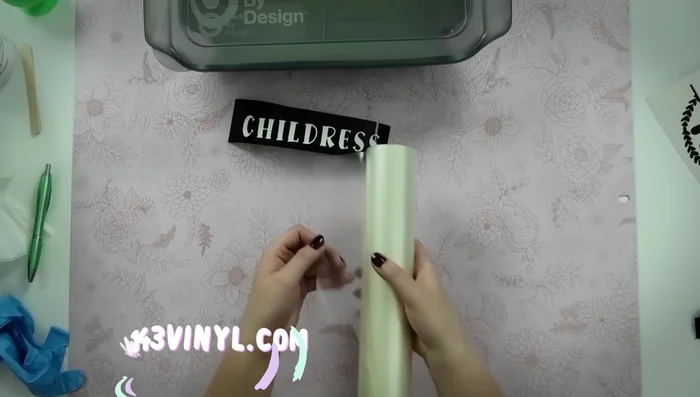
- Weed the stencil for etching (reverse weeding). Remove the parts of the vinyl you'd normally keep.
- Apply transfer tape to the weeded stencil.

Design and Prep Prepare the Glass
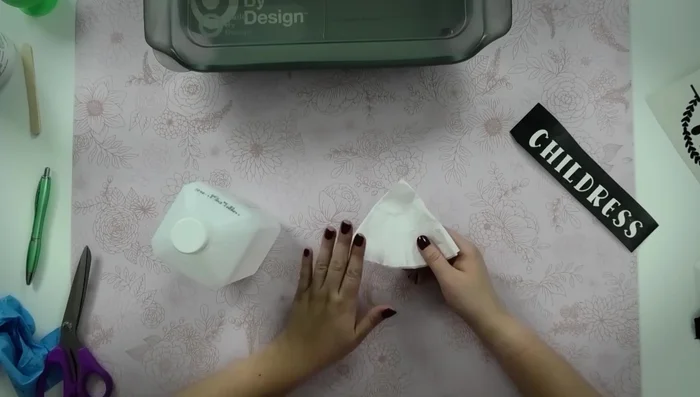
- Clean the glass surface with isopropyl alcohol and a coffee filter to remove dust or residue.
Prepare the Glass Apply Stencil to Glass
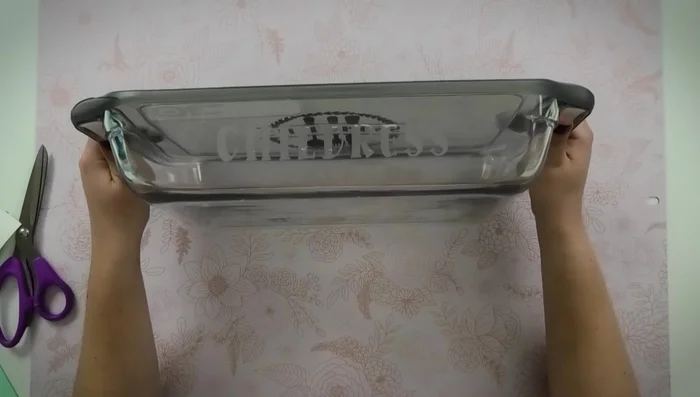
- Use the hinge method to apply the stencil to the side of the casserole dish. Secure with painter's tape to ensure straight application.
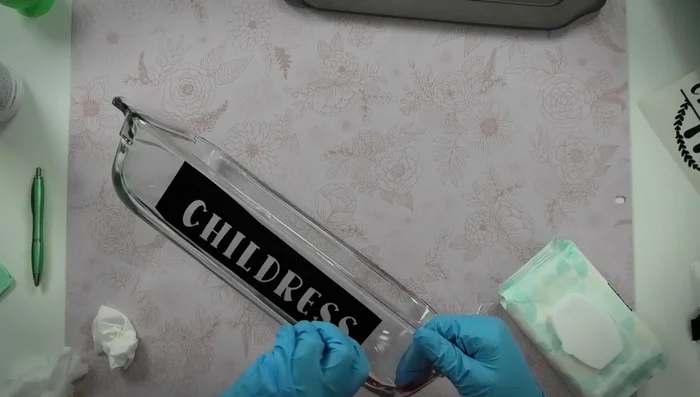
Apply Stencil to Glass Etch the Glass
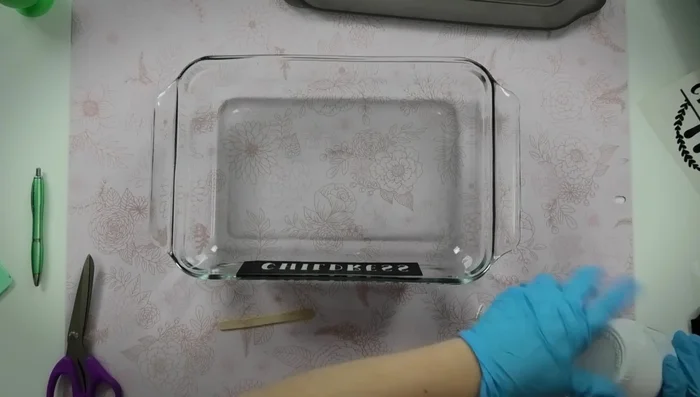
- Apply Armor Etch etching cream with a popsicle stick, ensuring a thin to medium layer covers the stencil completely. Avoid drips.
- Let the etching cream sit for 15 minutes.
- Remove excess etching cream with a popsicle stick and return it to the jar.
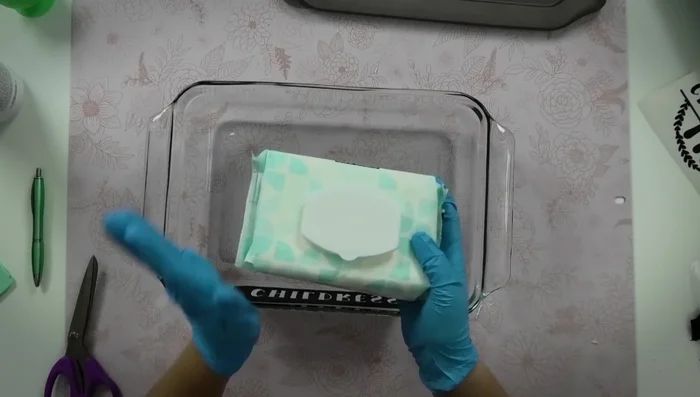
- Carefully wipe away remaining etching cream with baby wipes, avoiding excessive rubbing on the glass.
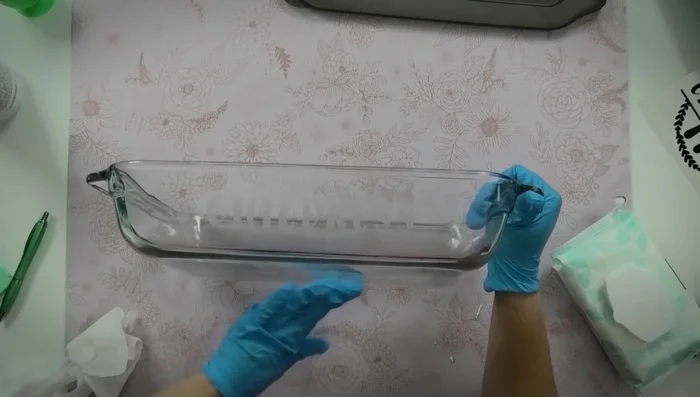
Etch the Glass Remove Stencil and Clean
- Peel away the vinyl stencil, using a pin tool for small details. Wipe with a baby wipe to remove any residue.
- Wash the etched area thoroughly with soap and water.
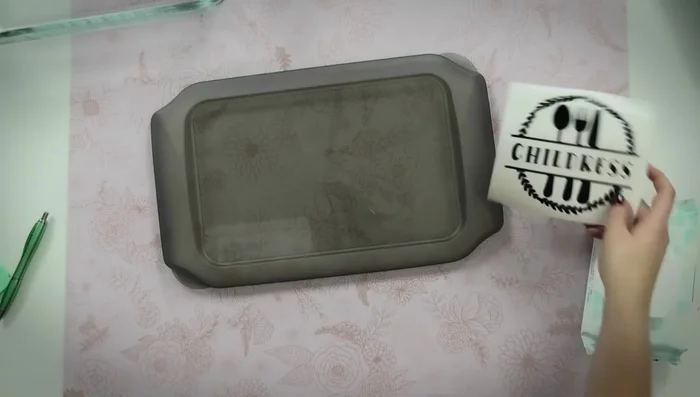
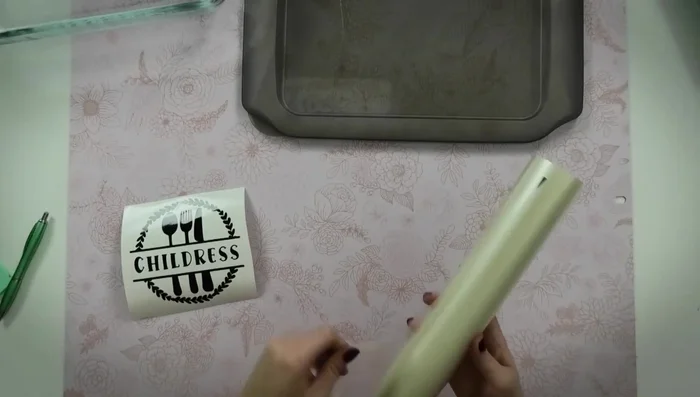
Remove Stencil and Clean Apply Lid Decal
- Weed the vinyl decal for the lid. Apply transfer tape.
- Apply the lid decal, burnishing to ensure adhesion.
- Remove the transfer tape.
Apply Lid Decal

Read more: DIY: Create Custom Canister Labels with Silhouette Cameo
Tips
- Use off-brand casserole dishes or dollar store glass items for practice.
- Avoid etching the bottom of the dish due to pre-existing markings.
- Choose simple, easy-to-read fonts for best etching results.
- Etching on the side of the dish makes it easier to identify.
- Adding adhesive vinyl to the lid makes it not dishwasher or microwave safe.