Add a touch of handmade elegance to your Christmas table this year with stunning DIY etched glass plates! Forget expensive store-bought decorations; this easy Cricut tutorial will guide you through creating personalized and beautifully etched glass plates perfect for festive gatherings or as unique, thoughtful gifts. Using readily available materials and a simple design process, you can transform plain glass plates into captivating works of art that will impress your family and friends. Imagine the possibilities – from intricate snowflakes and festive wreaths to personalized messages and family monograms.
This year, ditch the generic and embrace the charm of handcrafted decorations. The beauty of this project lies in its adaptability; you can easily adjust the design to match any Christmas theme or personal preference. Ready to get started on creating these breathtaking pieces? Let's dive into the step-by-step process to crafting your own DIY etched glass Christmas plates.
Preparation and Safety Guidelines
- Cricut Explore Air 2
- StandardGrip Mat
- Vinyl
- Transfer Tape
- Scraper Tool
- Glass Plates (Dollar Tree)
- Isopropyl Alcohol
- Cotton Pad
- Glass Etching Cream
- Popsicle Stick
- Painter's Tape
- Always use a well-ventilated area when working with etching cream. Fumes can be irritating to the lungs and eyes.
- Wear gloves and eye protection when applying etching cream to protect your skin and eyes from the corrosive chemicals.
- Etching cream is corrosive. Keep it away from children and pets, and follow all manufacturer's instructions carefully.
Step-by-Step Instructions
Prepare the Design
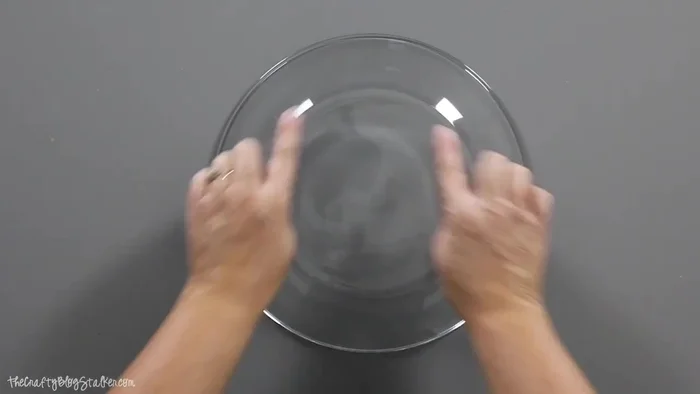
- Measure the flat back of your glass plate to determine the diameter for your Cricut design.
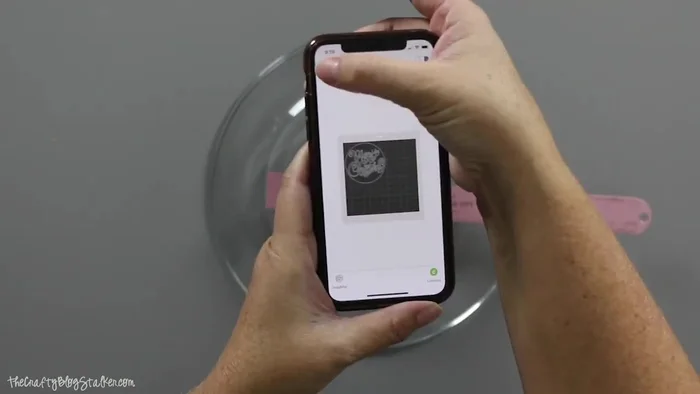
- Open Cricut Design Space, select your desired design (Merry Christmas in this tutorial), and adjust the size to match your plate's measurement.
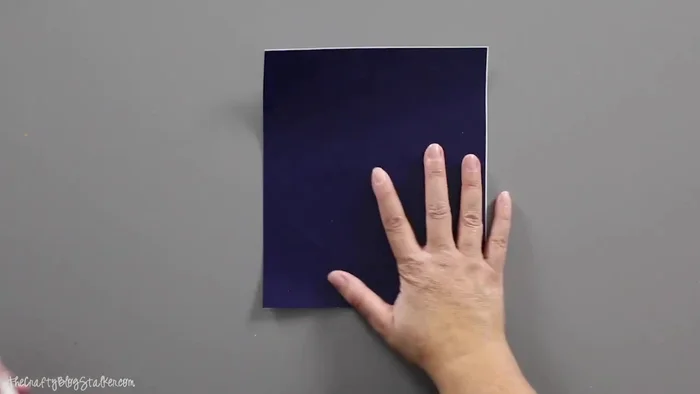
- Mirror your design before cutting. Cut the vinyl using your Cricut machine.

Prepare the Design Weed and Transfer
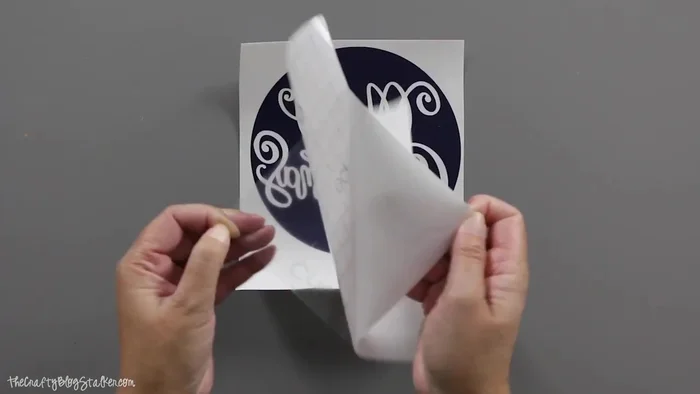
- Weed your design, removing the unwanted portions of the vinyl to create a stencil.
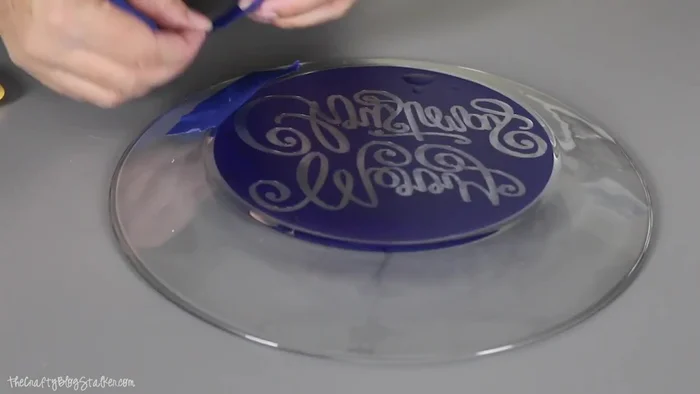
- Apply transfer tape to the weeded vinyl, then carefully transfer the design to the back of the cleaned glass plate.
Weed and Transfer Protect and Prepare the Plate
- Use painter's tape around the edges of your design to protect the glass from accidental etching.
Protect and Prepare the Plate Etch the Glass
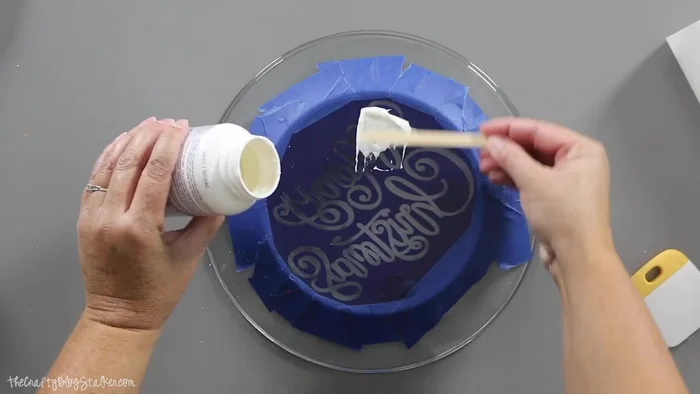
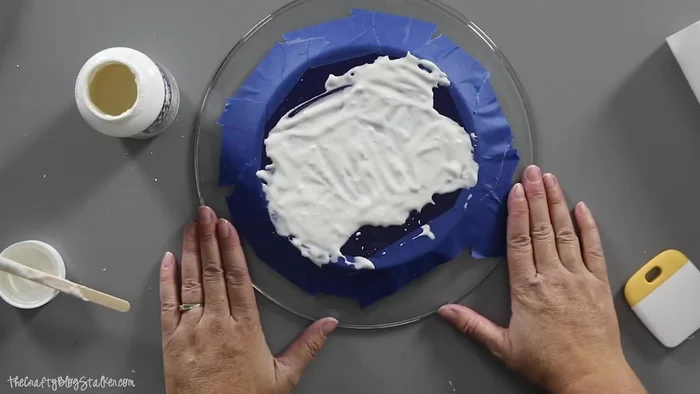
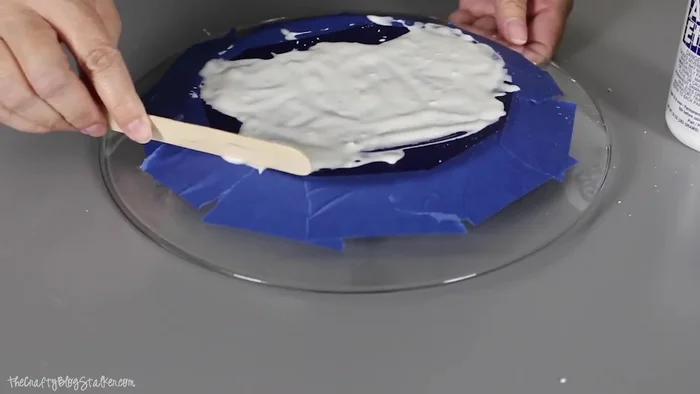
- Apply a thick layer of glass etching cream evenly over the vinyl stencil using a popsicle stick or brush.
- Let the etching cream sit for 15-20 minutes.
Etch the Glass Clean and Reveal
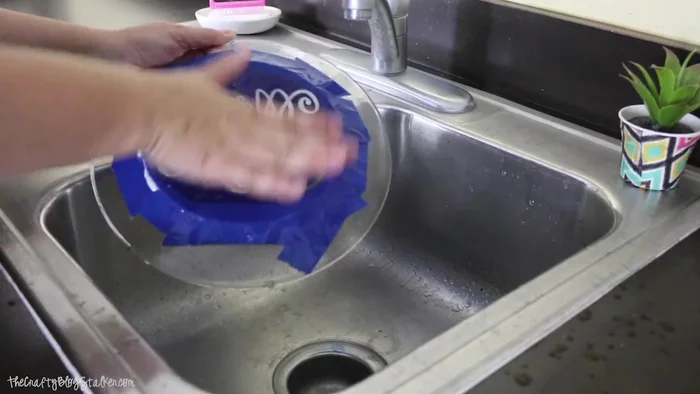
- Scrape off excess etching cream and rinse the plate with water. Remove the vinyl stencil.
- Dry the plate and admire your beautifully etched Christmas plate!
Clean and Reveal
Read more: DIY: Create Custom Canister Labels with Silhouette Cameo
Tips
- Clean the glass plate thoroughly with isopropyl alcohol before applying the vinyl to ensure proper adhesion.
- Use a Cricut light pad to help with weeding intricate designs.
- Mirroring your design is crucial when using vinyl as a stencil for etching on the back of the glass.
- Glass etching cream can be reused, so scrape off the excess and save it for later.
- Painter's tape is useful to protect areas of the glass close to the design from accidental etching.