Stepping into the world of custom picture framing can feel daunting, but the rewards – showcasing your cherished photos and artwork in exquisitely crafted frames – are immeasurable. Forget overpriced, mass-produced frames; this guide empowers you to create professional-looking picture frames from scratch, tailored perfectly to your individual taste and the specific artwork they'll hold. Whether you're a seasoned DIY enthusiast or a complete beginner, this guide provides everything you need to transform ordinary materials into stunning, bespoke picture frames.
We’ll delve into selecting the right materials, cutting them precisely, assembling the frame with meticulous care, and finally, achieving a flawless finish. This comprehensive tutorial will take you, step-by-step, through the entire process, equipping you with the skills and confidence to craft beautiful, long-lasting picture frames for years to come. Let's begin!
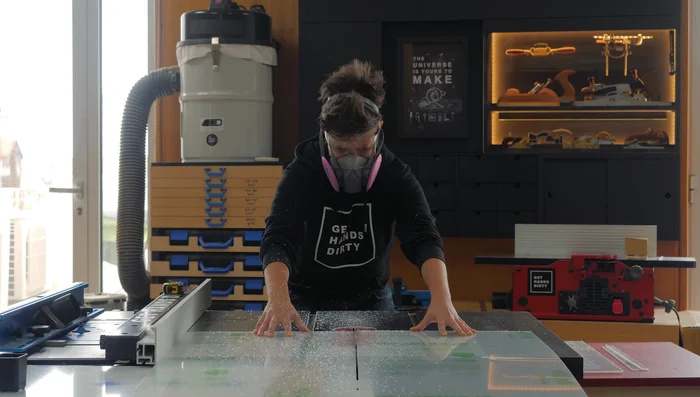
Preparation and Safety Guidelines
- Table saw
- Crosscut sled
- Thickness planer (optional)
- Glue
- Clamps
- Square
- V-nails (optional)
- Spline jig
- Flush trimming saw
- Sandpaper
- Finishes (paint, stain, etc.)
- Acrylic cutter
- Acid-free materials (foam core, double-sided tape, mounting board)
- Point driver
- Sawtooth hangers
- Silicone bumpers
- Always use safety glasses when cutting or working with sharp tools. Wood splinters and flying debris can cause serious eye injuries.
- Ensure adequate ventilation when using paints, stains, or adhesives. Many contain volatile organic compounds (VOCs) that can be harmful if inhaled.
- Use clamps to secure your project while gluing and ensure proper drying time before handling to prevent damage or injury.
Step-by-Step Instructions
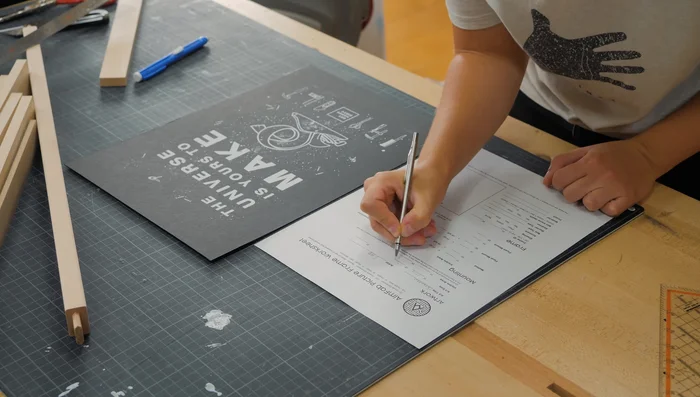
Planning and Preparation
- Measure artwork and choose frame type.

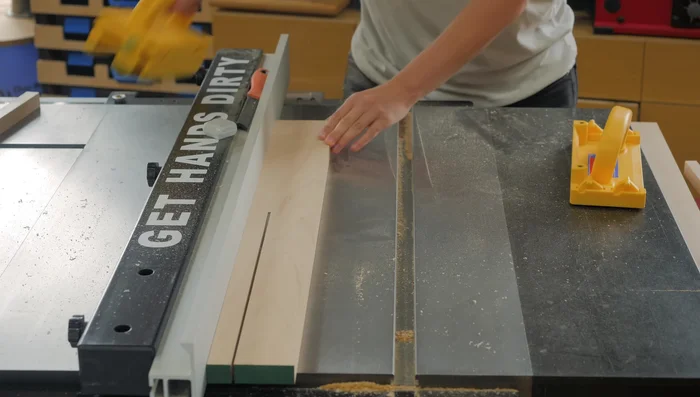
Planning and Preparation Wood Preparation and Cutting
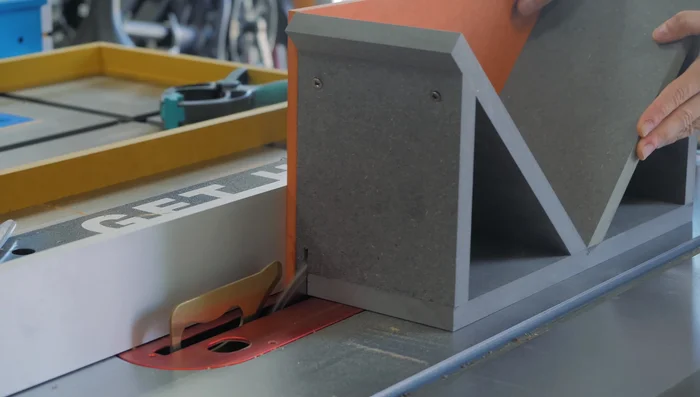
- square faces using a table saw.
- Cut the rabbits (grooves) using the table saw.
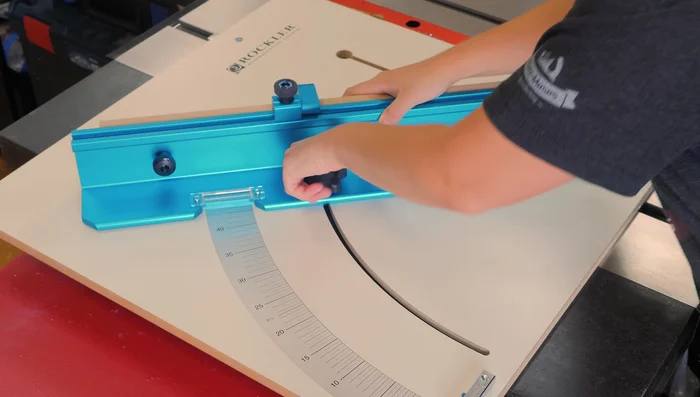
- Cut miters at 45 degrees using a crosscut sled.
Wood Preparation and Cutting Frame Assembly and Reinforcement
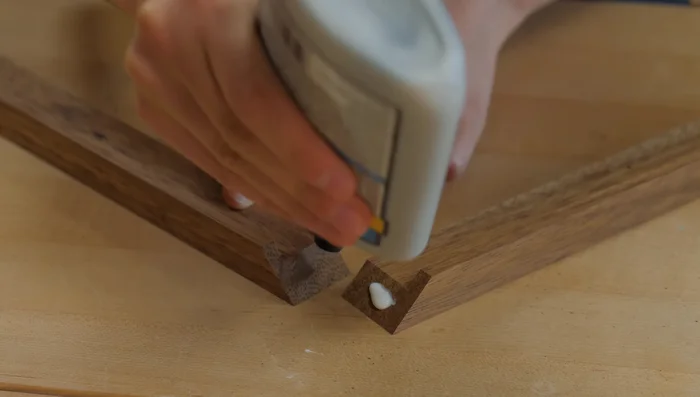
- Apply glue to miters, hand-press firmly, hold with a square for 15 seconds. Glue two pieces at a time, let sit 5 minutes before closing rectangles.
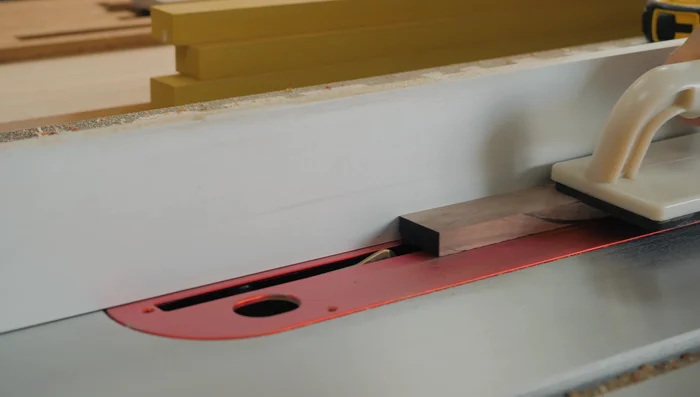
- Reinforce miters with splines using a spline jig and table saw.
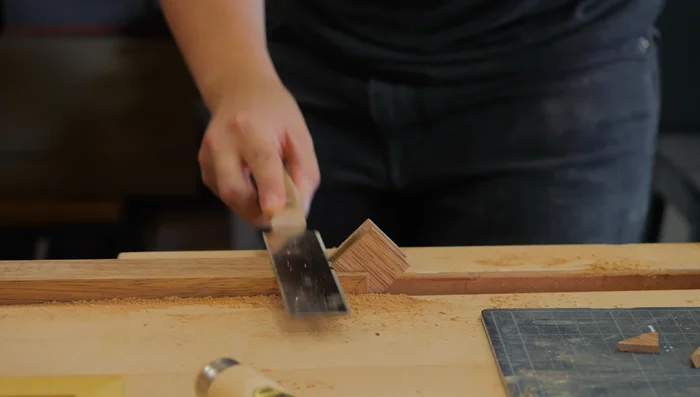
- Trim splines flush with a flush trimming saw and sand.
Frame Assembly and Reinforcement Finishing the Frame
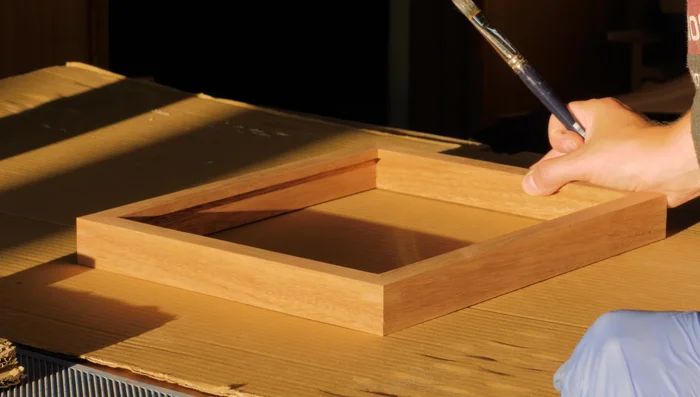
- Apply finishes (paint, stain, or clear coat).
Finishing the Frame Preparing the Artwork Protection
- Cut acrylic to size using a specialized acrylic cutting blade.
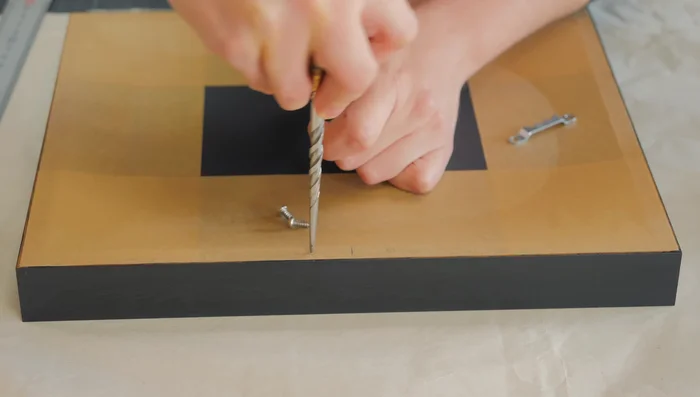
Preparing the Artwork Protection Final Assembly and Hanger Installation
- Use acid-free materials, secure contents with a point driver.
- Install sawtooth hangers and silicone bumpers.
Final Assembly and Hanger Installation

Read more: DIY: Create Custom Canister Labels with Silhouette Cameo
Tips
- Use a worksheet to plan frame dimensions.
- For painted frames, choose wood with an open pore to show wood grain.
- A crosscut sled with a protractor ensures accurate miter cuts.
- Use a start block for consistent piece lengths.
- For simple glue-up, use tight-fitting miters, quick-drying glue, and hand pressure.