Floral cards are a timeless classic, always appreciated for their elegance and delicate beauty. But crafting intricate floral designs can often seem daunting, requiring multiple layers and advanced techniques. This tutorial changes all that! We'll guide you through creating a stunning, single-layer floral vase card using the beautiful Altenew products, proving that exquisite results are achievable even with a minimalist approach. The design is surprisingly simple to replicate, perfect for both beginners and seasoned crafters alike looking for a quick yet impressive project.
Forget fussy layering and complex embellishments; this one-layer wonder showcases the power of strategic coloring and clever design to achieve a breathtakingly realistic floral arrangement. Prepare to be amazed by how much depth and dimension can be achieved with just a single cardstock layer. Let's dive into the step-by-step process and create this beautiful one-layer floral vase card together!
Preparation and Safety Guidelines
- Altenew Versatile Vases stamp set
- Altenew coordinating die set (optional)
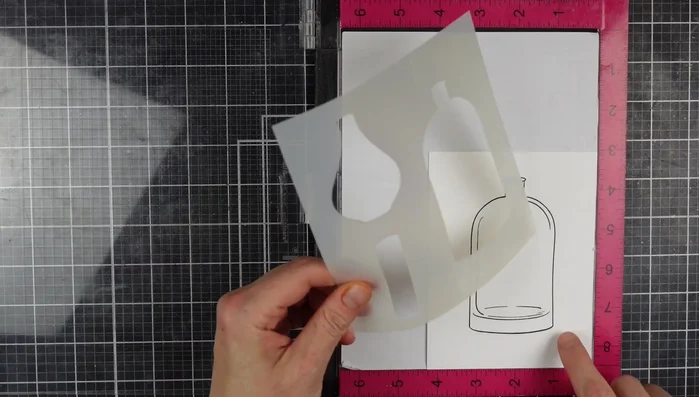
- Altenew mask stencil set
- Obsidian pigment ink
- Artist markers (e.g., Altenew Builder Garden Nature's Magic)
- Permanent black ink
- Misti stamping tool
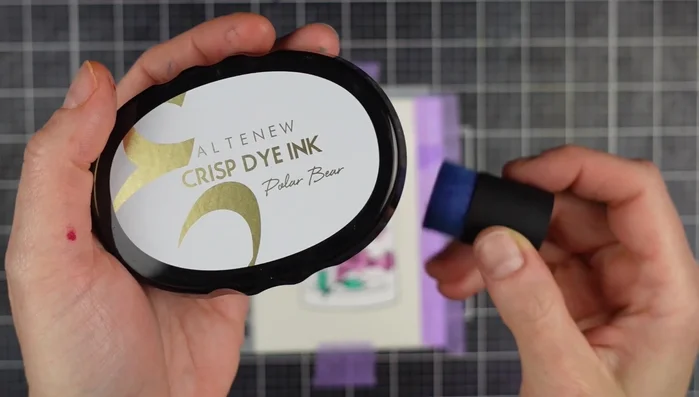
- Pale blue Crisp Dye Ink (Polar Bear)
- Blending tool
- Iridescent metallic Shimmer ink spray
- Rose gold Crisp embossing powder
- Embossing ink
- Powder tool
- Heat tool
- Nuvo Crystal Glaze
- Antique gold metallic Shimmer spray (optional)
- Notecard
- Always use a heat-resistant surface when heat embossing to prevent damage to your work surface.
- If using water-based inks or paints, allow ample drying time before handling to prevent smudging or color transfer.
- Exercise caution when using sharp tools like scissors or craft knives. Always cut away from yourself and keep tools out of reach of children.
Step-by-Step Instructions
Prepare the Vase
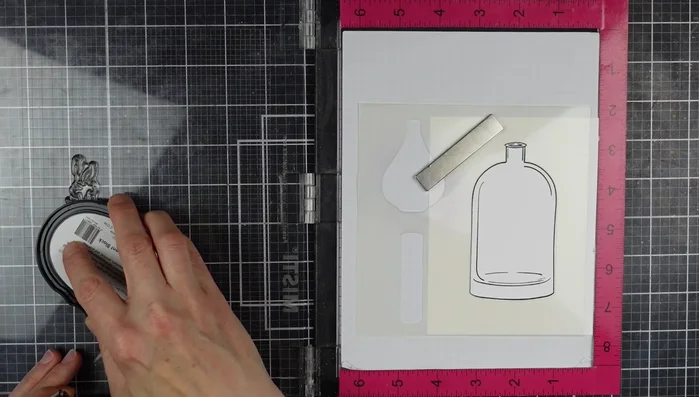
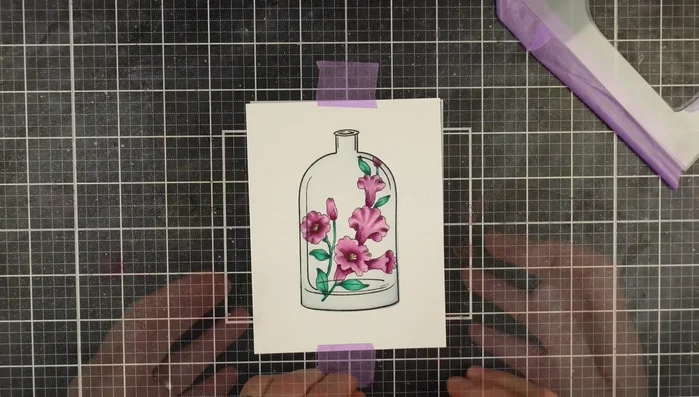
- Stamp the large vase from the Altenew Versatile Vases stamp set using obsidian pigment ink onto cardstock. This creates a solid black outline.
- Position the negative mask of the floral stencil over the stamped vase, securing it with the Misti. Stamp the floral image using permanent black ink to prevent ink smearing.

Prepare the Vase Color the Flowers
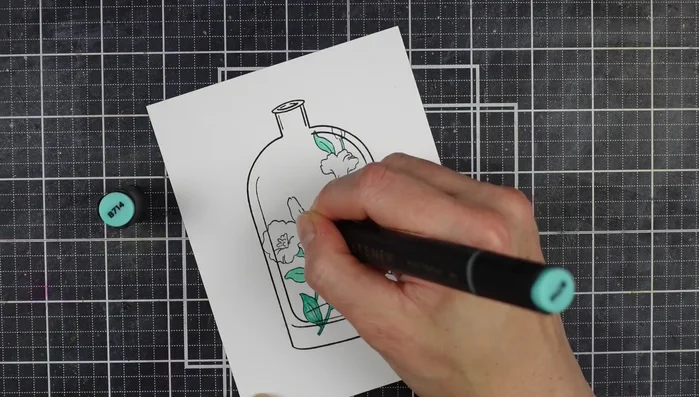
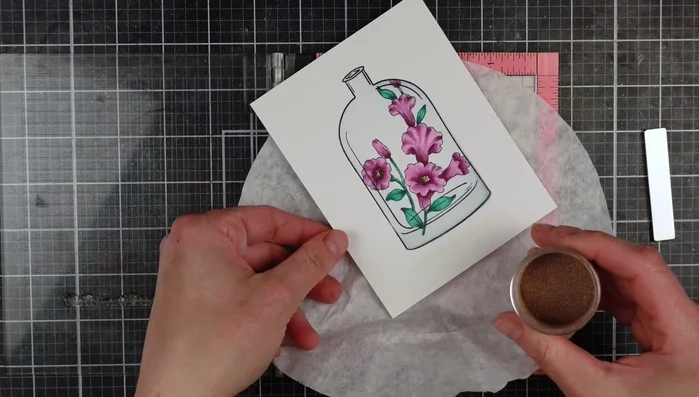
- Color the floral image using artist markers. Begin with lighter shades, blending and layering to create depth and dimension. Add darker shades to create shadows.
Color the Flowers Add Vase Depth and Highlights
- Use the vase stencil again to add depth to the vase. Apply a very pale blue dye ink around the edges, blending towards the center and darkening it towards the bottom to simulate glass thickness.
- Spray iridescent shimmer ink onto the masked vase for a glassy effect.
Add Vase Depth and Highlights Add Sentiment
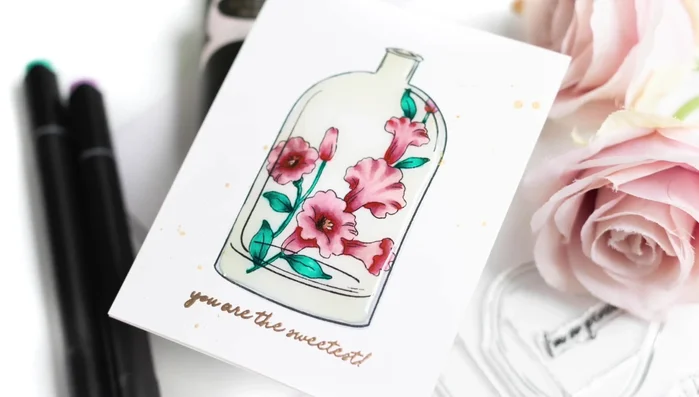
- Stamp and heat emboss the sentiment from the Versatile Vases set using rose gold embossing powder.
Add Sentiment Enhance and Finish
- Apply a thin layer of Nuvo Crystal Glaze over the entire vase image to enhance the glass effect.
- Mount the finished card onto a notecard. Add optional antique gold shimmer spray to the background to complement the gold embossing (optional).
Enhance and Finish

Read more: DIY: Create Custom Canister Labels with Silhouette Cameo
Tips
- Using permanent black ink for the floral image prevents smearing when using alcohol-based markers.
- Layer light to dark marker colors to create depth in the floral image. Blend colors for a smooth transition.
- Use a powder tool before embossing to prevent unwanted powder sticking.
- Adding Nuvo Crystal Glaze creates a realistic glass effect.