The allure of handcrafted wooden recipe boxes transcends mere utility; they become treasured heirlooms, whispering tales of culinary adventures and family memories. This article delves into the satisfying world of woodworking, showcasing three stunning recipe box projects, each designed to challenge and inspire even seasoned craftspeople. We'll explore diverse techniques, from precise joinery to elegant finishing, allowing you to craft a unique keepsake that reflects your personal style and woodworking prowess. Prepare to be captivated by the artistry and functionality these projects offer.
From rustic farmhouse charm to sleek modern minimalism, these three designs cater to a range of aesthetics and skill levels. We'll guide you through detailed plans and expert tips, ensuring success even for those new to intricate woodworking. Ready to transform raw lumber into a beautiful and functional masterpiece? Let's dive into the step-by-step instructions for each of these exceptional recipe box projects.
Safety Guidelines
- Always wear safety glasses and a dust mask when working with wood and power tools. Wood dust is a respiratory hazard, and flying debris can cause serious eye injuries.
- Use clamps to secure your workpiece whenever possible, especially when using power tools. This prevents kickback and improves accuracy.
- Ensure your blades and bits are sharp and correctly installed. Dull tools require more force, increasing the risk of injury and producing inferior results.
Methods: Miter Joint Recipe Box (Mahogany)
Tools Needed
- Planer
- Calipers
- Table saw
- Miter saw
- Crosscut sled
- Clamps
- Rubber bands
- Sandpaper
- Disc sander
- Glue
- Sawdust
- Water-based polyurethane
- Hinges
- Felt
- Utility knife
Step-by-Step Instructions
Preparing the Wood
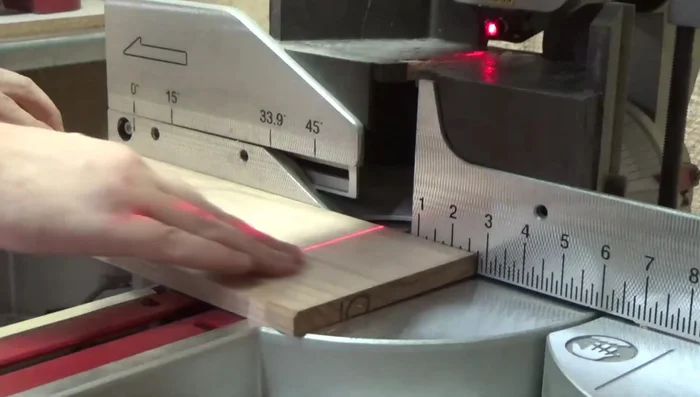
- Planing boards down to 1/2 inch thickness, checking with calipers.
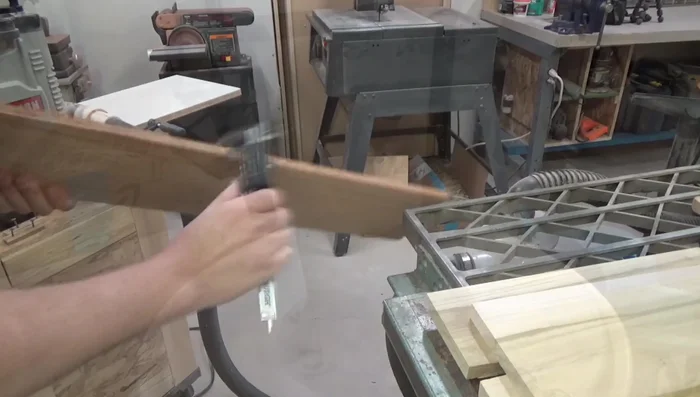
- Cutting boards to desired width on table saw using a stop block.

Preparing the Wood Cutting the Mitered Joints
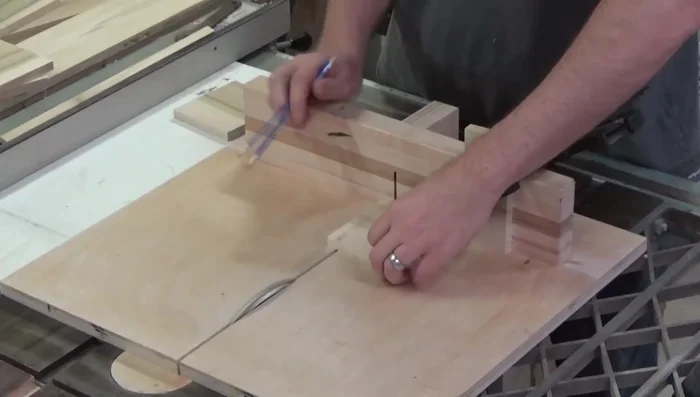
- Cutting miters at 45 degrees on table saw.
Cutting the Mitered Joints Cutting Other Joints
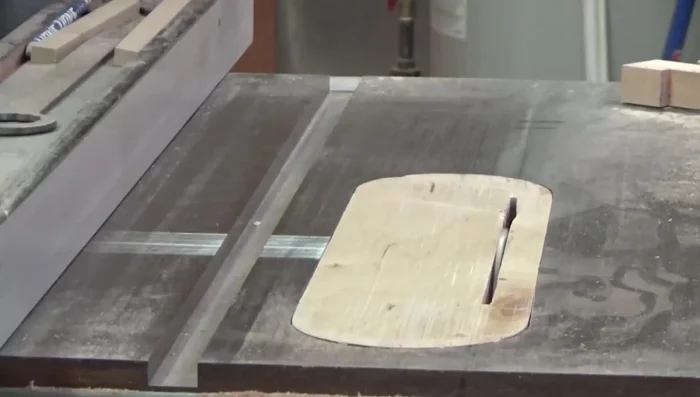
- Cutting lap joints on oak panels using table saw and adjusting the fence.
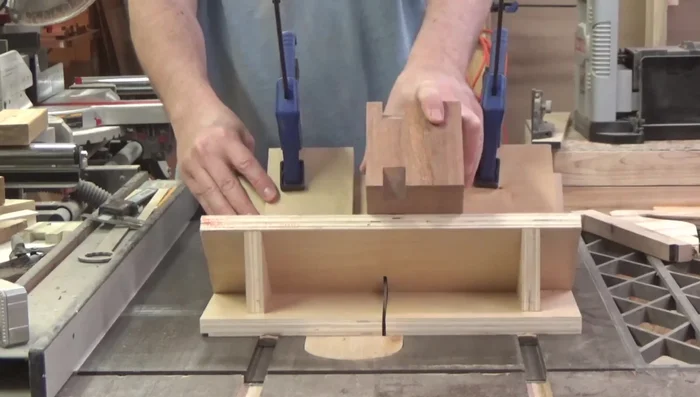
- Cutting rabbits on mahogany and oak boxes using crosscut sled.
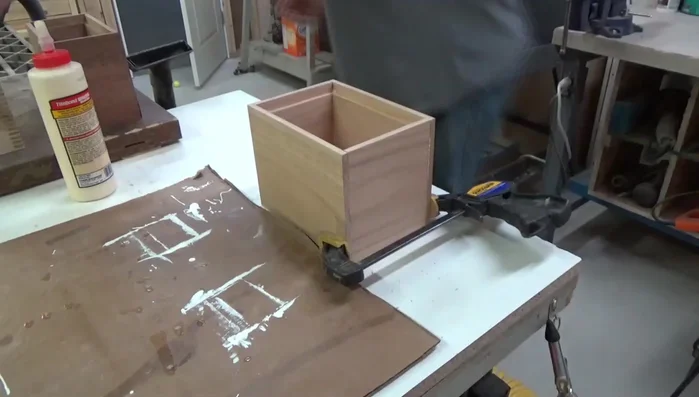
Cutting Other Joints Assembling the Boxes
- Gluing and clamping the mitered box (using rubber bands to help maintain squareness).
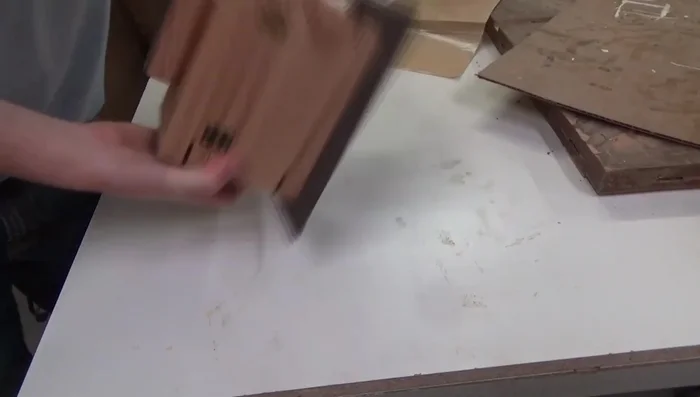
- Inserting the tops and bottoms, cutting them in half, and sanding any imperfections.
Assembling the Boxes Adding Accents (Mahogany Box)
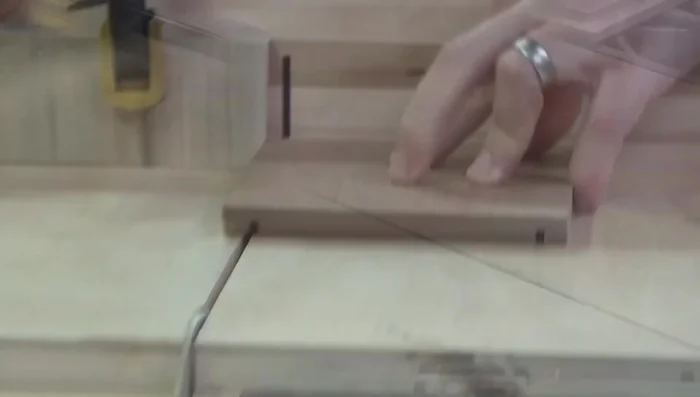
- Adding nested splines (Bird's Eye Maple and Purple Heart).
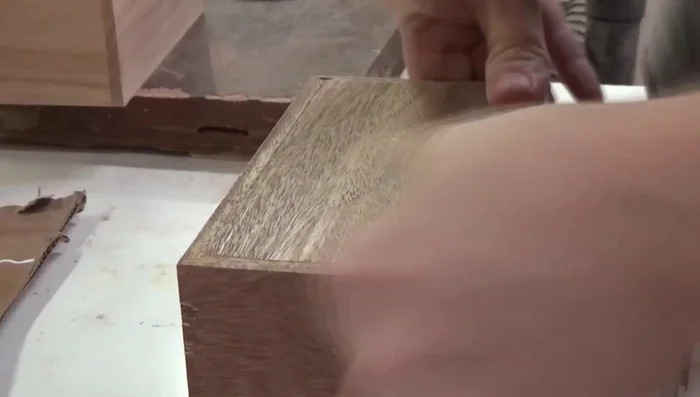
- Adding a handle (Bird's Eye Maple and Purple Heart) and chamfering the bottom edge.
Adding Accents (Mahogany Box) Finishing and Hardware
- Sanding, applying finish (water-based polyurethane), and adding hinges.
Adding Felt Bottom
- Adding felt bottom.
Adding Felt Bottom


Tips
- Use rubber bands to help maintain squareness when gluing mitered joints.
- Sand mitered edges to perfection using duct tape and sandpaper.
- For imperfect mitered edges, use glue and sawdust to fill gaps.
Methods: Half-Lap Joint Recipe Box (Oak)
Tools Needed
- Planer
- Calipers
- Table saw
- Miter saw
- Crosscut sled
- Clamps
- Sandpaper
- Disc sander
- Glue
- Spline jig
- Water-based polyurethane
- Hinges
- Felt
- Utility knife
Step-by-Step Instructions
Preparing the Wood
- Planing boards down to 1/2 inch thickness, checking with calipers.
- Cutting boards to desired width on table saw using a stop block.
Preparing the Wood Cutting Box Components
- Cutting the sides, fronts, and backs of the box using a stop block on a crosscut sled.
- Cutting lap joints for the half-lap joints.
- Cutting rabbits using crosscut sled.
Cutting Box Components Assembling the Half-Lap Joint Box
- Gluing and clamping the half-lap box.
Assembling the Half-Lap Joint Box Finishing the Box
- Inserting the tops and bottoms and cutting them in half.
- Sanding, applying finish (water-based polyurethane), and adding hinges.
- Adding felt bottom.
Finishing the Box Adding Accents (Oak Box)
- Adding splines (Walnut).
Adding Accents (Oak Box)

Methods: Finger Joint Recipe Box (Poplar)
Tools Needed
- Planer
- Calipers
- Table saw
- Finger Joint Jig
- Clamps
- Sandpaper
- Water-based polyurethane
- Hinges
- Felt
- Utility knife
Step-by-Step Instructions
Prepare Poplar Boards
- Planing boards down to 1/2 inch thickness, checking with calipers.
- Cutting boards to desired width on table saw using a stop block.
Prepare Poplar Boards Cut Box Components
- Cutting the sides, fronts, and backs of the box using a stop block on a crosscut sled.
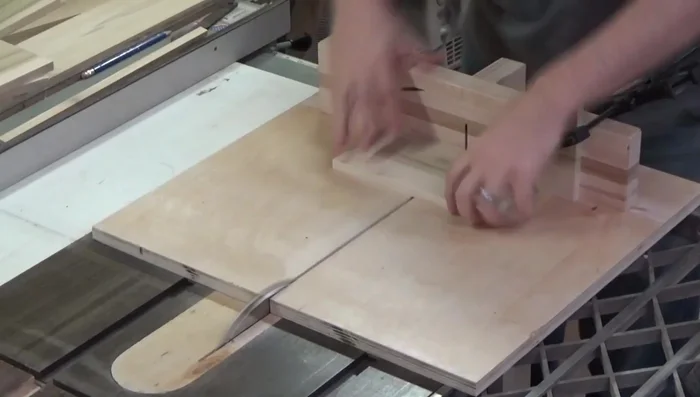
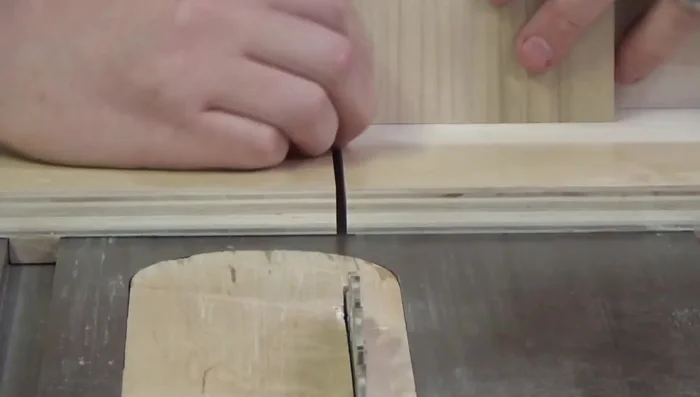
Cut Box Components Create Finger Joints
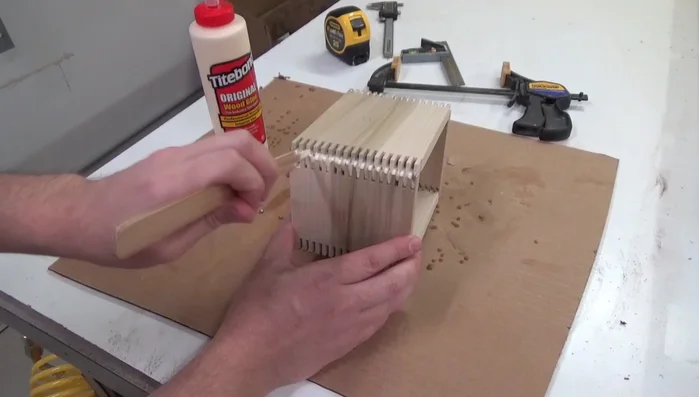
- Cutting finger joints using finger joint jig.
- Gluing and clamping the finger joints.
Create Finger Joints Assemble and Finish Poplar Box
- Adding a finger-jointed handle.
- Sanding, applying finish (water-based polyurethane), and adding hinges.
- Adding felt bottom.
Assemble and Finish Poplar Box

Read more: DIY Wooden Wall Hooks: Easy Tutorial for All Skill Levels