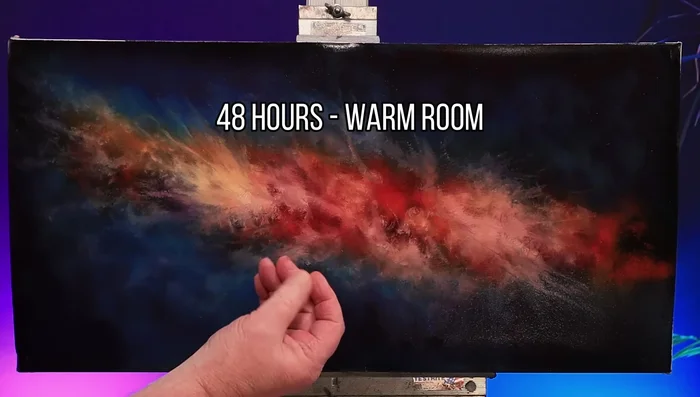
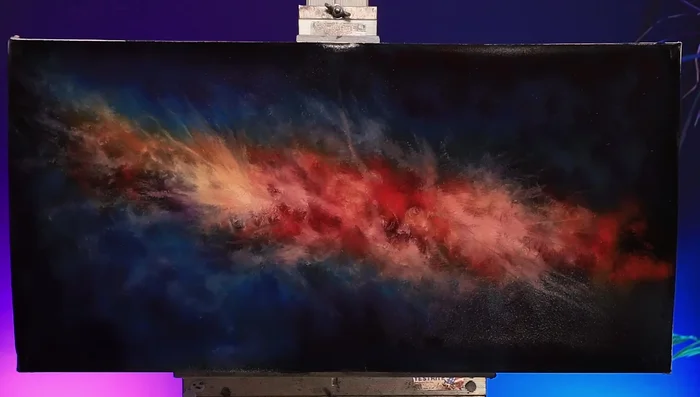
Step into a world of celestial wonder with the ethereal beauty of nebula painting. This vibrant art form, achieved through the captivating wet-on-wet technique, allows you to capture the swirling gases and cosmic dust of nebulae with breathtaking realism. Forget the stark contrast of traditional painting; here, colors blend seamlessly, creating a luminous, almost otherworldly effect. The fluidity of the wet-on-wet method invites experimentation, encouraging you to explore the infinite variations in color and texture that mirror the vast expanse of space itself. From subtle gradients to explosive bursts of color, the possibilities are as limitless as the universe they depict.
This guide will take you through a step-by-step process, demystifying the seemingly complex techniques involved in creating your own stunning ethereal nebula painting. We'll explore essential materials, crucial color mixing strategies, and the specific brushstrokes that will bring your cosmic masterpiece to life. Prepare to embark on a creative journey that will leave you starstruck.
Preparation and Safety Guidelines
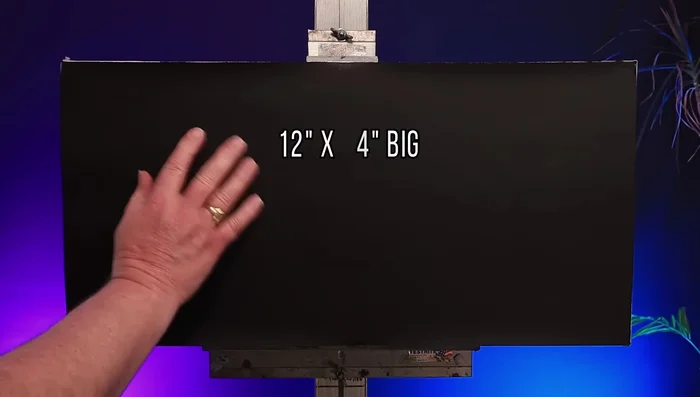
- 12x24 inch canvas (or larger)
- Black gesso or black acrylic paint
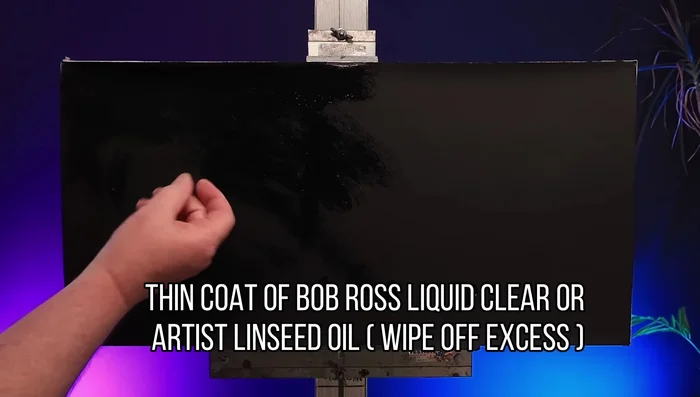
- Bob Ross Liquid Clear/Linseed Oil
- Palette knife
- Landscape brush
- Flat brush
- Soft fan brush
- Cotton buds
- Cocktail stick
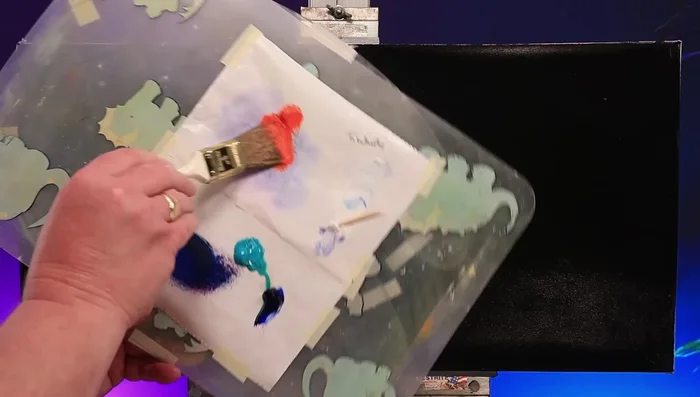
- Assortment of vibrant oil paints (e.g., bright orange, cadmium red, ultramarine blue, turquoise, titanium white, phthalo blue, yellow ochre, crimson)
- Baby wipes (for corrections)
- Always work in a well-ventilated area. Acrylic paints and mediums can release fumes.
- Protect your work surface with a drop cloth or plastic sheet. Acrylic paints are difficult to remove once dried.
- Wear appropriate clothing and eye protection. Acrylic paint can stain clothing and is irritating to eyes.
Step-by-Step Instructions
Canvas Preparation
- Paint a 12x24 inch (or larger) canvas with black gesso or black acrylic paint. Let it dry completely.
- Apply a thin layer of Bob Ross Liquid Clear or linseed oil. Wipe off excess.

Canvas Preparation Layering Base Colors
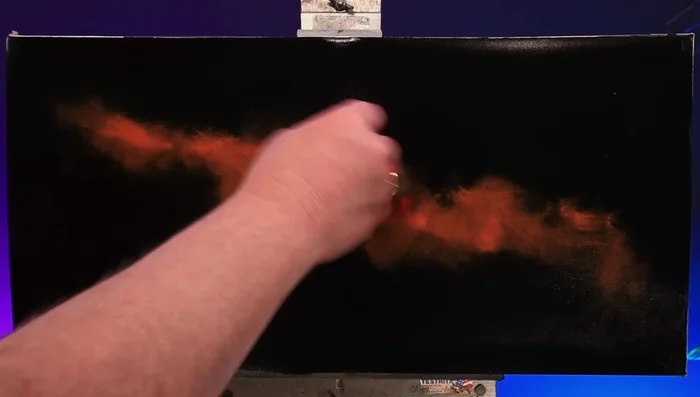
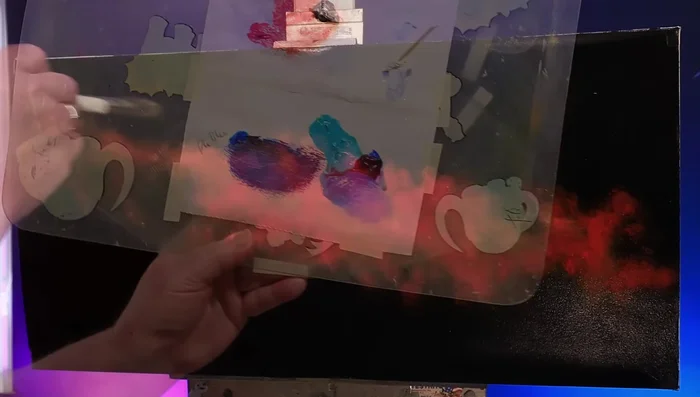
- Apply vibrant colors diagonally across the canvas. Begin with a base color (e.g., bright orange).
- Blend in other colors, such as cadmium red and ultramarine blue, creating a textured effect using the corner of the brush.
- Add more colors (turquoise, etc.), building layers and blending as you go to create a vivid, nebula-like effect.
Layering Base Colors Defining Edges and Focal Point
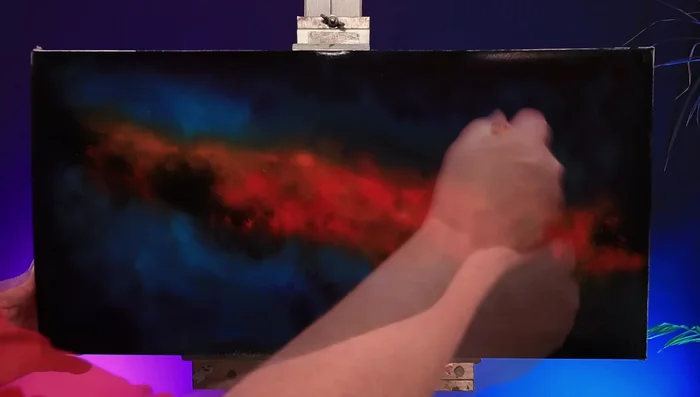
- Darken the outer edges with phthalo blue to enhance the vibrancy of the central colors.
- Create a focal point with pale yellow ochre and titanium white, using the twirling brush technique.
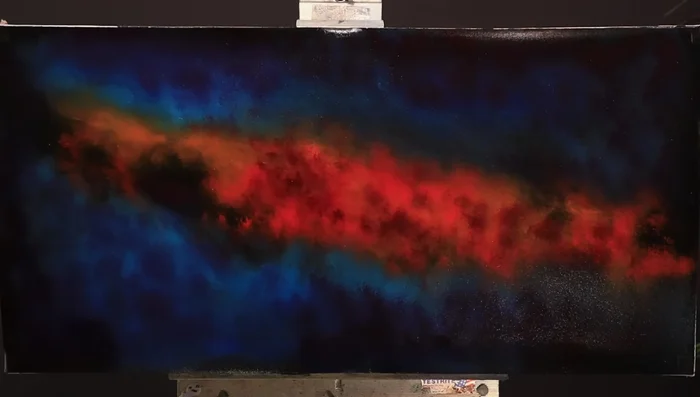
Defining Edges and Focal Point Blending and Softening
- Use a fan brush to gently blend colors and soften edges.
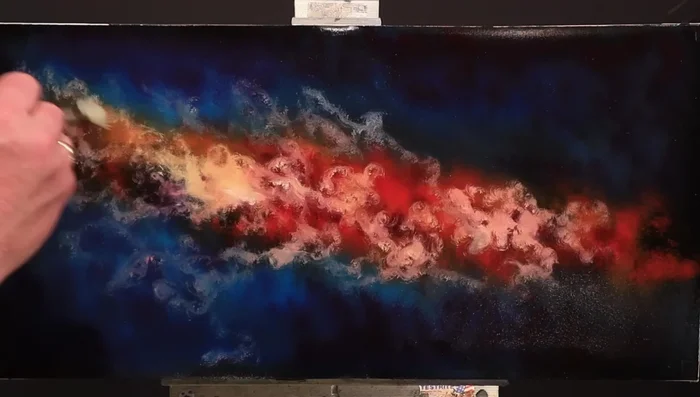
Blending and Softening Adding Details and Highlights
- Using a cocktail stick and very diluted white paint, create tiny dots and larger, fainter nebulae with cotton buds. Adjust brightness with cotton buds as needed.
Adding Details and Highlights Optional Glazing
- Apply a thin glaze of color (e.g., crimson) to add depth. If it looks muddy, remove and reapply a lighter glaze.
Optional Glazing
Read more: 7 Top Paint Color Trends for 2024: A Complete Guide with Free Downloadable Resource
Tips
- Use opaque colors for maximum vibrancy against the dark background.
- Don't be afraid to experiment with color combinations; unexpected results often look stunning.
- Keep brushstrokes random and energetic. The twirling motion adds a unique texture.
- Use a light source to see how colors pop against the black canvas.
- For a softer look, gently blend the edges of the colors with a fan brush.