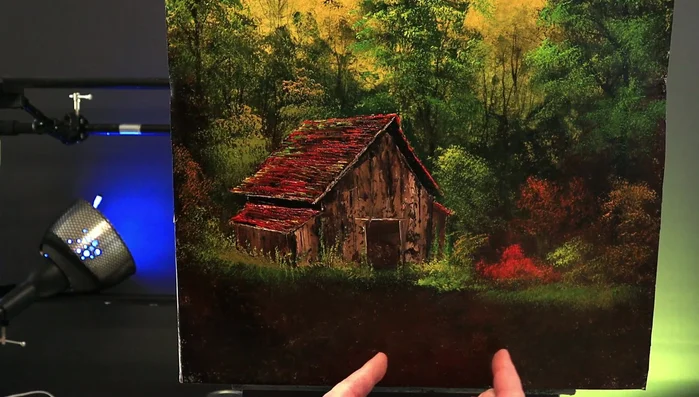
Ever dreamed of capturing the serene beauty of a weathered barn, nestled amongst rolling hills, just like a Bob Ross masterpiece? This tutorial will guide you through creating your own idyllic countryside scene, focusing on mastering the subtle angles and textures that define a rustic cabin. We'll explore the joy of happy little clouds and the satisfying process of building up layers to achieve that characteristically soft, atmospheric effect. Learn to blend colors effortlessly and create depth with simple techniques that even a beginner can master.
Forget stiff, unnatural lines; we'll embrace Bob Ross's philosophy of happy accidents and let our brushes flow freely. This isn’t about perfect precision, but about capturing the spirit of the countryside and expressing your own unique artistic vision. Ready to transform your canvas into a peaceful haven? Let's dive into the step-by-step process and begin painting your own weathered barn masterpiece.
Preparation and Safety Guidelines
- Stretch canvas
- Book
- Tape measure
- Ballpoint pen
- Ruler
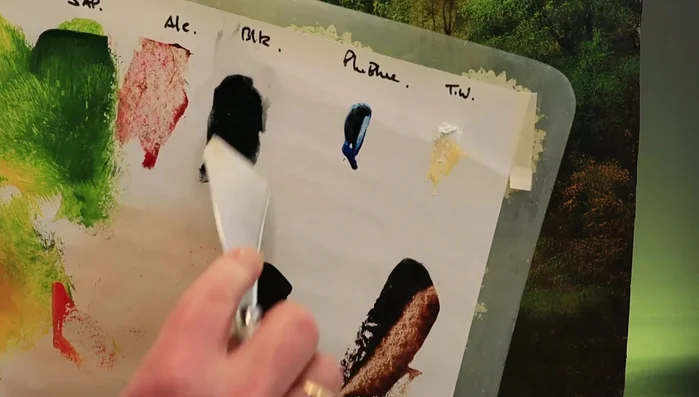
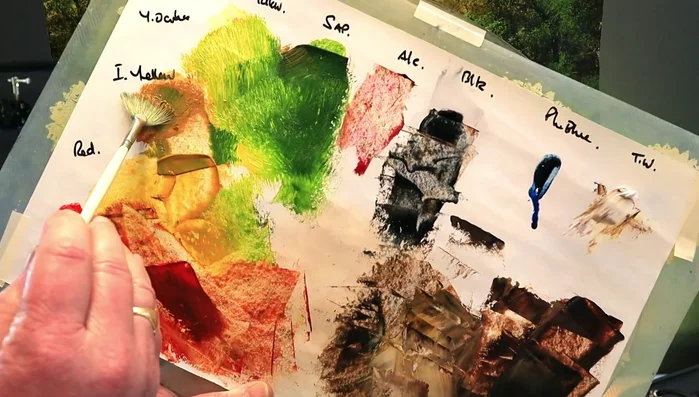
- Acrylic paints (raw umber, burnt sienna, hooker's green, black)
- Old bristle brush
- Cellulose cast sponge
- Line drawing
- Graphite
- Bob Ross Liquid Clear
- 1-inch Bob Ross landscape brushes (new and worn)
- Fan brush
- Liner brush
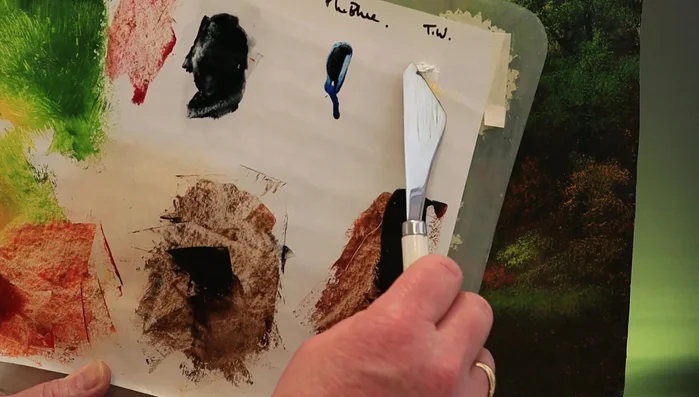
- Bob Ross palette knife
- Paper towel
- Baby wipe
- Always work in a well-ventilated area when using oil paints and solvents. Fumes can be harmful.
- Protect your work surface with drop cloths or newspaper. Oil paints are difficult to remove from many surfaces.
- Clean brushes thoroughly with appropriate solvents after use. Failure to do so will ruin your brushes.
Step-by-Step Instructions
Preparation and Underpainting
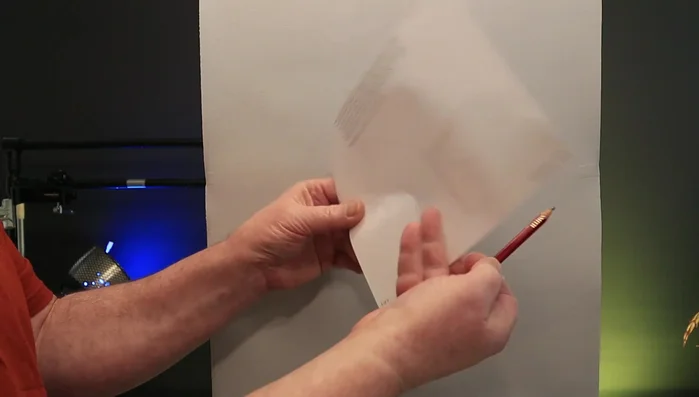
- Transferring the line drawing:
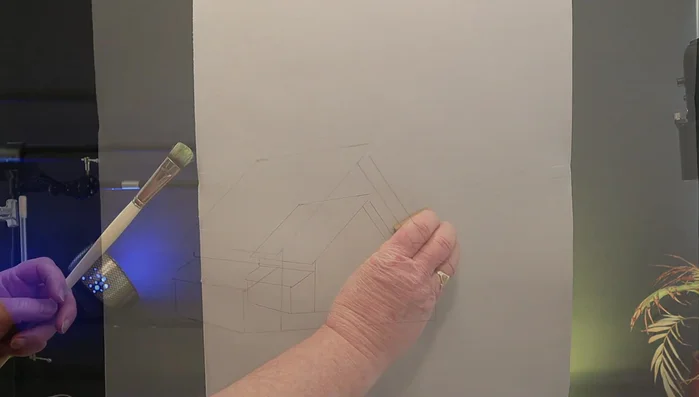
- Applying acrylic underpainting:

Preparation and Underpainting Background Landscape
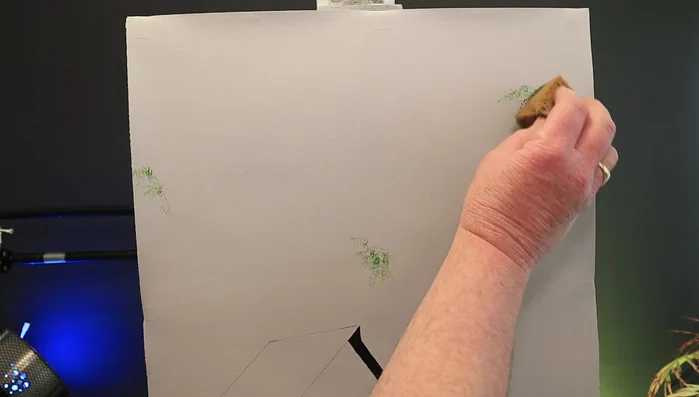
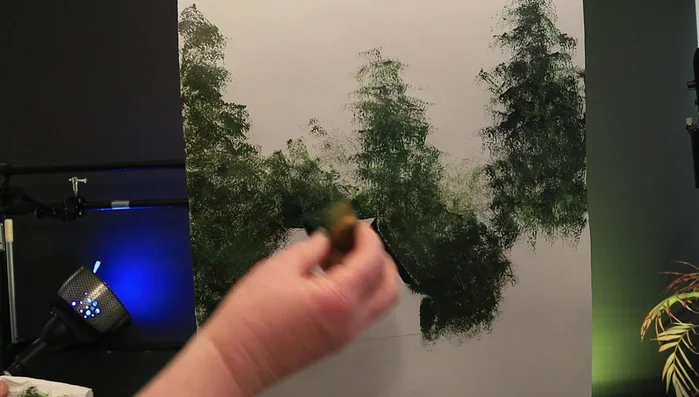
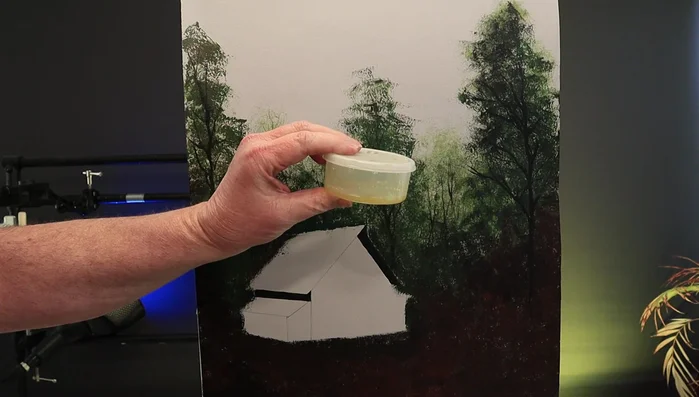
- Creating background trees with a sponge:
- Adding background foliage:
- Applying Bob Ross Liquid Clear:
- Glazing the background sky with Indian Yellow:
Background Landscape - Darkening corners with Christmas Brown:
Cabin Structure and Shadows
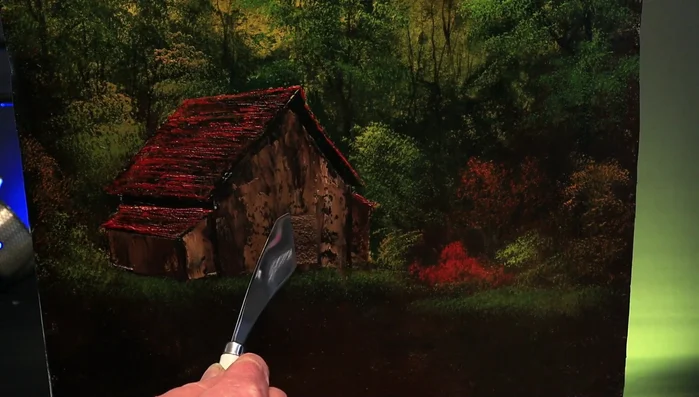
- Blocking in cabin shadows with dark brown:
- Creating weathered planks on the barn front:
- Adding details to the cabin (door, roof lines, etc.):
Cabin Structure and Shadows Foreground Details
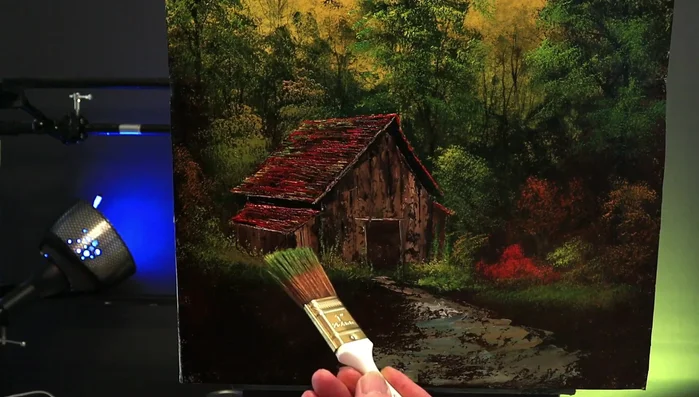
- Painting grass and weeds at the base of the barn:
- Creating the pathway:
- Adding grass and details to the foreground:
Foreground Details Tree Detailing
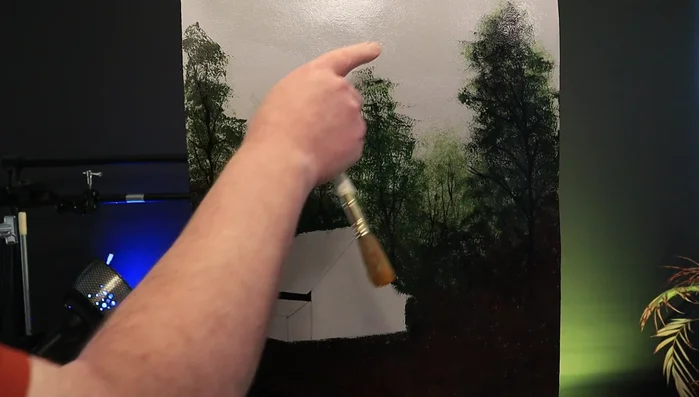
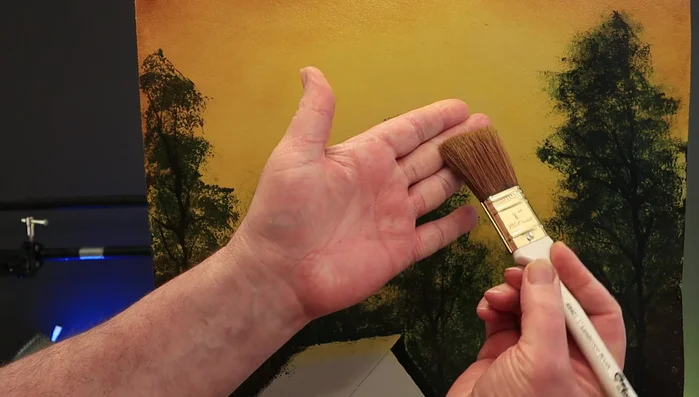
- Highlighting trees with a 1-inch Bob Ross brush:
Tree Detailing
Read more: 7 Top Paint Color Trends for 2024: A Complete Guide with Free Downloadable Resource
Tips
- Use a line drawing to help with angles.
- Practice painting angles with a palette knife to develop muscle memory.
- Visualize trees as stacks of umbrellas when painting.
- Tap the sponge gently when applying acrylics.
- Use transparent paints for glazing to avoid obscuring underlying layers.