Capture the charm of a rustic garden gate with the enchanting wax resist technique! This age-old method allows you to create beautifully textured and subtly nuanced paintings, perfect for depicting the weathered beauty of wood, the delicate blooms of climbing roses, or the playful antics of garden creatures. The wax acts as a resist, preventing paint from adhering in specific areas, revealing delightful patterns and creating a sense of depth rarely achieved through other painting methods. The subtle interplay of light and shadow, characteristic of this technique, will beautifully enhance the rustic aesthetic you're aiming for.
This tutorial will guide you through the process of painting a rustic garden gate using the wax resist method, step-by-step. We'll cover everything from preparing your surface and selecting appropriate paints to applying the wax and achieving that distinctive, aged look. Get ready to transform a blank canvas into a charming piece of art that captures the idyllic essence of your garden.
Preparation and Safety Guidelines
- Paints (various colors: creamy, green, cadmium yellow, raw umber, orangey ochre, ultramarine, Payne's grey)
- Brushes (various sizes, including a fine-pointed brush)
- Pencil
- Wax Resist Medium
- Always work in a well-ventilated area. Wax fumes can be harmful if inhaled.
- Use caution when working with hot wax. Allow wax to cool slightly before applying and avoid skin contact. Keep wax away from flammable materials.
- Clean brushes and tools thoroughly with mineral spirits or turpentine immediately after use. Wax can be difficult to remove once it hardens.
Step-by-Step Instructions
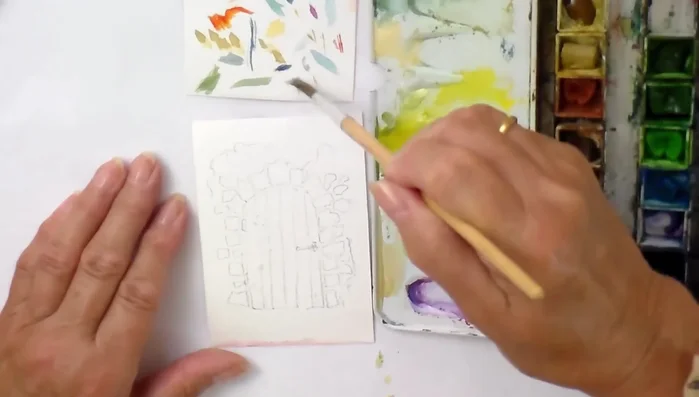
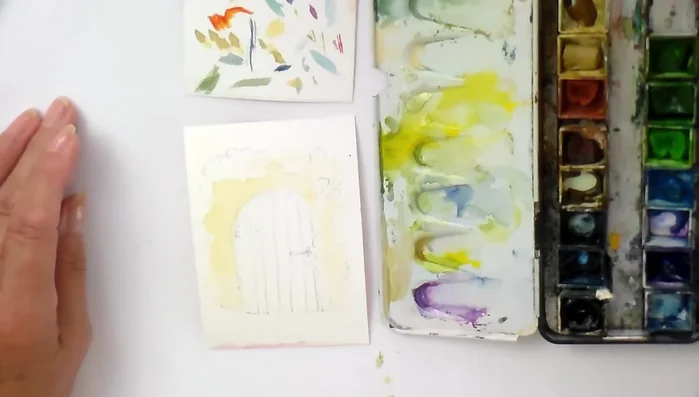
Preparation and Sketching
- Sketch the garden gate and surrounding stone wall with pencil.

Preparation and Sketching Applying Wax Resist
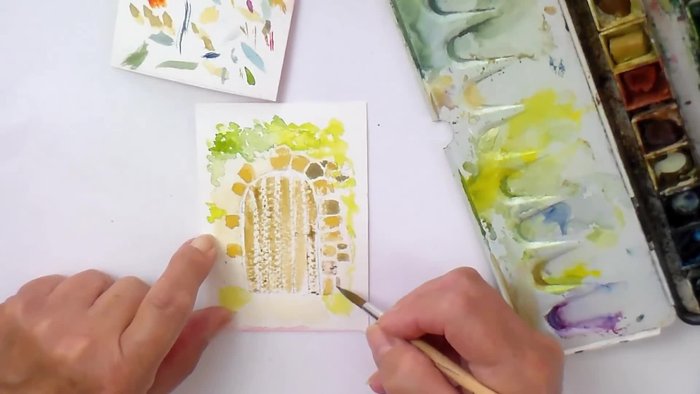
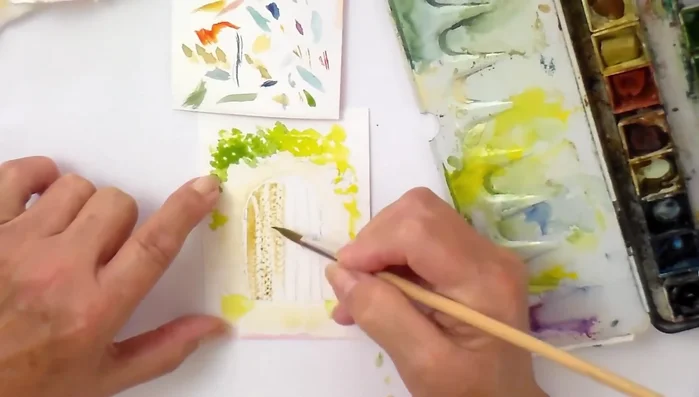
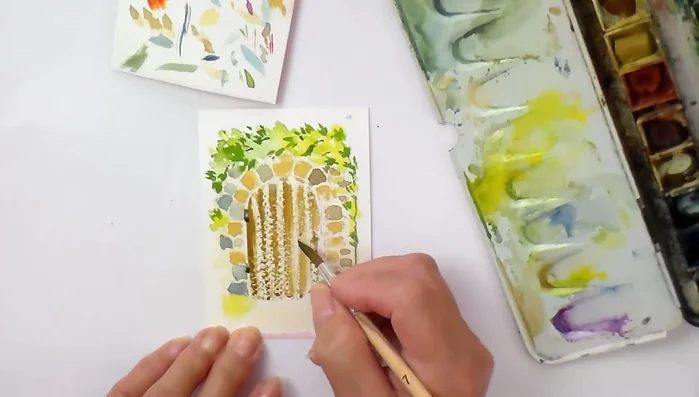
- Apply wax resist to the right-hand side of each plank of the gate to create a wood grain effect.
Applying Wax Resist Painting the Background
- Paint the mortar between the stones with a pale, creamy color.
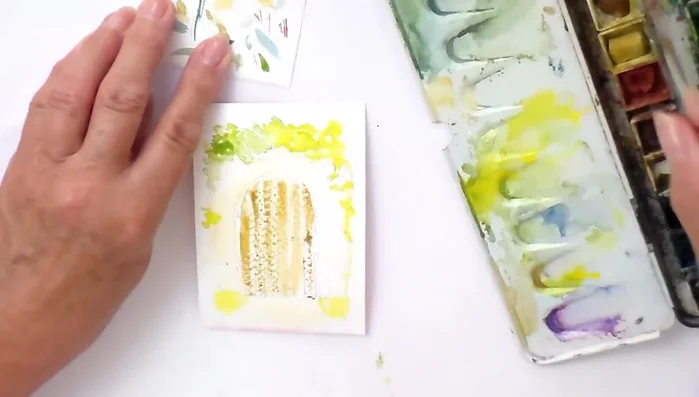
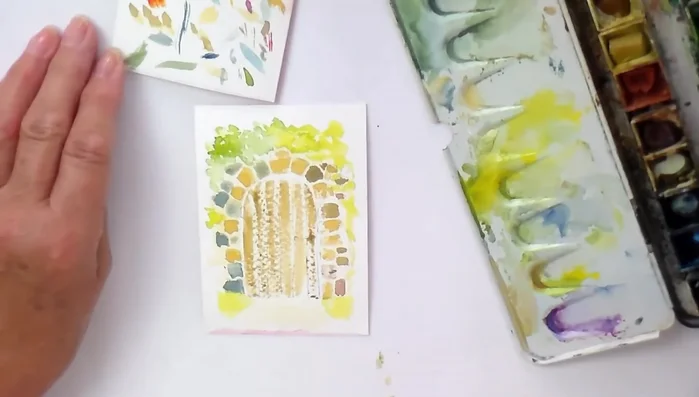
- Paint the stones using a mix of orangey ochre and other colors (adding ultramarine for grey tones). Leave gaps to show the mortar.
- Add shadows under the stones to enhance the three-dimensional effect.
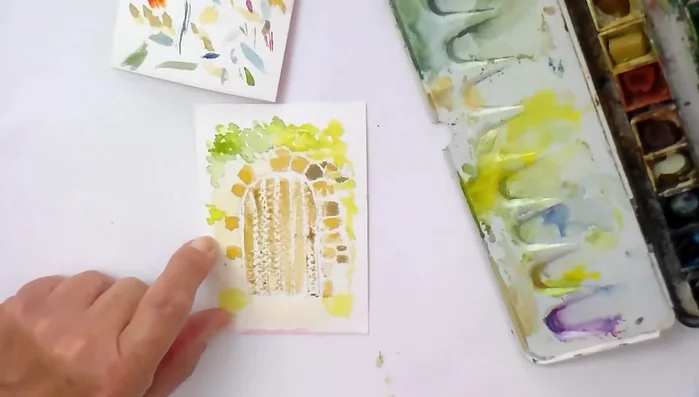
Painting the Background Initial Gate Painting
- Apply a first layer of raw umber to the planks of the gate.
Initial Gate Painting Painting the Ivy
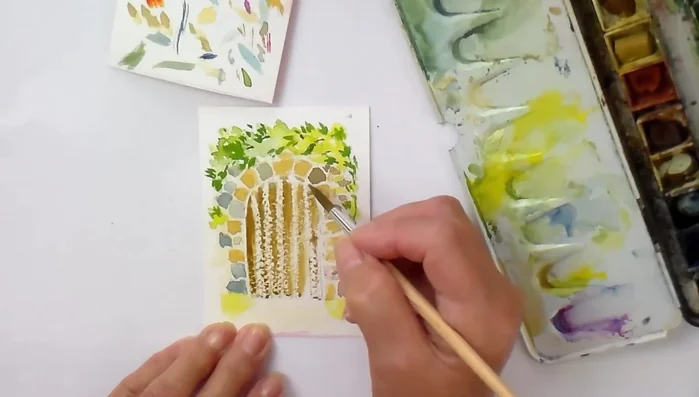
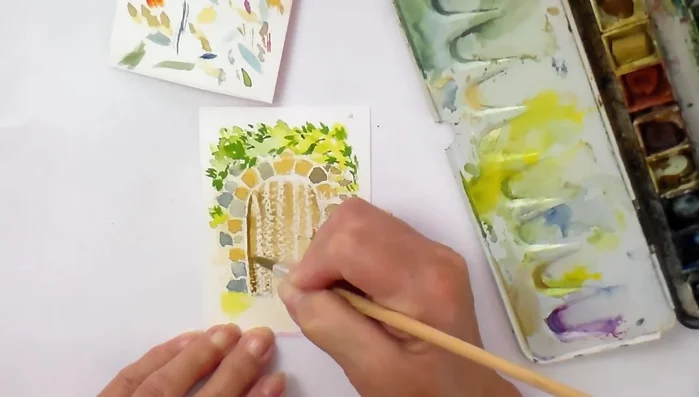
- Paint the ivy using green, adding cadmium yellow for highlights and creating a mottled effect by dabbing off excess paint.
- Paint the ivy stems and leaves, starting with a general mass of green before adding individual leaf shapes.
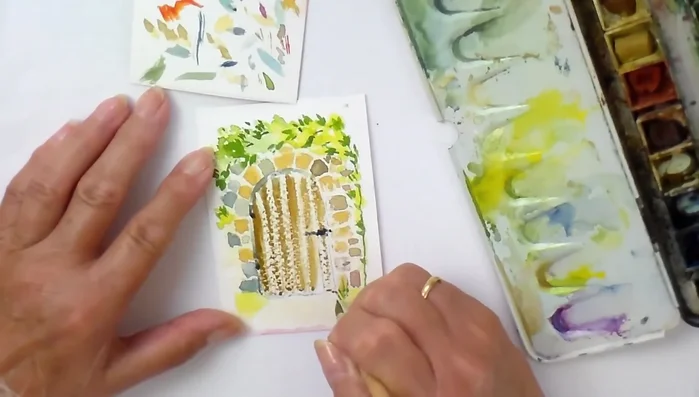
Painting the Ivy Adding Gate Details
- Add darker lines to the left side of the gate planks to emphasize the shadows and wood grain.
Adding Gate Details Adding Hardware Details
- Paint hinges and a latch using Payne’s grey.
Adding Hardware Details Final Touches and Highlights
- Add details to the stones using a fine-pointed brush, varying the shades to create realism.
- Add final details and highlights to complete the painting.
Final Touches and Highlights

Read more: 7 Top Paint Color Trends for 2024: A Complete Guide with Free Downloadable Resource
Tips
- Dabbing off excess paint creates a nice mottled effect, suitable for natural subjects.
- Don't worry about being too precise; the goal is to create the impression of the scene.
- Consider the light source when adding shadows and highlights.
- Work in layers to build up color and texture.