Winter landscapes, with their serene beauty and crisp, clean lines, are a captivating subject for watercolor painting. However, the seemingly complex textures of snow and ice can feel intimidating to beginner artists. This tutorial aims to dispel that fear, guiding you through the creation of a stunning snowy landscape with simple techniques and readily available materials. We’ll explore methods for achieving realistic snow effects without the need for advanced skills or specialized tools, focusing on layering and color mixing for a luminous and believable final piece.
Forget the complicated techniques; this easy-to-follow tutorial will break down the process of painting a snowy landscape into manageable steps, perfect for all skill levels. Ready to capture the magic of winter on paper? Let's dive into the step-by-step process and create your own breathtaking snowy scene.
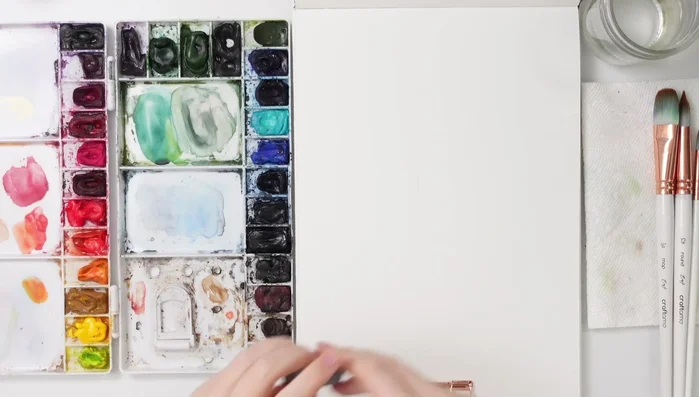
Preparation and Safety Guidelines
- Watercolor Sketchbook
- Windsor Newton professional watercolors
- Pencil
- Eraser
- Emma fave craft brushes (M brush, oval wash size 12 and size 6 round)
- Dr. Ph. Martin's bleed proof white ink (optional)
- Always work in a well-ventilated area when using watercolors, as some pigments can release fumes.
- Protect your work surface with a waterproof covering to prevent water damage.
- Allow ample drying time between layers to avoid muddying the colors and to prevent lifting previously applied paint.
Step-by-Step Instructions
Sketching the Landscape
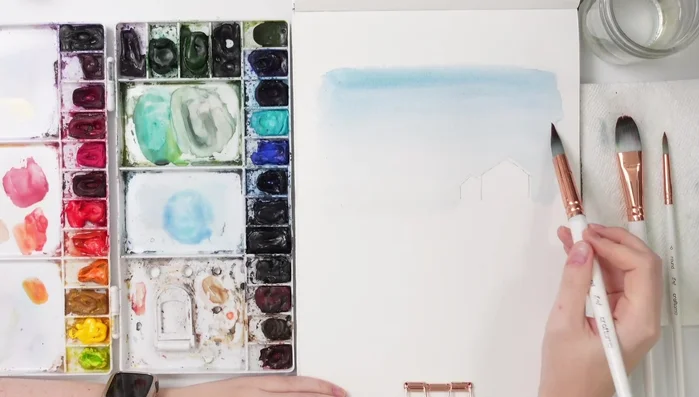
- Sketch a simple, off-centered house with a garage.

Sketching the Landscape Painting the Sky and Distant Trees
- Wet the background and add a wash of cobalt blue and indigo, darker at the top and lighter at the bottom, blending colors smoothly.
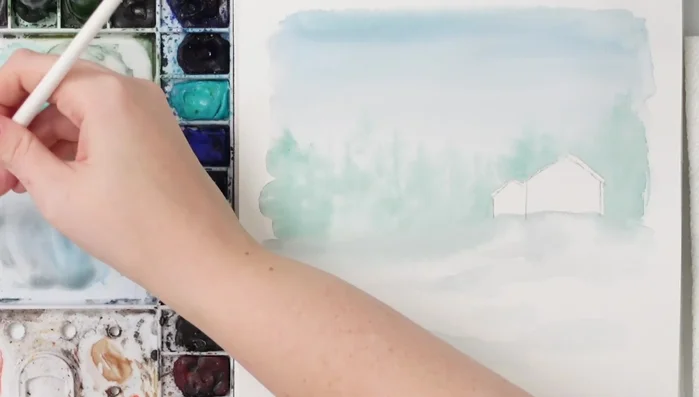
- While the background is still wet, paint loose, faded trees using turquoise and sap green, keeping the strokes light and vertical.
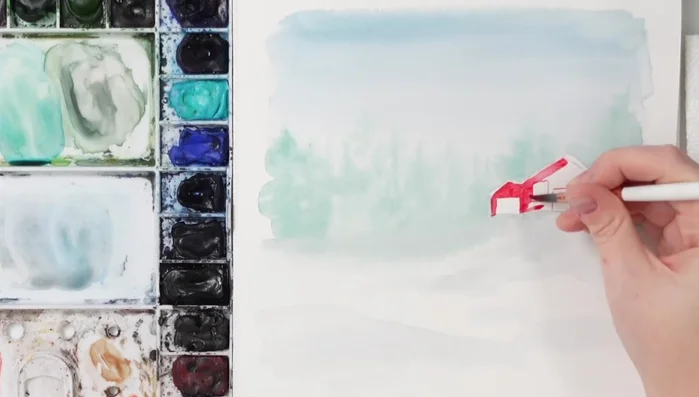
Painting the Sky and Distant Trees Painting the House
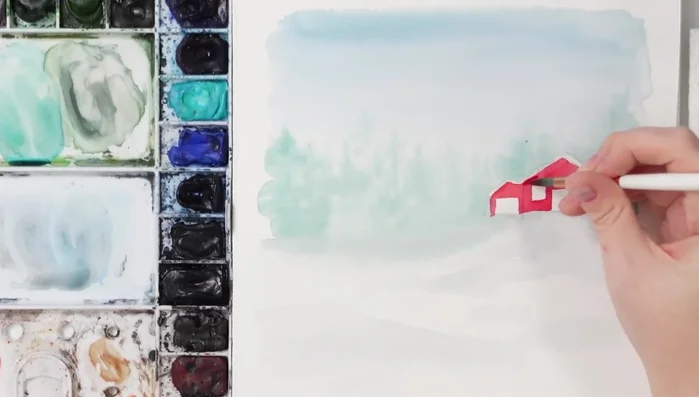
- After the background dries, block out the house using a crimson red, leaving space for windows and a door.
- Add a wash of white to represent snow on the roof and around the house.
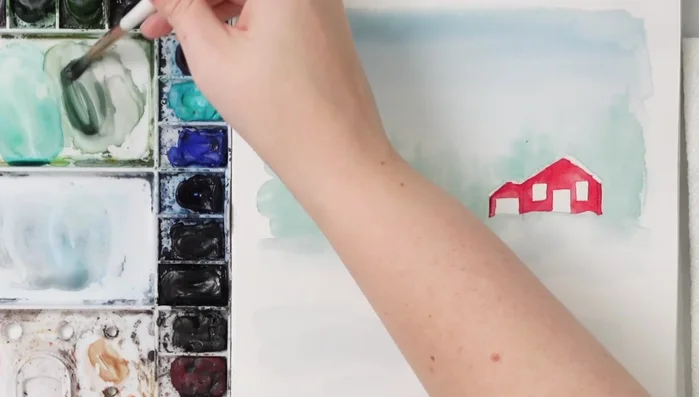
- Darken the lower portion of the house with a darker red or a mix of red and black to create shadows.
Painting the House Painting the Evergreen Trees
- Paint evergreen trees using dark greens (or a mix of green and purple) with uneven, vertical strokes, adding lighter touches to suggest snow.
Painting the Evergreen Trees Painting the Bare Trees and Snow Banks
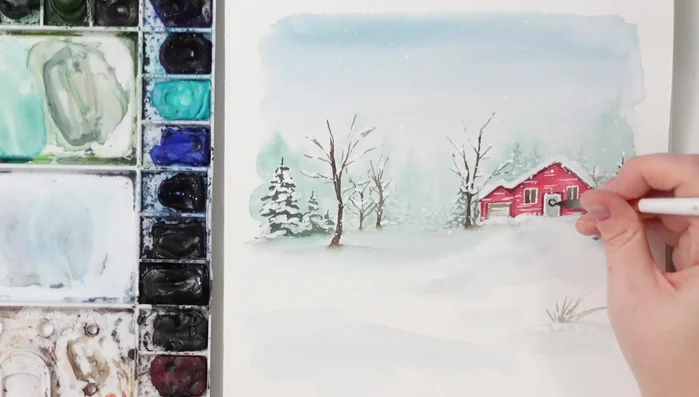
- Paint bare trees with dark brown (or a mix of brown and black), using light pressure and varying stroke lengths to create a realistic look. Blend the bottom of the trees to create snow banks.
Painting the Bare Trees and Snow Banks Adding Details to the House
- Add details to the house, such as window frames and a door, using darker colors and fine lines.
Adding Details to the House Adding Snow Effects
- Add snow to the trees using white ink or gouache, applying it in various ways to simulate snow collecting on branches and a light snowfall.
Adding Snow Effects Final Touches
- Add a finishing touch such as a wreath to the door to complete the scene.
Final Touches


Read more: 7 Top Paint Color Trends for 2024: A Complete Guide with Free Downloadable Resource
Tips
- Keep the background washes wet to achieve a blended effect.
- Use uneven, asymmetrical strokes for a more realistic look when painting trees and snow.
- Vary the opacity of your white paint to simulate different snow textures and depths.
- Use flicking motions to simulate snowfall.