Step into a world of delicate blooms and charming nostalgia with this vintage floral watercolor postcard painting tutorial! There's something undeniably captivating about the soft hues and romantic style of vintage floral art, and now you can learn to create your own beautiful pieces. Imagine the joy of sending a handmade postcard, bursting with vibrant watercolor flowers, to a loved one, or framing your artistic creation as a delightful keepsake. This tutorial offers a perfect blend of classic elegance and approachable technique, making it ideal for both beginners and seasoned artists seeking a refreshing creative challenge.
This guide will walk you through each step of the process, from sketching your initial design to achieving those subtle watercolor washes that give the painting its unique vintage charm. Whether you're aiming for a perfectly symmetrical arrangement or a more whimsical, free-flowing design, prepare to unlock your inner artist and discover the satisfying artistry of watercolor painting. Let's begin!
Preparation and Safety Guidelines
- Watercolor paper
- Masking tape
- Thin and thick brushes
- Tissue paper
- Watercolor paints
- Always work in a well-ventilated area. Watercolor paints and mediums can contain chemicals that may cause respiratory irritation.
- Protect your work surface. Watercolor can stain, so use a protective covering like a plastic sheet or drop cloth.
- Clean your brushes thoroughly after use. Watercolor paint can dry and harden the brushes, making them unusable.
Step-by-Step Instructions
Prepare the Surface
- Prepare your paper by adding masking tape around the edges.
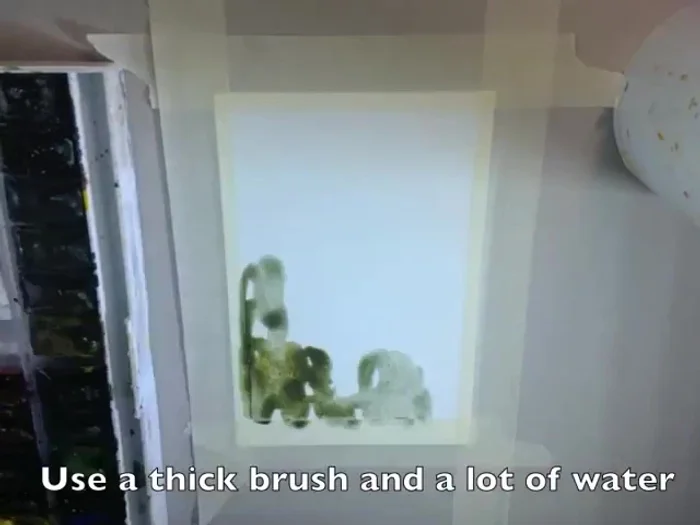
Create the Watercolor Wash
- Use a thick brush and lots of water to create a wet-on-wet wash. Apply different colors.
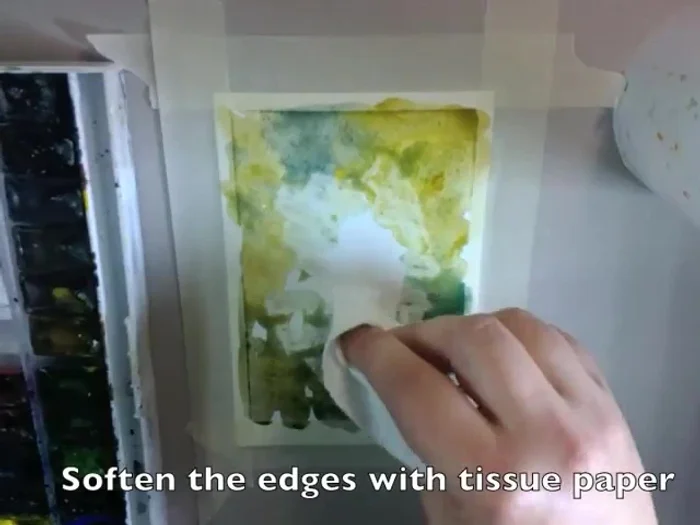
- Leave the center of the page white and soften the edges with tissue paper.

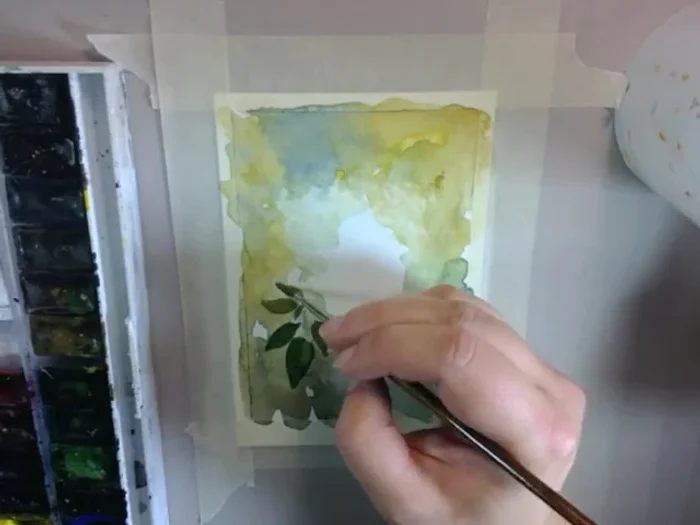
Create the Watercolor Wash Paint the Leaves
- Switch to a thin brush and begin painting individual leaves, thinking of each leaf as unique.
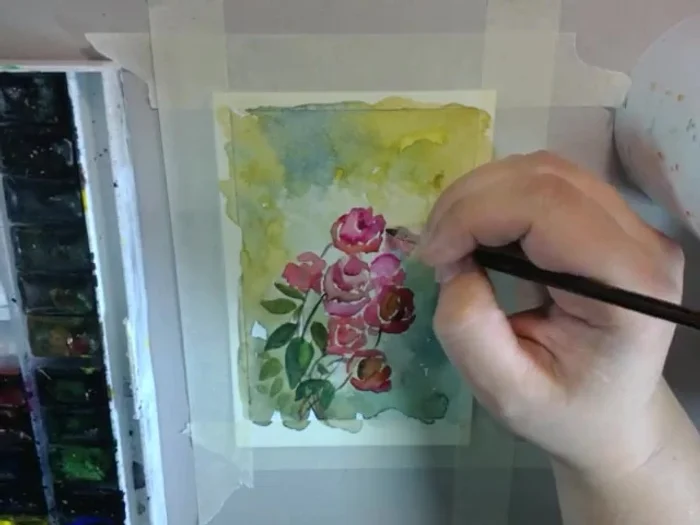
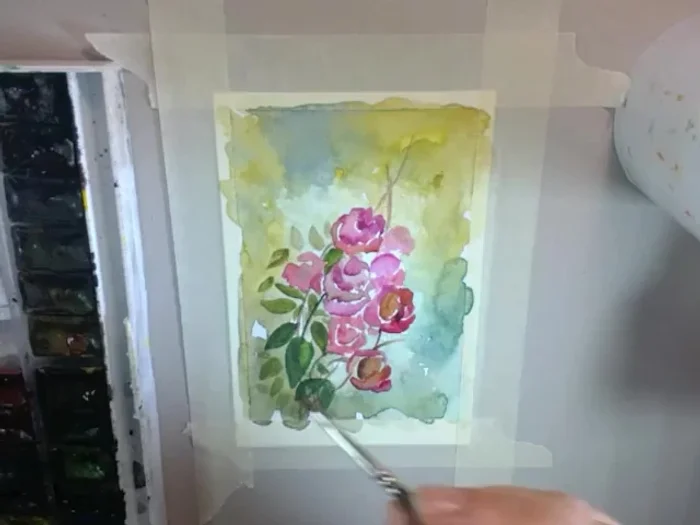
Paint the Leaves Paint the Flowers
- Continue with the flowers. Draw a line and soften it with water. Work slowly.
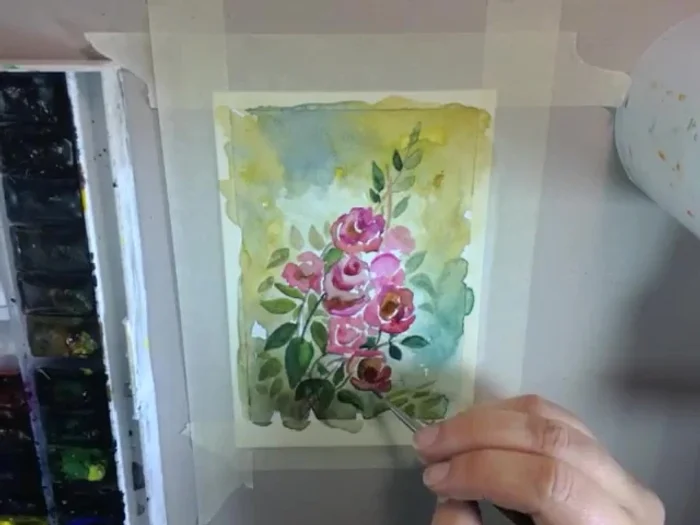
Paint the Flowers Add Branches and More Leaves
- Add branches, making them look poetic and overlapping.
- Go back and add more leaves.
Add Branches and More Leaves Add Depth and Detail
- Darken the flowers to give depth.
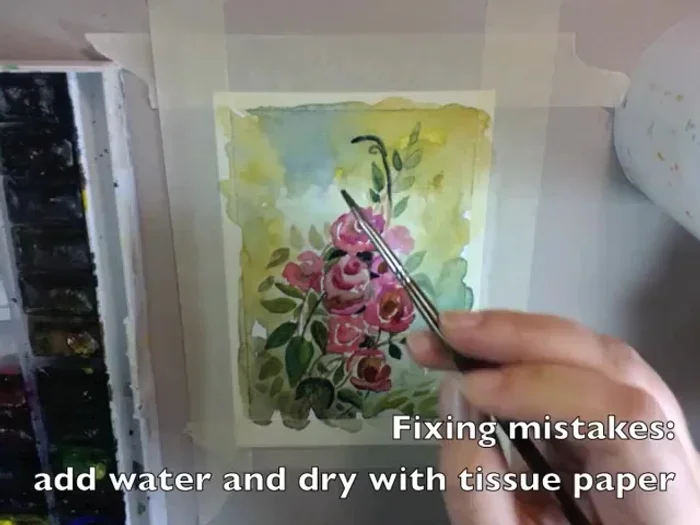
Add Depth and Detail Correct Mistakes
- If you make a mistake, it's easy to fix by adding water and using tissue paper to lift the paint.
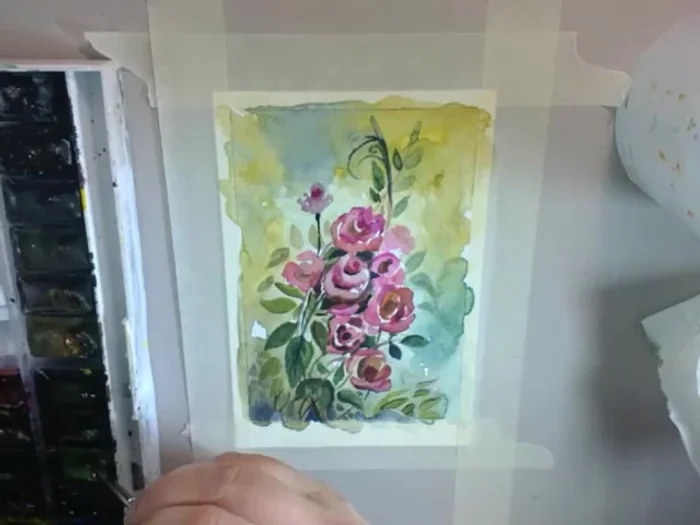
Correct Mistakes Add Contrast and Balance
- Add contrast when finishing. The artist likes to use strong contrasts and blues.
- Balance the composition and draw the viewer's eye to the center of the card.
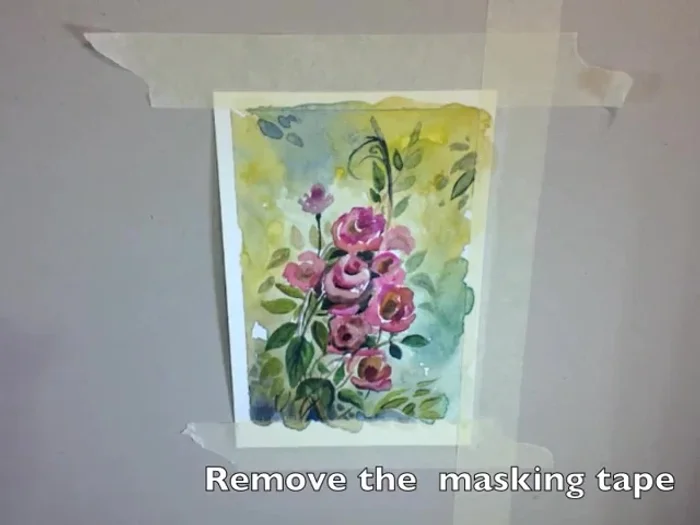
Add Contrast and Balance Finish and Reveal
- Remove the masking tape.
Finish and Reveal


Read more: 7 Top Paint Color Trends for 2024: A Complete Guide with Free Downloadable Resource
Tips
- Work slowly and don't overthink the placement of flowers; just create as you go.
- Use lots of water for a soft, blended look.
- Embrace strong contrasts for a visually appealing result.