Watercolor painting offers a unique ability to capture the fleeting beauty of nature, and few subjects lend themselves to this artistry quite like the vibrant poppy. Their delicate petals and bold colors create a captivating visual spectacle, especially when rendered en masse in a sun-drenched meadow. This tutorial will guide you through the creation of just such a scene, focusing on the power of masking fluid to preserve the bright white highlights of the poppies and their surrounding foliage. The captivating contrast between the intense poppy colors and the clean white spaces will add depth and realism to your painting.
Masking fluid acts as a protective layer, preventing paint from adhering to the areas you want to remain untouched. This technique is invaluable for creating sharp, crisp details and achieving a stunning level of accuracy, especially with delicate subjects like poppy petals. Let's delve into the step-by-step process, learning how to effectively employ masking fluid to achieve a breathtaking watercolor poppy meadow.
Preparation and Safety Guidelines
- Fontaine watercolor paper (100% cotton, 24x18cm)
- Masking fluid (Dollar and Rooney)
- Silicone makeup brush
- Watercolor paints (various colors)
- Etcher watercolor palette
- Brushes (various sizes)
- Hard eraser (optional)
- White gouache
- Masking fluid can be messy! Work on a protected surface (like a tile or plastic sheet) and wear gloves to prevent staining your skin.
- Allow masking fluid to dry completely before applying watercolor paints to avoid lifting or smudging. Drying time depends on the thickness of the application and environmental conditions.
- Remove masking fluid carefully using a rubber eraser or a dedicated lifting tool to prevent damaging your painting. Gentle peeling is best; avoid scrubbing.
Step-by-Step Instructions
Preparation
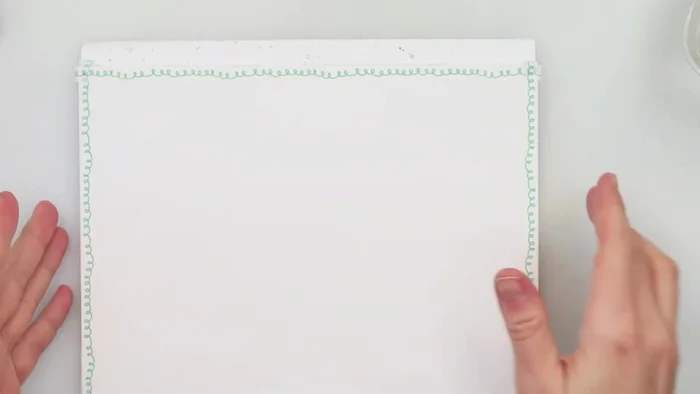
- Fontaine watercolor paper, masking fluid, silicone brush, and your chosen watercolor paints.

Preparation Masking
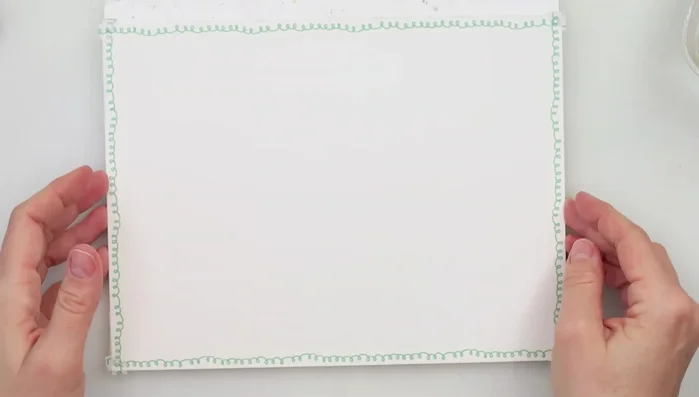
- Use the silicone brush to gently apply masking fluid to the areas where you want to reserve white space (e.g., the upper part of the paper, flower shapes). Be very gentle to avoid picking up the fluid.
- Let the masking fluid dry completely until slightly sticky to the touch.
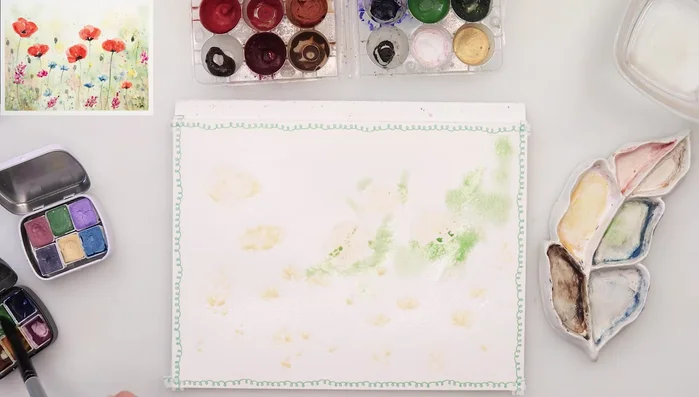
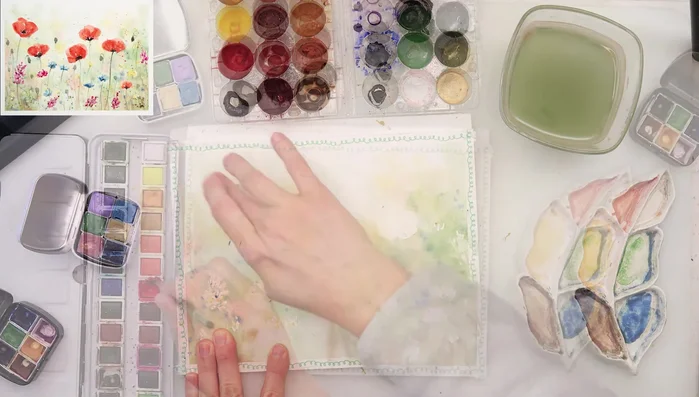
Masking Background Painting
- Apply washes of colors (green, blue, yellow, brown) to create a soft, blended background. Leave some areas untouched to create a sense of light.
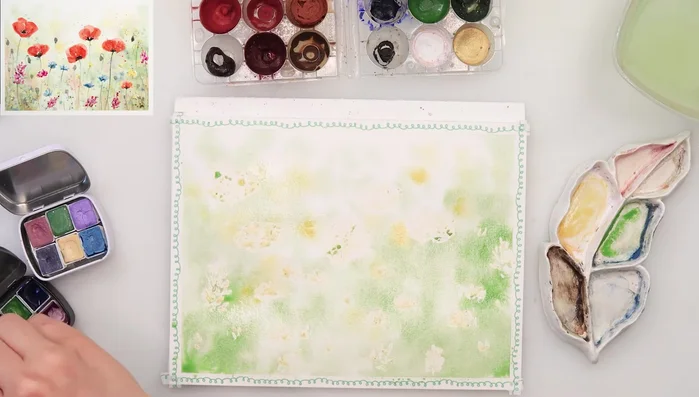
- Use thin brushstrokes to add out-of-focus details such as flowers and bushes, keeping it light and airy.
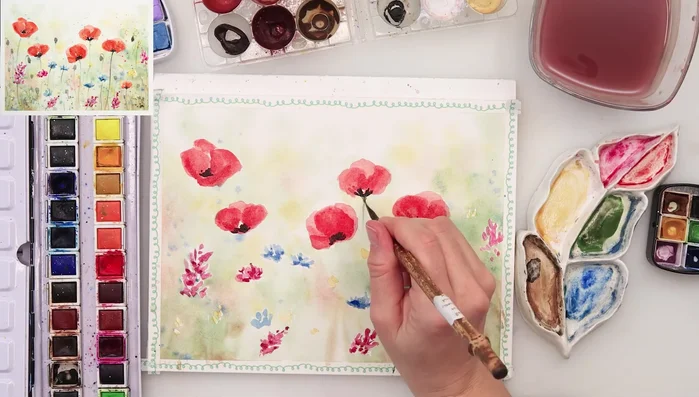
Background Painting Flower Painting
- Start with a light layer of color and build up to add highlights and shadows for dimension. (No sketching necessary, but optional.)
Flower Painting Masking Fluid Removal
- Carefully remove the masking fluid using a hard eraser or your fingers. Gently lift off the film of masking fluid to reveal clean white areas.
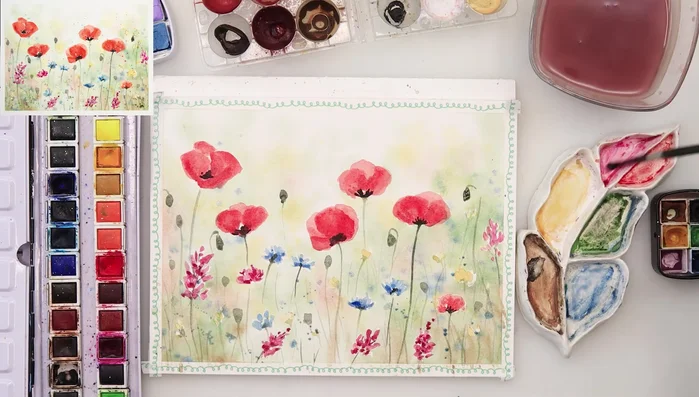
Masking Fluid Removal Final Details and Splashes
- Add stems, grasses, and more splatters for interest and texture. Vary the intensity and size of your brushstrokes for a more dynamic effect.
- Use various colors (blue, pink, yellow, green, black, white gouache) to create splatter effects that add vibrancy and movement to the painting.
Final Details and Splashes


Read more: 7 Top Paint Color Trends for 2024: A Complete Guide with Free Downloadable Resource
Tips
- Use a fresh masking fluid to avoid stickiness and difficult removal.
- Be gentle when applying masking fluid with the silicone brush; it can pick up the fluid.
- Don't be afraid to experiment with color combinations and layering to achieve your desired effect.
- Leave some white space for light and contrast.
- Consider the light source when painting to create depth and dimension.