Watercolor painting offers a unique way to capture the serene beauty of nature, and few subjects lend themselves to this medium quite like a lily pond. The interplay of light and shadow on the water's surface, the delicate petals of the lilies, and the vibrant green of the surrounding foliage create a scene brimming with artistic potential. This tutorial will guide you through the process of creating your own stunning watercolor lily pond, from initial sketch to final details, allowing you to explore the versatility and expressive power of watercolor paints.
Whether you're a seasoned artist or just beginning your watercolor journey, this step-by-step guide will equip you with the techniques and confidence to paint a breathtaking lily pond. We'll cover everything from choosing the right colors and brushes to mastering essential watercolor techniques like washes and layering. Let's dive in and start painting!
Preparation and Safety Guidelines
- Arsh cold press finish 300lb watercolor paper
- Magenta watercolor paint
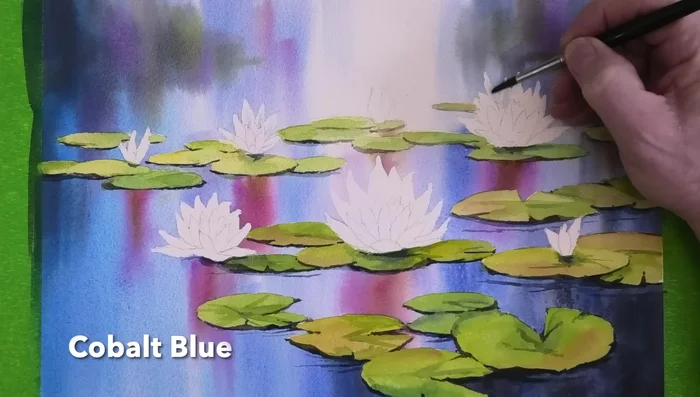
- Cobalt blue watercolor paint
- Phthalo blue watercolor paint
- Quinacridone Rose or Opera Rose
- Cadmium orange watercolor paint
- Cadmium yellow watercolor paint
- Sap green watercolor paint
- Phthalo green watercolor paint
- Payne's gray watercolor paint
- Large H brush
- Number 12 round brush
- Number 6 round brush
- 3 Quin flat brush
- Masking fluid
- Pencil
- Rubber eraser
- White Posca pen
- White pastel pencil
- Soft pastels
- Always work in a well-ventilated area. Watercolor paints contain pigments that can be harmful if inhaled in large quantities.
- Protect your work surface with a waterproof covering. Watercolor can stain surfaces easily.
- Clean your brushes thoroughly after use to prevent paint from drying and damaging the bristles.
Step-by-Step Instructions
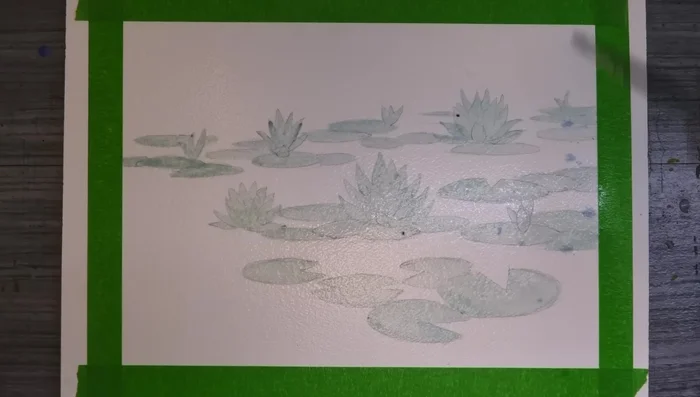
Preparation and Masking
- Prepare the paper and apply masking fluid to the lily pads.

Preparation and Masking Painting the Background Water
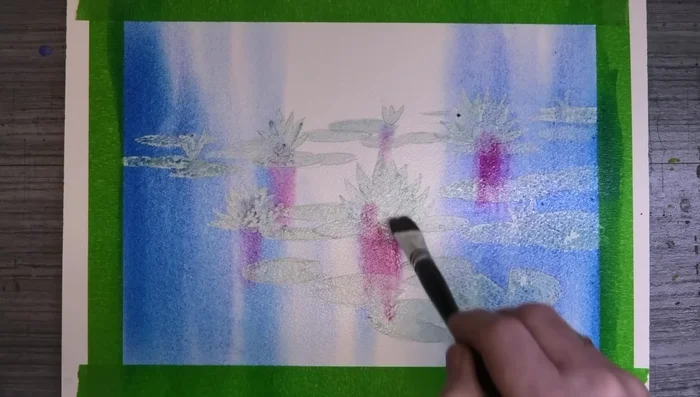
- Wet the entire sheet of paper and paint the background water using a 50/50 mix of cobalt blue and phthalo blue with vertical brushstrokes.
- Add magenta reflections from the flowerheads using quick, loose strokes.
- Add cadmium orange, more blue, and deepen the background color while keeping the central area light.
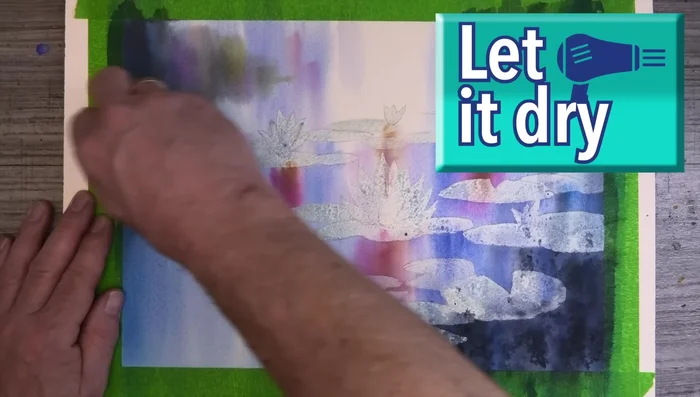
- Add Payne's gray for depth and drama, ensuring the paper remains wet.
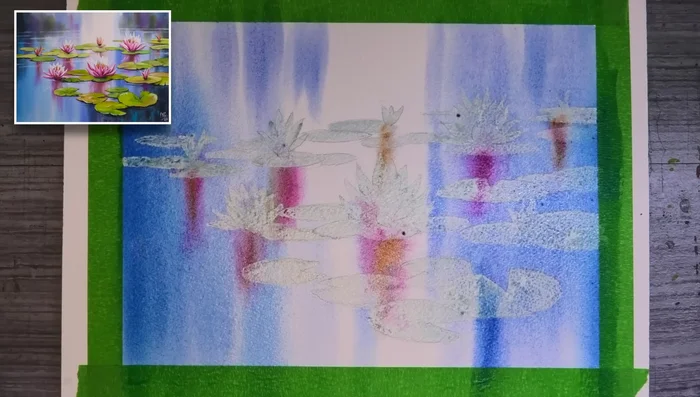
Painting the Background Water Removing Mask and Initial Lily Pad Painting
- Remove the masking fluid once everything is dry.
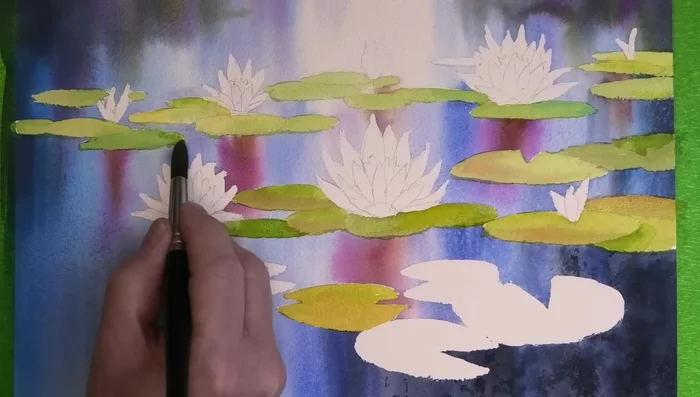
- Paint the lily pads with varying shades of green, using a mix of cadmium yellow and cobalt blue, lightening the value towards the light.
- Add texture in the corners with Payne's gray and soften with clean water.
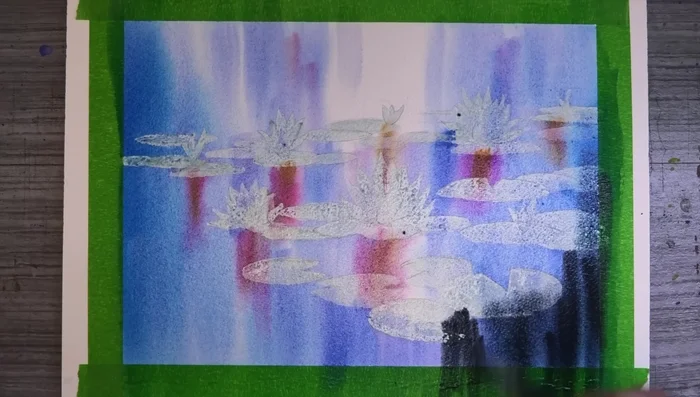
Removing Mask and Initial Lily Pad Painting Refining Lily Pads and Reflections
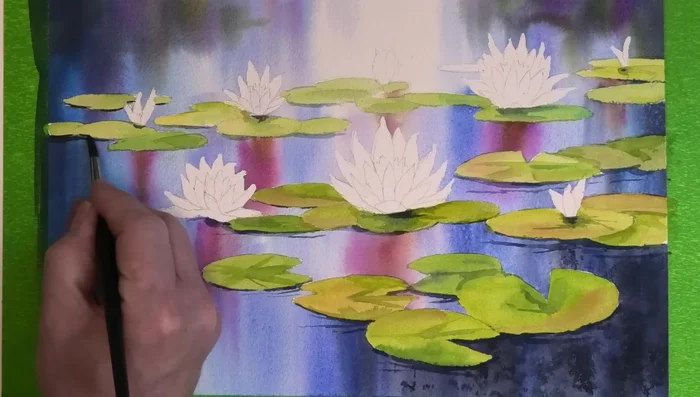
- Layer another wash on top of the drying lily pads to add depth.
- Paint the reflections of the lily pads in the water using a dark blue color.
- Paint the thickness of the lily pads and their edges with Payne's gray, leaving some gaps.
Refining Lily Pads and Reflections Painting the Water Lilies
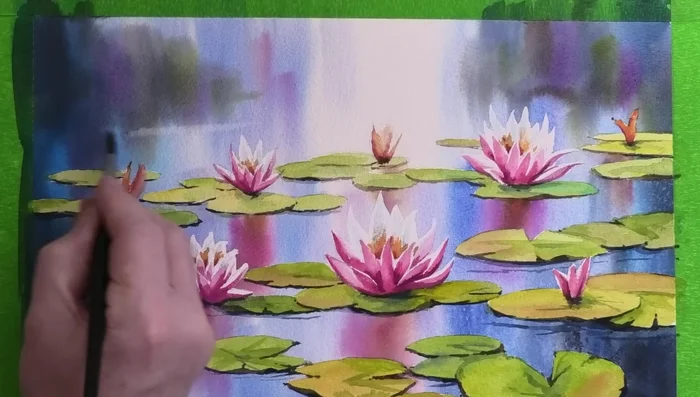
- Shadows on petals facing the viewer using watery cobalt blue, and use cadmium orange for the other petals, adding magenta where needed.
Painting the Water Lilies Adding Highlights and Light Effects
- Add highlights to the water using a damp brush and lift out technique with clean tissue.
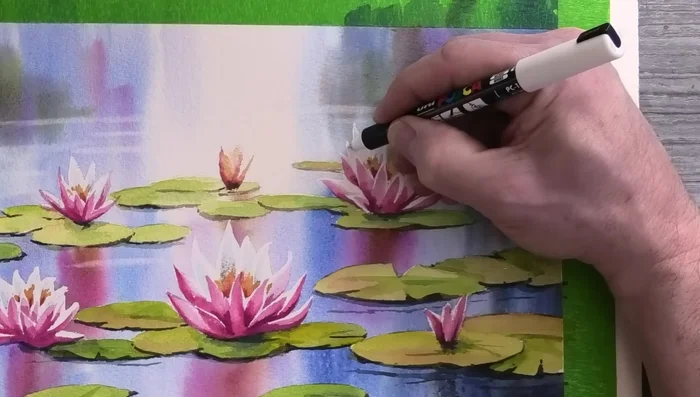
Adding Highlights and Light Effects Mixed Media Highlights
- Add white highlights with a white Posca pen or white gouache/acrylic paint.
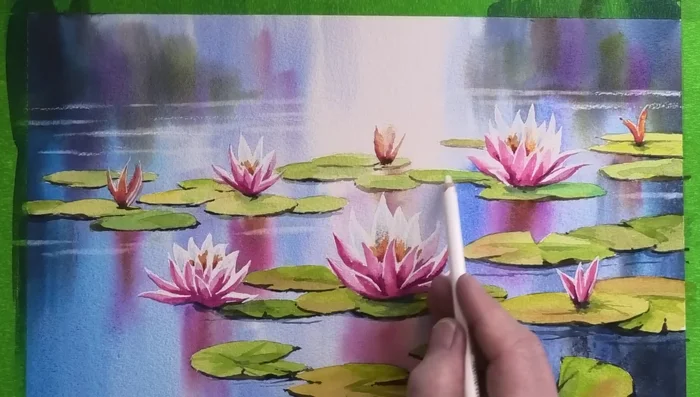
- Add final highlights with a white pastel pencil, smudging for a soft effect.
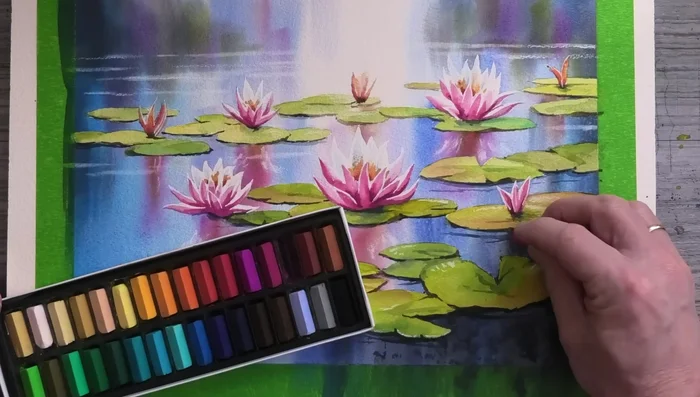
- Add final touches and reflections with soft pastels, smudging for a natural look.
Mixed Media Highlights


Read more: 7 Top Paint Color Trends for 2024: A Complete Guide with Free Downloadable Resource
Tips
- Using 100% cotton paper is highly advantageous for keeping the paint wet for longer periods.
- Pre-mix your colors to work quickly and efficiently.
- Vary your green shades by adding yellow or blue to your mix.
- Don't fully outline the lily pads; leave some gaps for a natural look.
- Leave unpainted areas for highlights and to distinguish individual petals.