Watercolor painting offers a unique opportunity to capture the fleeting beauty of a landscape, and achieving a loose, expressive style can unlock a whole new level of artistic freedom. This technique, characterized by its spontaneous brushstrokes and emphasis on capturing the essence of the scene rather than minute details, allows for a vibrant and evocative portrayal of nature. Forget tight precision; embrace the happy accidents and the unpredictable flow of color as you build layers of washes and textures. This loose approach lends itself particularly well to landscapes, where the vastness and ever-shifting light create a perfect backdrop for fluid brushwork.
This tutorial will guide you through a step-by-step process of creating a loose fall landscape watercolor painting, perfect for beginners and experienced artists alike. Whether you're aiming to paint the fiery hues of autumn leaves, the misty ambiance of a woodland scene, or the golden light of a harvest field, you'll discover techniques to achieve a truly captivating and expressive portrayal of the season's beauty. Let's begin!
Preparation and Safety Guidelines
- Winsor Newton professional watercolors
- Princeton snap brushes (size 12 and size 6)
- Watercolor paper
- Painter's tape
- Board (optional)
- Water paper towel
- Dr. Ph. Martin's Bleed Proof White Ink (optional)
- Always work in a well-ventilated area. Watercolor paints and mediums can contain chemicals that are harmful if inhaled.
- Protect your work surface. Watercolor can stain, so use a waterproof surface or cover it with a protective layer like plastic sheeting or newspaper.
- Clean your brushes thoroughly after each use. Dried paint can damage the bristles and make them harder to clean later.
Step-by-Step Instructions
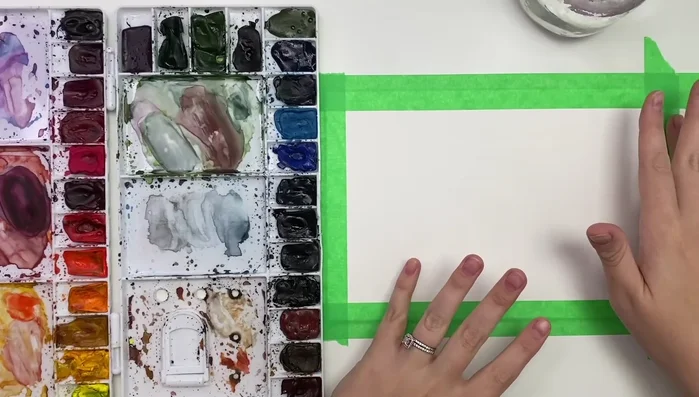
Prepare the Canvas
- Tape watercolor paper to a board (or table).

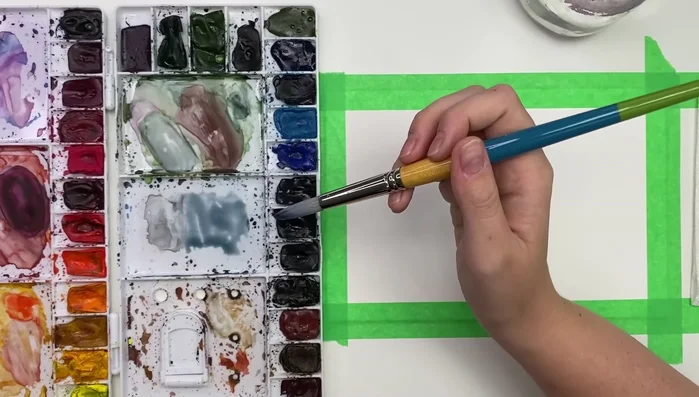
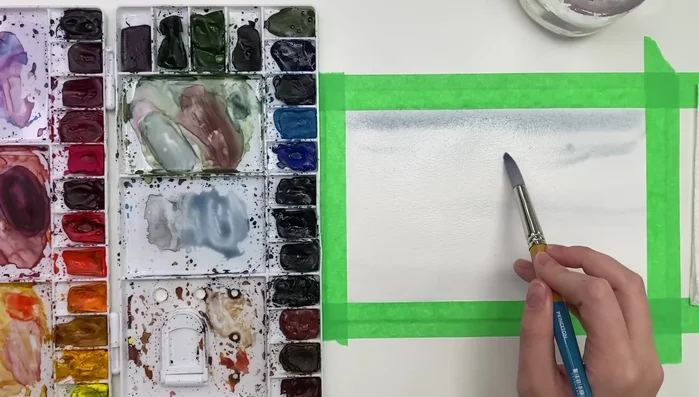
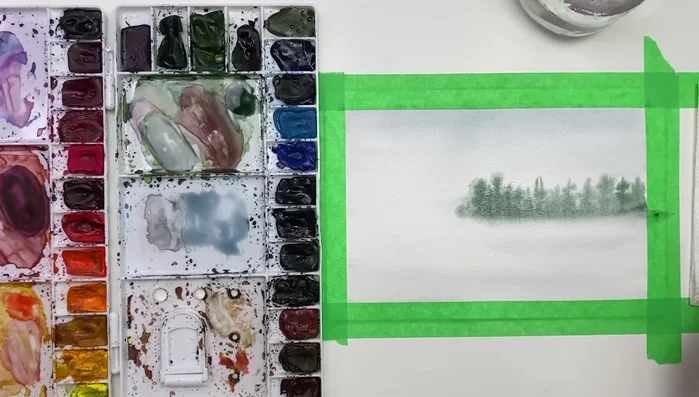
Prepare the Canvas Paint the Background Wash
- Use a large brush and a diluted Payne's Gray (or any blue/gray) to create a light wash across the paper. Leave a lighter area for the trees.
- Add slightly more gray at the top to suggest clouds and a horizon line.
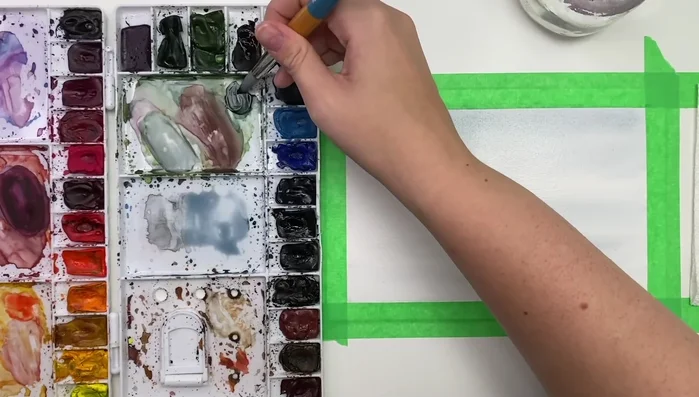
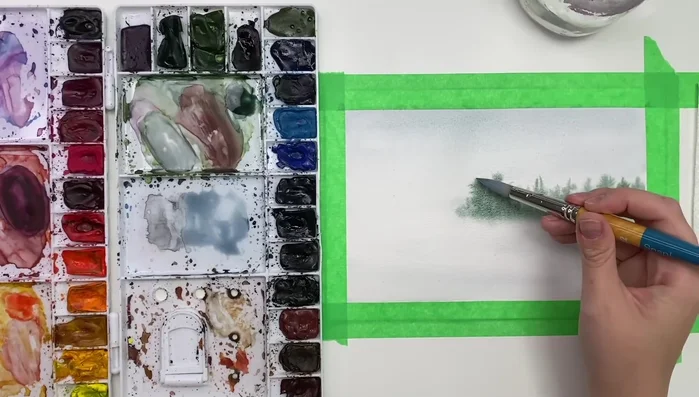
Paint the Background Wash Establish Background Trees
- Using a mix of dark green and possibly black, create a horizontal line of trees in the background, leaving space for yellow trees.
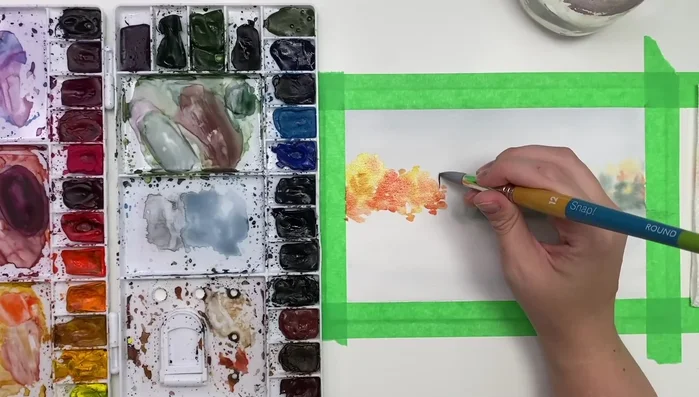
- Use Cadmium Yellow and Cadmium Red (or orangey red) to add lighter yellow and orange trees to the background, keeping them loose and slightly faded.
- Wash and dry your brush to clean up edges and smooth out the colors.
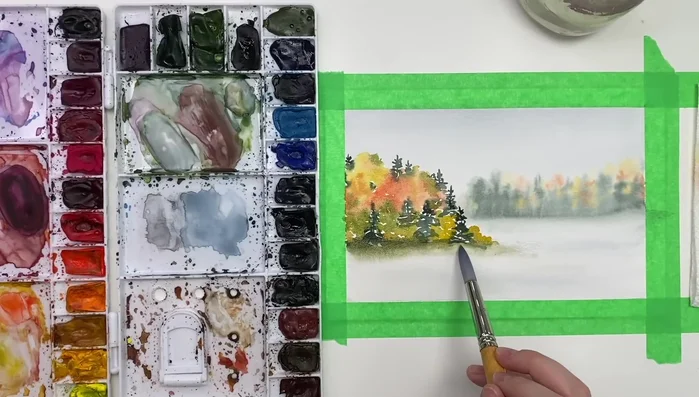
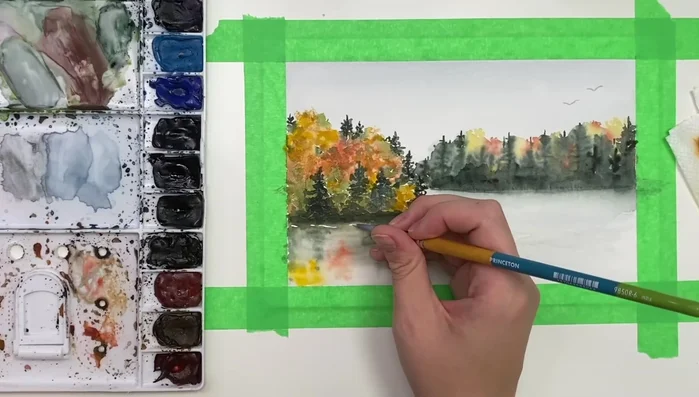
Establish Background Trees Paint Foreground Trees and Shoreline
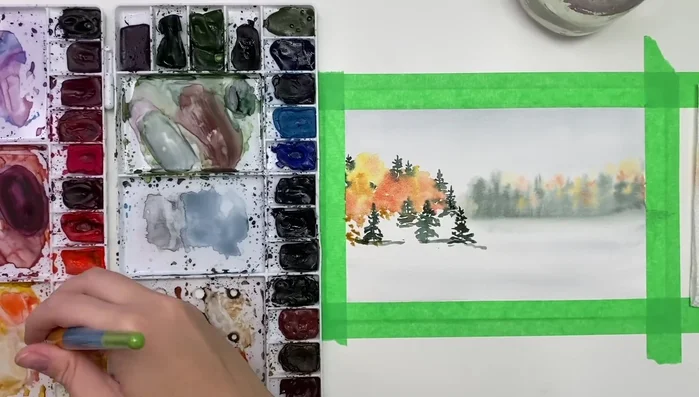
- Use Cadmium Yellow and Cadmium Red to place trees along the shoreline. Use angled brushstrokes and leave space between the trees.
- Use a dark green to create vertical lines and messy branches for evergreen trees.
- Add more trees and bushes using various shades of yellow, green, and ochre.
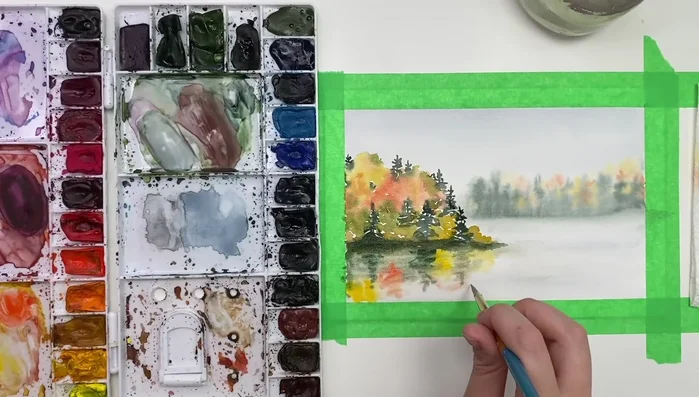
Paint Foreground Trees and Shoreline Paint Water Reflection
- Wet the lower portion for a reflection. Use the same colors from the trees, mirroring their placement and allowing them to blend loosely.
- Use clean water with a smaller brush to create highlights and movement in the water reflection, blending colors as needed.
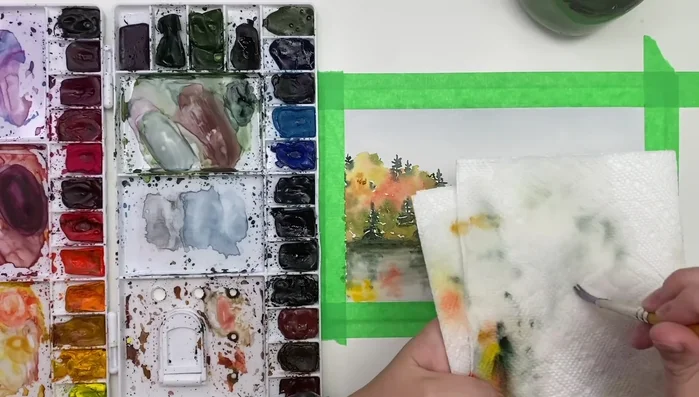
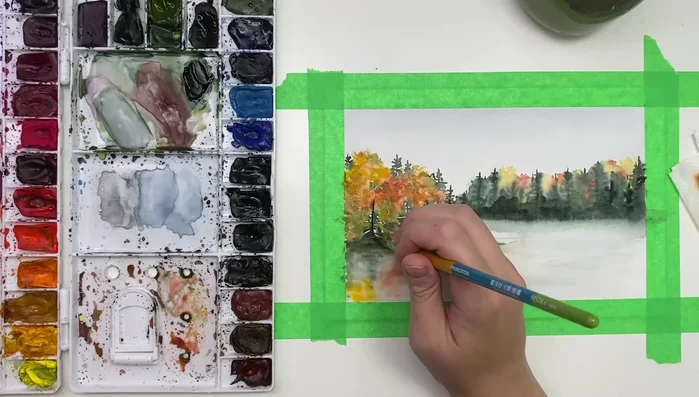
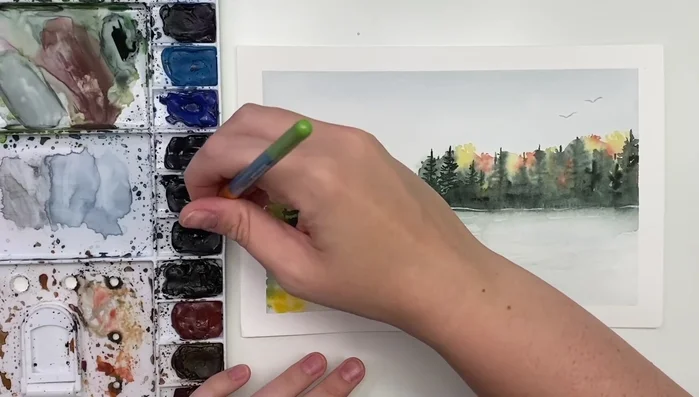
Paint Water Reflection Refine and Add Depth
- Wet the background tree area and reapply colors to deepen the tones and add texture.
- Use dry brushing with yellow ochre, red, and orange to add texture to the trees.
- Use dark green, black and burnt umber to refine the evergreens and shoreline.
- Use white ink to add highlights along the shoreline and in the water.
Refine and Add Depth - Add details to background trees if needed.
Refine and Add Depth


Read more: 7 Top Paint Color Trends for 2024: A Complete Guide with Free Downloadable Resource
Tips
- Use enough water for a background wash to stay wet, but not so much that it runs.
- Dry your brush frequently to control color bleeding and create clean lines.
- Keep trees and reflections loose and uneven for a more natural look. Avoid symmetry.
- Use dry brushing for texture in the trees by dabbing the brush on a paper towel before applying paint.
- Always step back and reassess your painting before finishing. Don't be afraid to add or adjust details.