Watercolor painting offers a unique blend of spontaneity and control, allowing artists to capture the essence of a subject with fluid washes and delicate details. Houses, with their diverse architectural styles and charming characteristics, make particularly captivating subjects for watercolor exploration. This freehand approach, eschewing strict outlines, encourages a more expressive and less rigid style, perfect for capturing the feeling of a scene rather than a photographic replica. This inherent looseness can be intimidating for beginners, but with the right guidance, even the most complex house can be brought to life on paper.
This tutorial provides a comprehensive, step-by-step guide to painting houses in watercolor, focusing on the freedom and joy of freehand techniques. We’ll walk you through the entire process, from sketching initial shapes to layering washes and adding the final details, empowering you to create your own unique and vibrant watercolor house paintings. Let's begin!
Preparation and Safety Guidelines
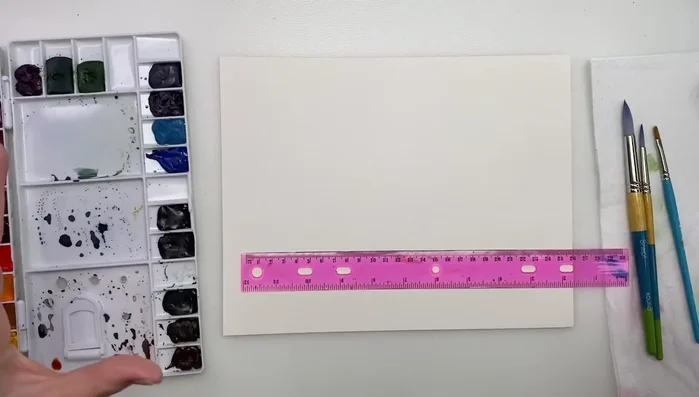
- Arches watercolor paper
- Windsor Newton professional watercolors
- pencil
- eraser
- ruler
- Princeton snap brushes (size 12 and 6)
- Princeton select filbert brush
- Dr. Ph. Martin's Bleedproof White Ink
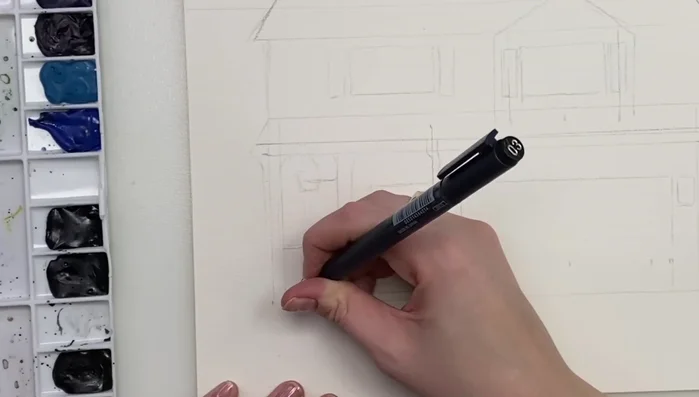
- Tombow Mono Drawing Pen (size 03)
- Always work in a well-ventilated area. Watercolor paints, while generally non-toxic, can still release fumes that may irritate sensitive individuals.
- Protect your work surface. Watercolor can stain, so cover your table or desk with a waterproof surface like plastic or a drop cloth.
- Clean your brushes thoroughly after each use. Dried watercolor is difficult to remove and can ruin your brushes.
Step-by-Step Instructions
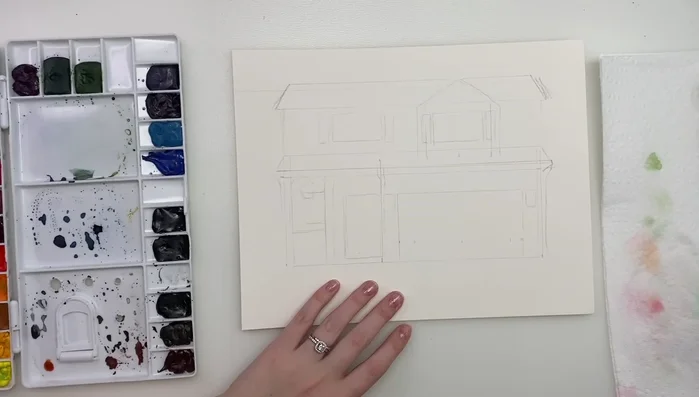
Sketching the House
- Sketching the house outline using a ruler to guide proportions.

Sketching the House Foreground Ink Work
- Laying down ink for the foreground (plants, patio) to avoid overpainting later.
- Adding details to plants using a fine-liner pen.
Foreground Ink Work House Ink Details
- Inking the house details using a ruler for straight lines.
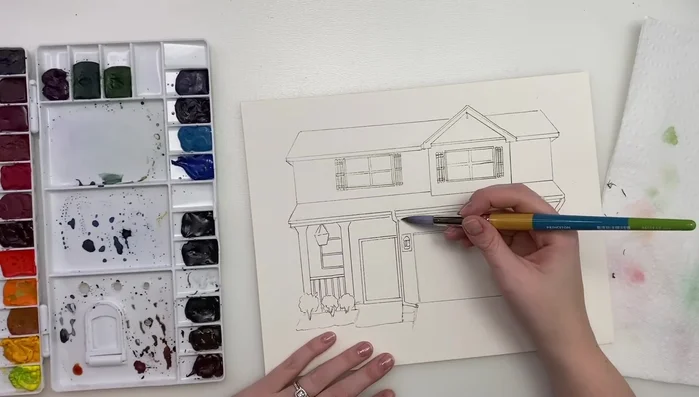
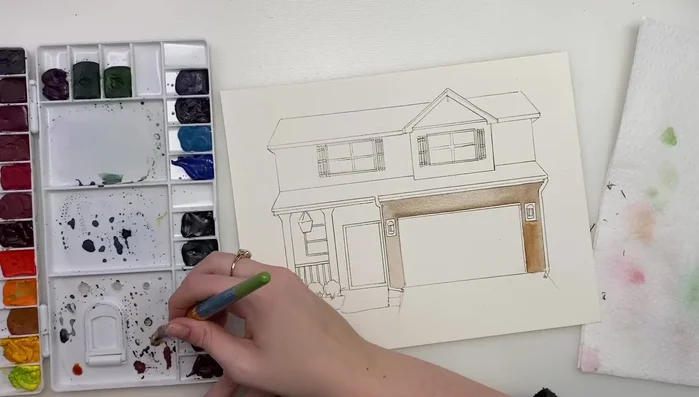
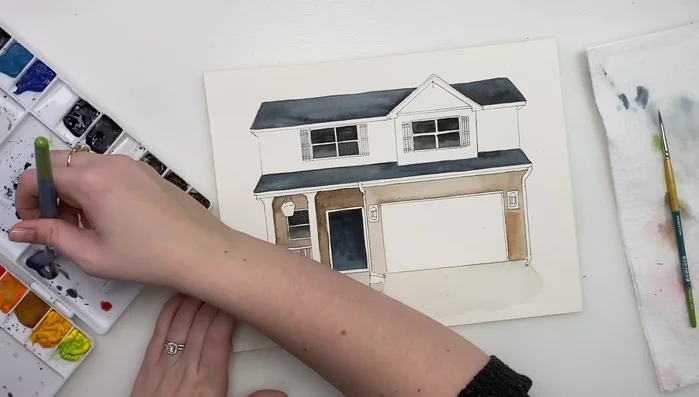
House Ink Details Base Watercolor Layers
- Applying a base layer of brown watercolor for the stonework.
- Adding a darker brown wash for the porch area.
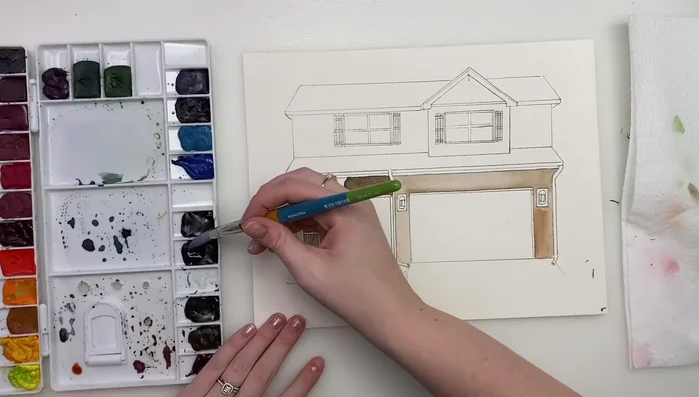
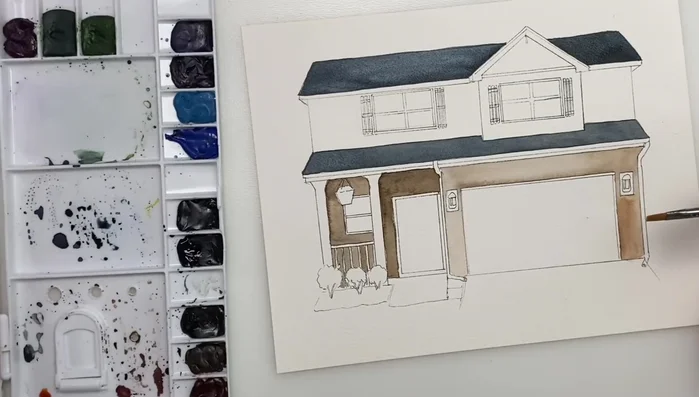
Base Watercolor Layers Large Areas Watercolor
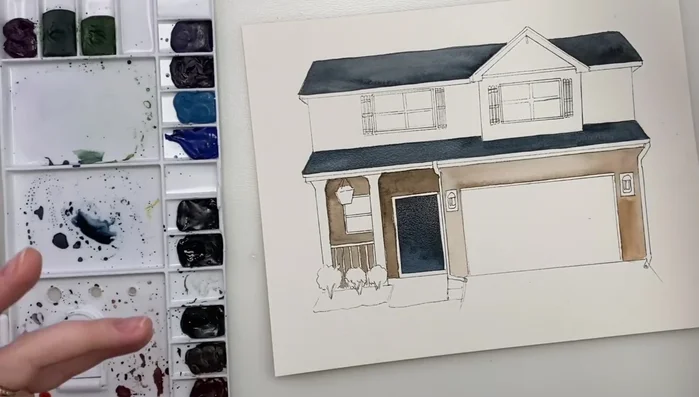
- Painting the roof with a gray wash using a flat wash brush for straight lines.
- Painting the door with a blue-gray wash and a flat shader brush.
- Painting the driveway and patio with light beige and gray washes.
- Adding a very light gray wash to the garage.
Large Areas Watercolor - Adding a beige-ish wash to the upper part of the house.
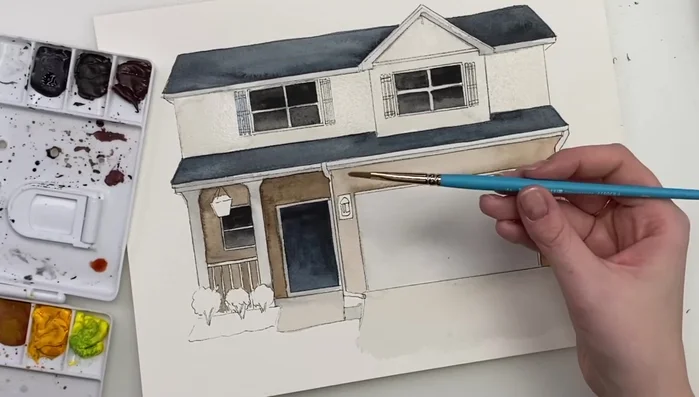
Large Areas Watercolor House Trim and Details
- Adding a light gray wash to the windows, using a flat shader for sharp lines.
- Painting the house trim with a very light gray wash, adding darker shadows.
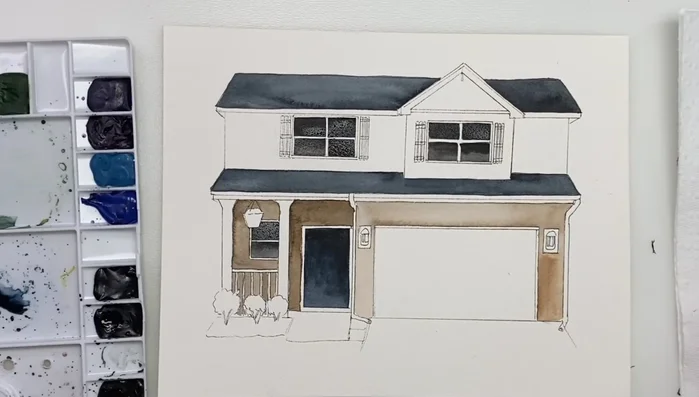
House Trim and Details Stonework
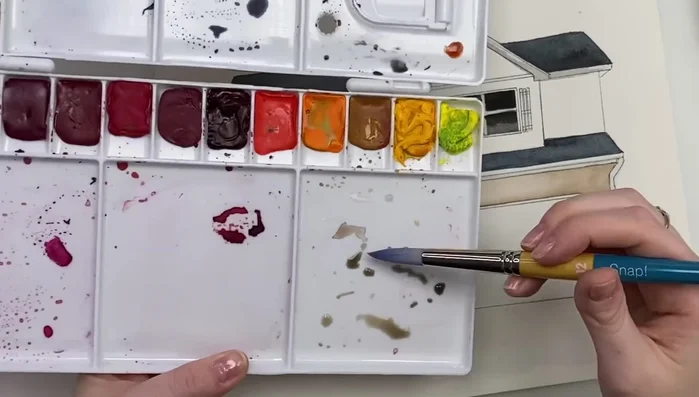
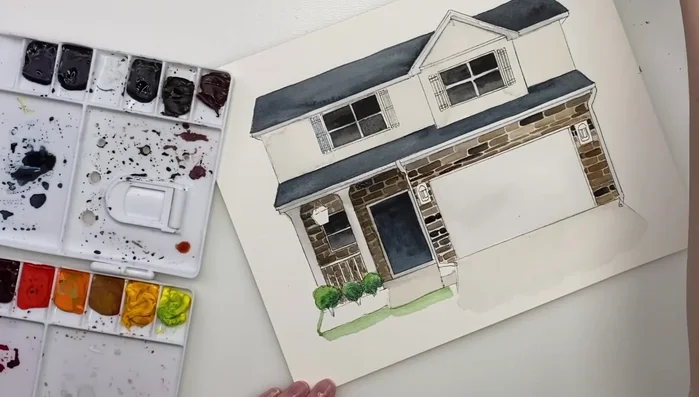
- Painting the stonework using a filbert brush and varying shades of brown and black.
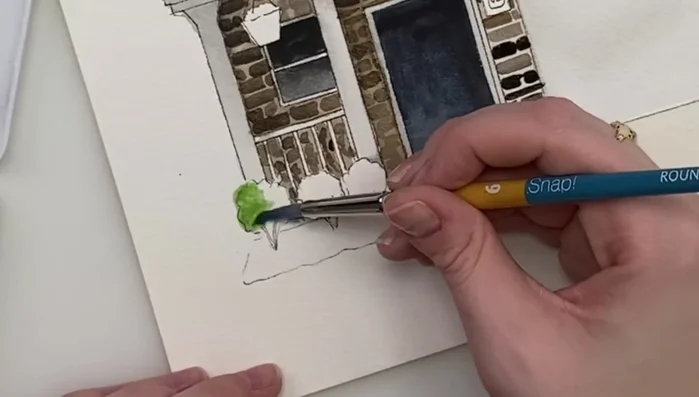
Stonework Landscaping
- Painting bushes using layers of different green shades.
- Painting the lawn with a soft green wash, blending edges for a natural look.
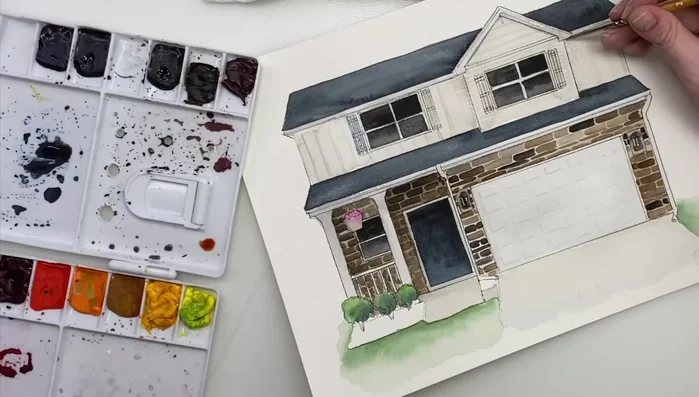
Landscaping Final Details and Highlights
- Adding details such as garage door panels and shutters using smaller brushes and white ink highlights.
- Adding final details and shadows to enhance the 3D effect.
Final Details and Highlights


Read more: 7 Top Paint Color Trends for 2024: A Complete Guide with Free Downloadable Resource
Tips
- Observe the proportions of the house before starting to sketch.
- Use a flat wash brush for straighter lines when painting buildings.
- Use a paper towel to dab off excess paint and create lighter washes.
- Blend edges of washes to create a soft, natural look.
- Use smaller brushes for detailed areas.