Watercolor painting offers a unique challenge: capturing the luminous translucence of glass and the subtle intricacies of reflected light. These seemingly simple elements can quickly become frustrating for even experienced artists, often resulting in muddy, lifeless representations. But with the right techniques and understanding, the sparkling allure of glass and the captivating play of reflections can be brought to life on your paper. The delicate balance between transparency, opacity, and the skillful use of negative painting is key to achieving realistic and captivating results.
This step-by-step guide will walk you through the essential techniques needed to master the art of painting glass and reflections in watercolor. We’ll explore how to achieve convincing transparency, accurately depict reflections, and create the illusion of depth and dimension. Prepare to unlock the secrets to transforming flat surfaces into shimmering, reflective masterpieces.
Preparation and Safety Guidelines
- Watercolor paper (100% cotton)
- Watercolor paints (Cadmium Yellow, Yellow Ochre, Cobalt Blue, Green Gold, Alizarin Crimson, Magenta, Cadmium Red, Burnt Umber)
- Number 12 round brush
- Number 6 round brush
- Masking fluid or drawing gum
- Pencil
- Eraser
- Tracing paper
- Always work in a well-ventilated area when using watercolor paints and mediums. Some pigments and solvents can release fumes.
- Protect your work surface with a waterproof covering. Watercolor can stain, and spills are possible, especially when working with wet-on-wet techniques.
- Use caution when handling glass objects, particularly broken pieces. Wear protective gloves if necessary.
Step-by-Step Instructions
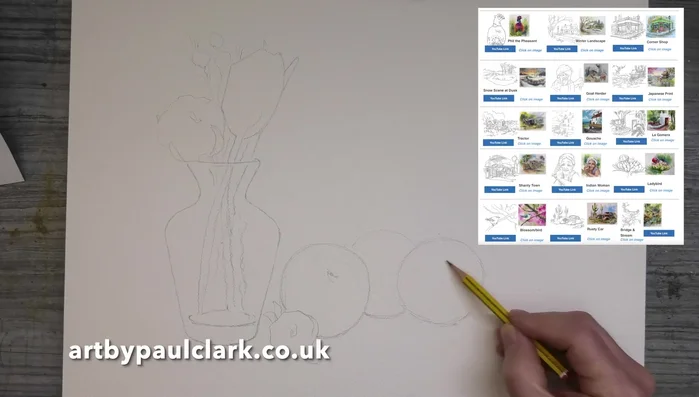
Sketch and Prepare
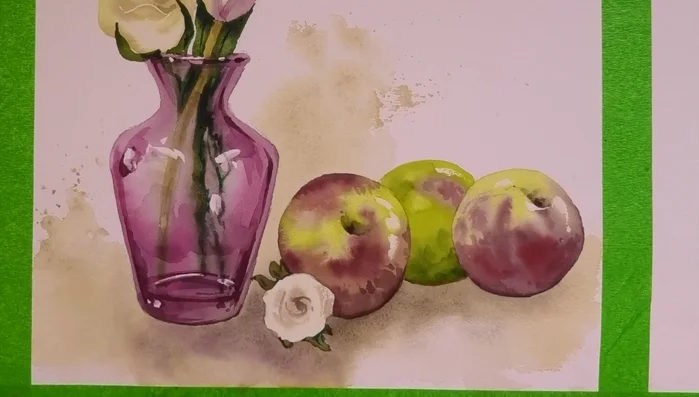
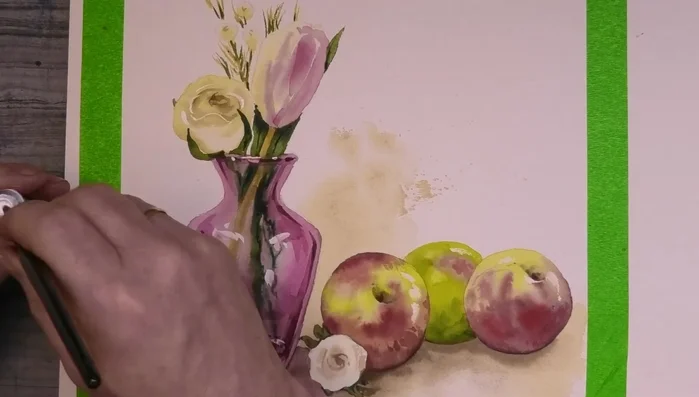
- Sketch the vase and apples, using a center line for symmetry. Downloadable sketch available on website.
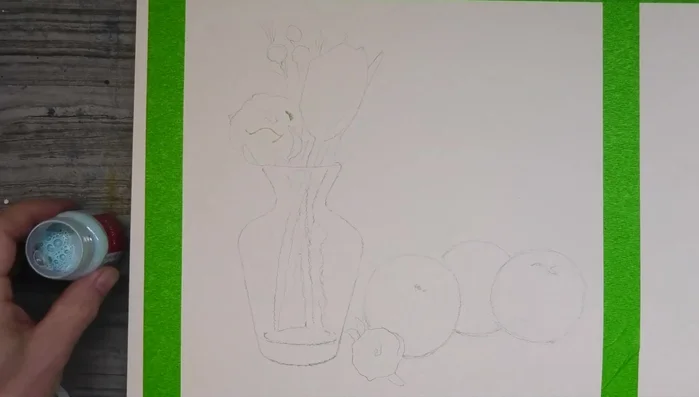
- Apply masking fluid to preserve highlights.

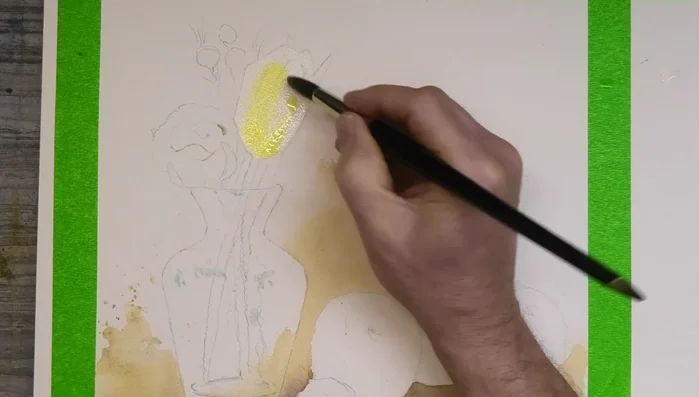
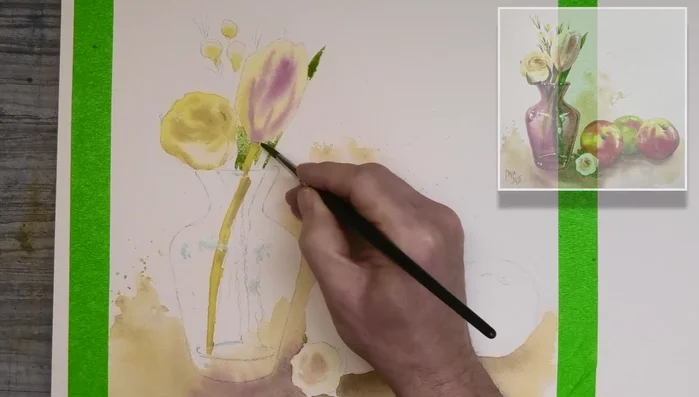
Sketch and Prepare Background and Flowers
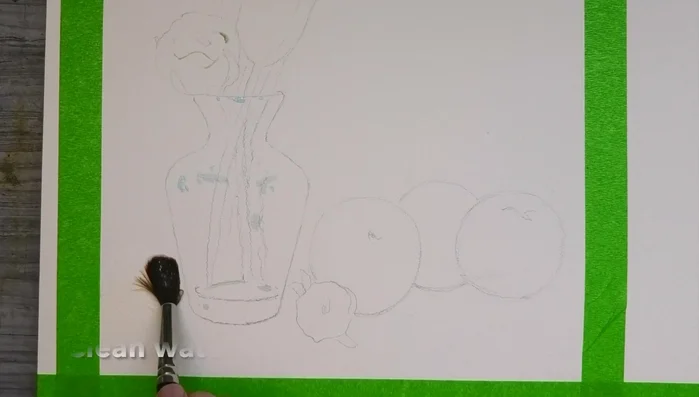
- Wet the paper around the vase and apples with clean water.
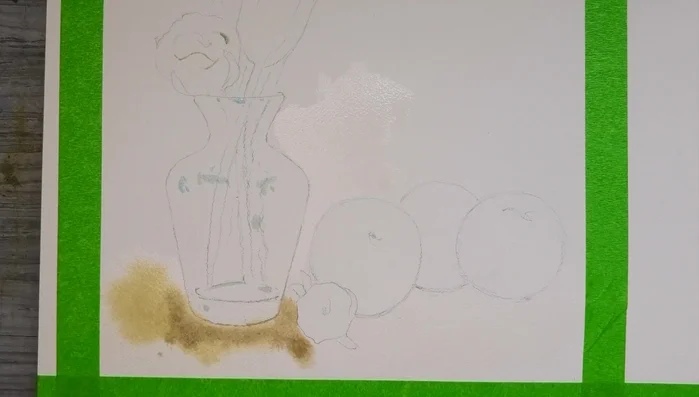
- Apply yellow ochre and burnt umber washes for the background, keeping it light.
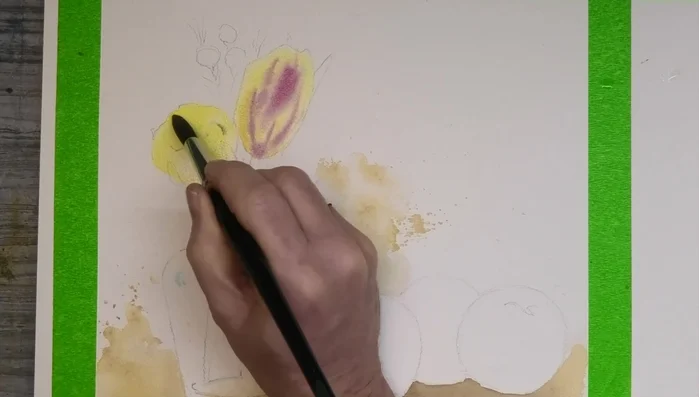
- Paint the tulips with cadmium yellow, adding magenta for depth.
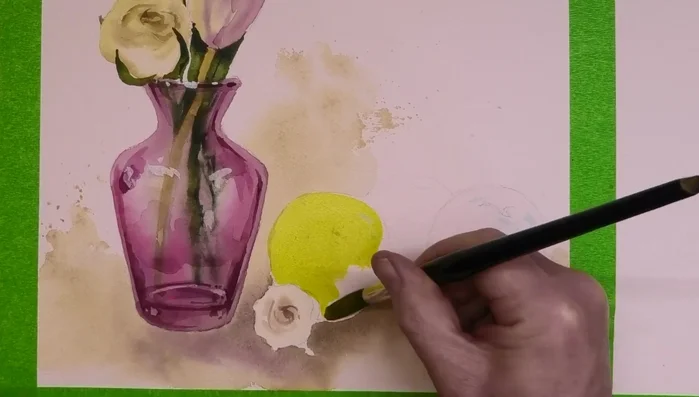
- Paint the rose with a watery cadmium yellow wash, adding yellow ochre and burnt umber for shadows.
Background and Flowers - Mix greens from cadmium yellow and cobalt blue for the stems and leaves. Use quick strokes for natural look.
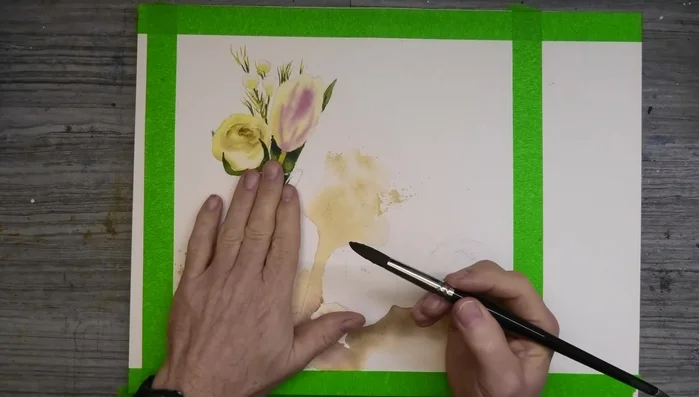
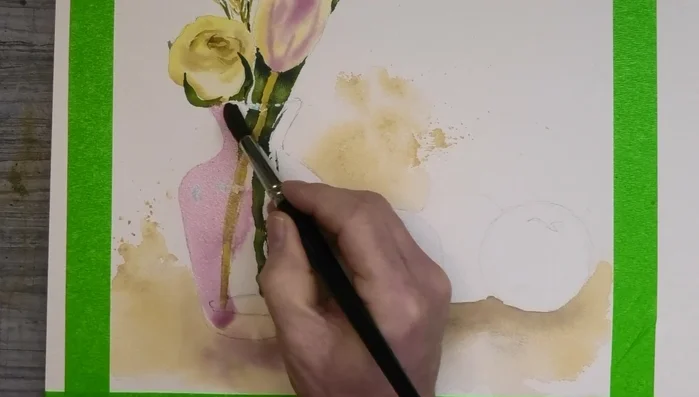
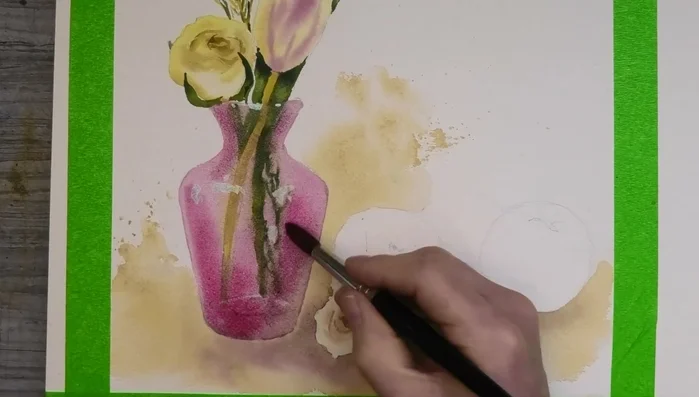
Background and Flowers Painting the Vase
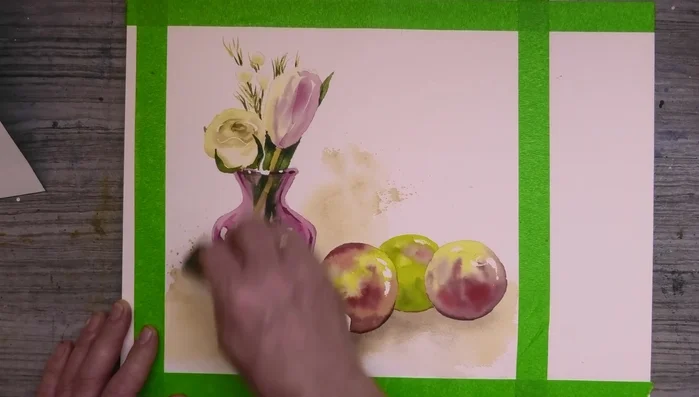
- Let the painting dry completely.
- Apply an even wash of alizarin crimson and magenta over the vase. Allow some areas to remain fuzzy for the illusion of glass.
- Add stronger values of the same color while wet, including cobalt blue for deeper tones.
- Let the painting dry, then add crisper edges with the same color wet-on-dry.
Painting the Vase - Add final details to the vase with magenta, alizarin crimson, and cobalt blue.
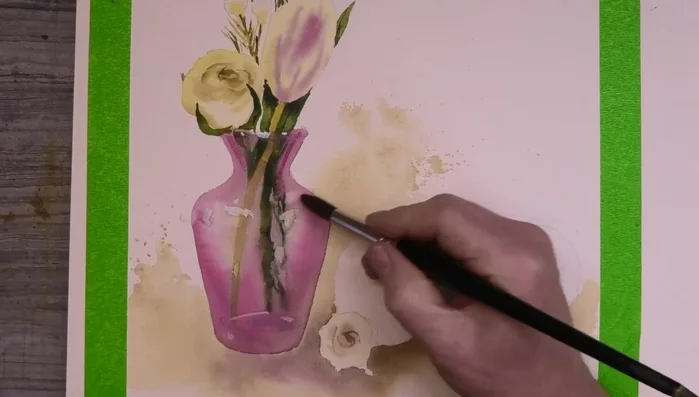
Painting the Vase Painting the Apples
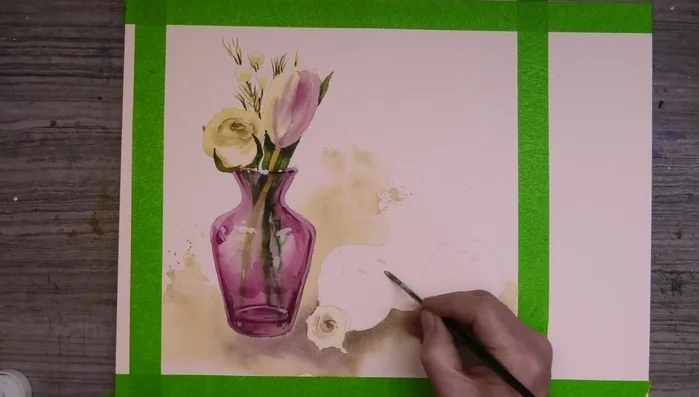
- Apply masking fluid to the apples before painting them.
- Paint apples using Daniel Smith Green Gold with alizarin crimson and cadmium red for depth. Use stronger consistency of red to overpower the green.
- Remove masking fluid with a rubber eraser. Soften edges with watery pink washes.
- Add details with watery green and red mixes, creating depth with shadows.
Painting the Apples Adding Details and Reflections
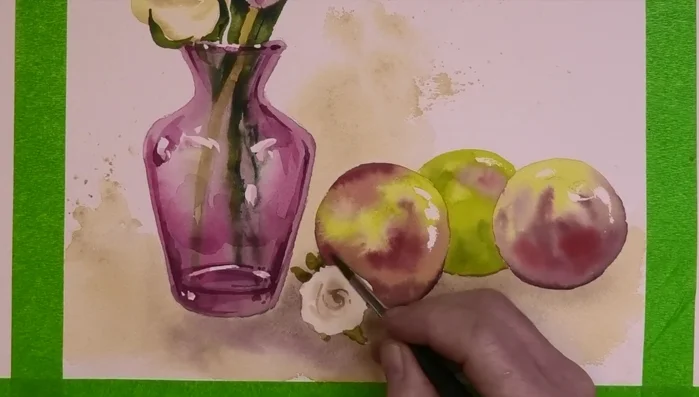
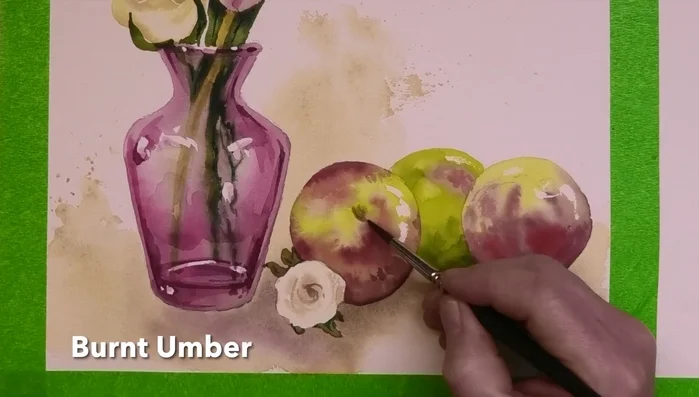
- Create dents by painting clean water in a V-shape, then adding burnt umber. Soften the top edges with a damp brush.
- Add reflections to the bottom with lizarin crimson and burnt umber.
- Add white gouache highlights for a glass-like sparkle.
Adding Details and Reflections

Read more: 7 Top Paint Color Trends for 2024: A Complete Guide with Free Downloadable Resource
Tips
- Use a center line when sketching symmetrical objects.
- Trace and flip your sketch for accuracy.
- Quick strokes create a more natural look.
- Don't overwork details on the apples.
- Use clean water blobs to create interesting effects.