Watercolor painting often evokes images of meticulous detail and painstaking control, but what if creating beautiful floral art could be effortless and liberating? This tutorial will guide you through a simple yet stunning approach to loose watercolor painting, allowing you to capture the vibrant spirit of flowers without the pressure of perfection. Forget the fear of making mistakes; embrace the happy accidents that add unique character and charm to your artwork. We’ll focus on techniques that promote fluidity and spontaneity, resulting in paintings that are fresh, expressive, and undeniably captivating.
This approach emphasizes letting the water and pigment do the work, resulting in soft, diffused blooms that feel naturally alive on the page. Ready to unlock your inner floral artist? Let's dive into the step-by-step process and create some effortlessly beautiful loose watercolor florals together.
Preparation and Safety Guidelines
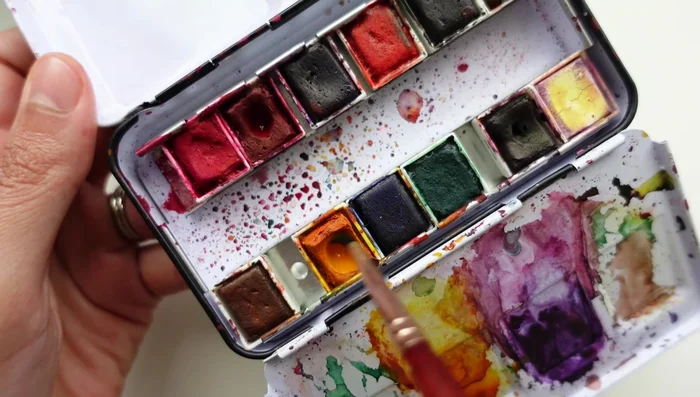
- 100 cotton watercolor paper
- Odyssey paint palette from art philosophy
- Princeton Neptune size 4 and 8 round brushes
- Bowl of clean water
- Paper towel
- Palette or surface for mixing paint
- Always work in a well-ventilated area. Watercolor paints and mediums can release fumes.
- Protect your work surface. Watercolor can stain, so use a protective covering like a plastic sheet or drop cloth.
- Clean your brushes thoroughly after each use to prevent paint build-up and maintain their longevity.
Step-by-Step Instructions
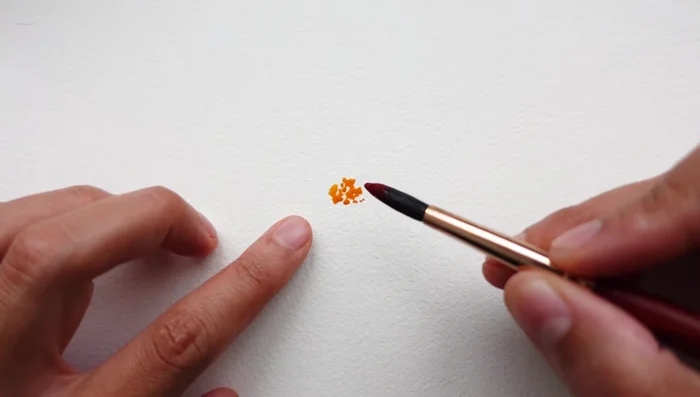
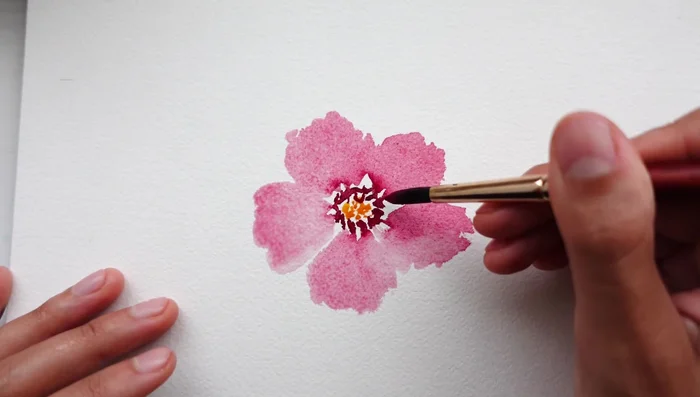
Create the Flower Center
- Load a size 4 round brush with a vibrant yellow-orange color and lightly tap it onto the paper to create a dainty flower center.
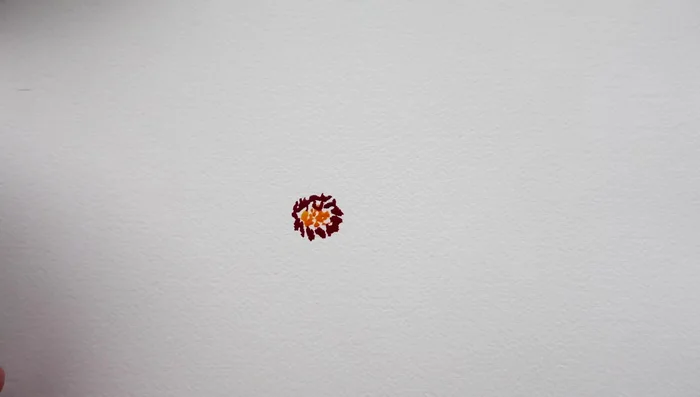
- Gently tap in a vibrant pink color around the yellow center, leaving some white space.

Create the Flower Center Paint the Petals (First Layer)
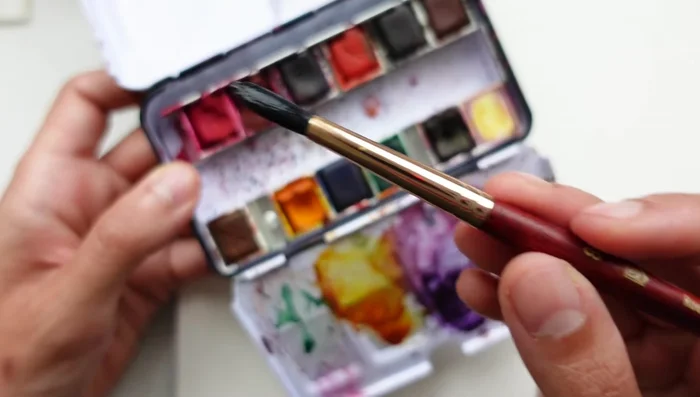
- Switch to a size 8 Neptune brush, load it with water and pigment, and paint loose, fluffy petals around the center using a lot of water for a loose style.
- Rinse most of the pigment from your size 8 brush, keeping it wet. Use the brush tip to drag out pigment and lay down pressure to create petals. Repeat this process around the center, using about five or six petals.
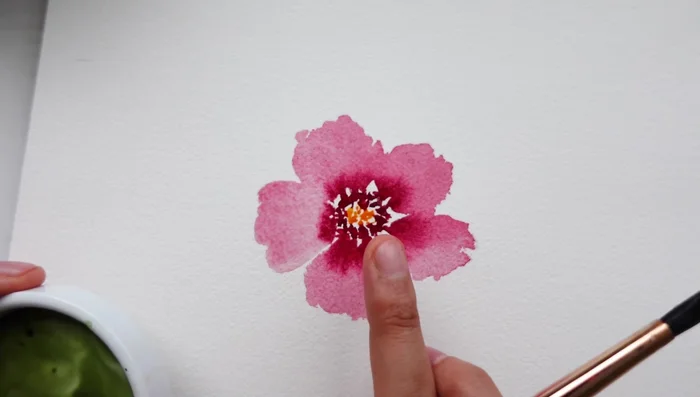
Paint the Petals (First Layer) Blend and Enhance Petals
- Go back in with the deep pink pigment and gently tap it into the center of the flower while the petals are still wet, allowing the color to bloom into the petals.
Blend and Enhance Petals Add Leaves
- Add loose leaves with dark green paint while the petals are wet to create a blooming effect.
Add Leaves
Read more: 7 Top Paint Color Trends for 2024: A Complete Guide with Free Downloadable Resource
Tips
- Don't worry about creating perfect petal shapes; make each one slightly different for a natural look.
- Use lots of water in your brush to keep the paint flowing and prevent drying out.
- Embrace bleeds and blooms; they add to the loose, flowing style.
- Wiggle your brush when painting leaves for a natural, organic look.