Watercolor painting offers a unique challenge and reward: capturing the delicate beauty of nature with translucent washes and vibrant hues. Few subjects test this skill quite like a feather, with its intricate barbs, subtle shading, and almost ethereal lightness. Mastering the art of depicting a realistic feather requires a nuanced approach, going beyond simple washes and embracing the power of layering. This complexity, however, yields breathtaking results, transforming a seemingly simple subject into a stunning piece of art.
This tutorial will guide you through a detailed, step-by-step process for creating a realistic watercolor feather using advanced layering techniques. We'll explore how to build depth and texture, achieving a level of detail that brings your feathered subject to life. Prepare to be amazed by the transformation as we move from initial washes to the final, exquisite rendering of a truly captivating feather.
Preparation and Safety Guidelines
- Watercolor paints
- Brushes (small and larger)
- Pencil
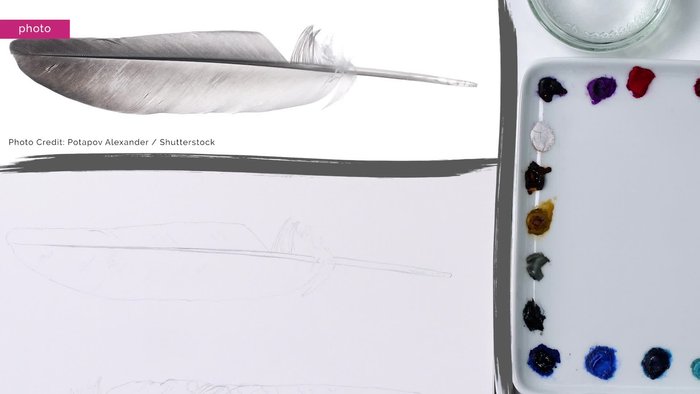
- Photo reference
- Always work on a well-ventilated area. Watercolor paints can contain chemicals that may cause irritation or allergic reactions if inhaled.
- Protect your work surface. Watercolor can stain, so use a protective covering like a plastic sheet or a dedicated watercolor pad.
- Clean your brushes thoroughly between color changes to avoid muddy mixes and maintain color vibrancy.
Step-by-Step Instructions
Preparation
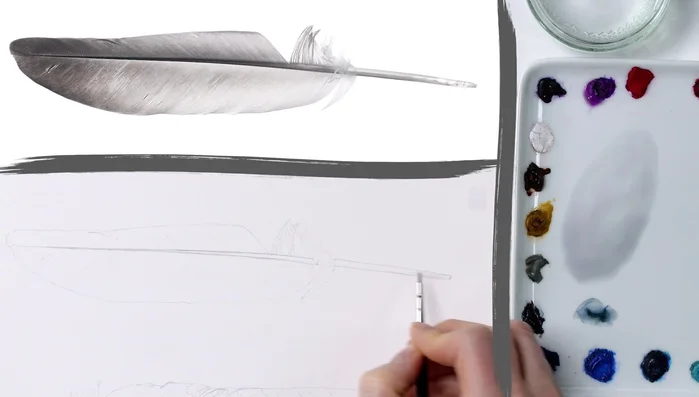
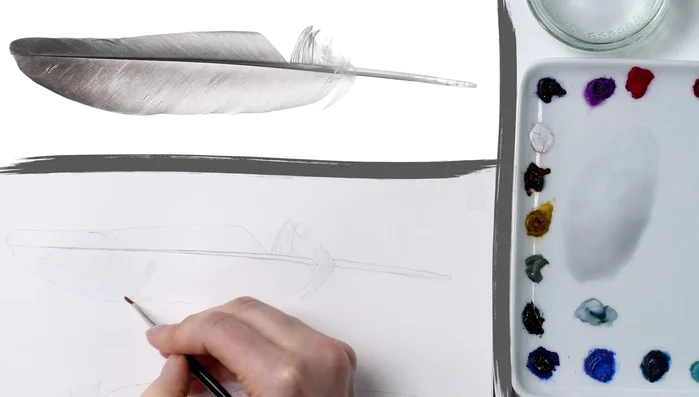
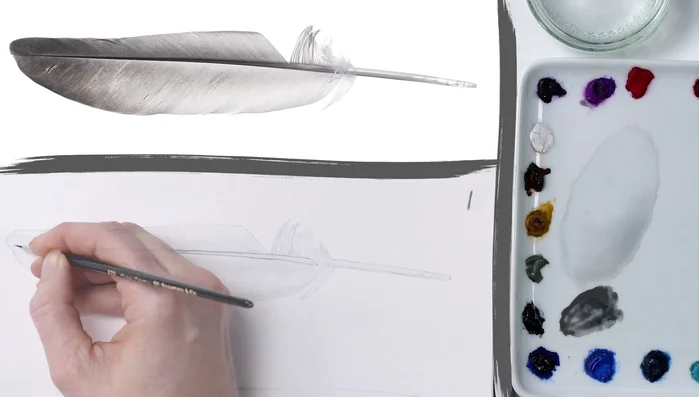
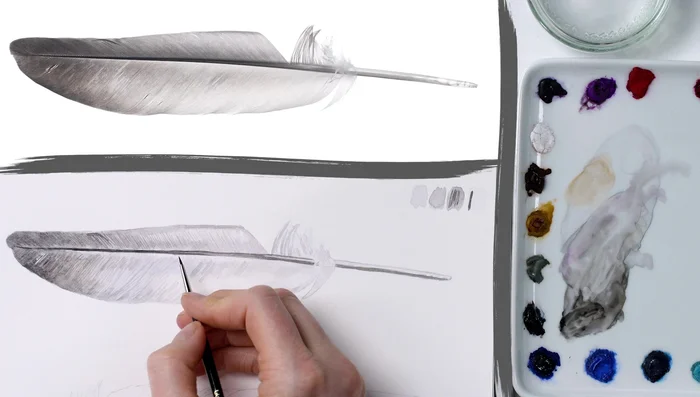
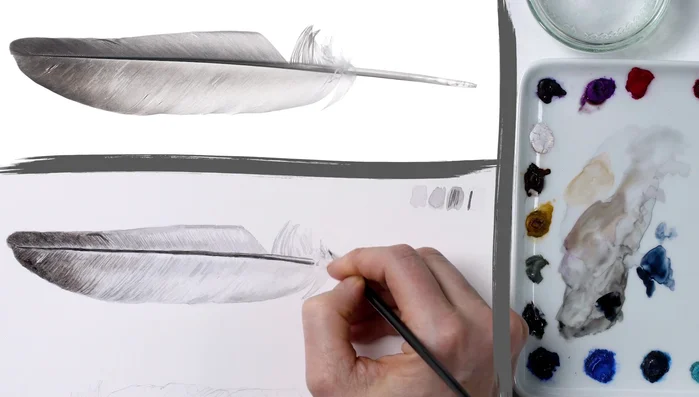
- Lightly sketch the feather outline, central rachis, and prominent barbs.

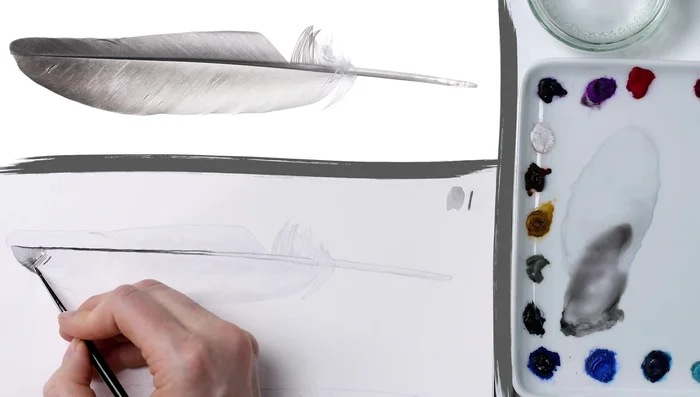
Preparation Base Layer
- Apply a very pale grey wash over the entire feather, using a small brush and following the direction of the barbs.
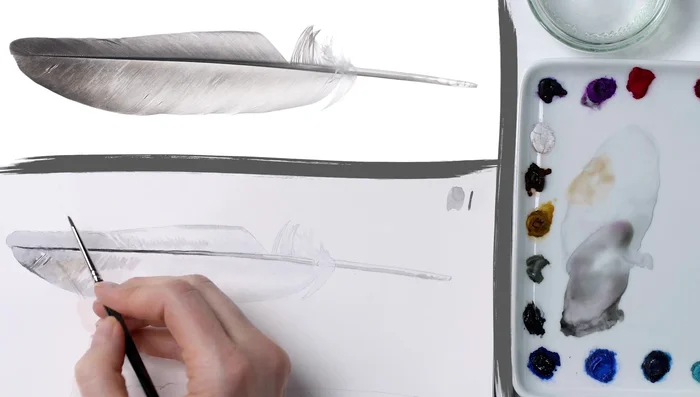
Base Layer Highlighting
- Once dry, apply another pale layer, leaving the lightest areas untouched to preserve highlights.
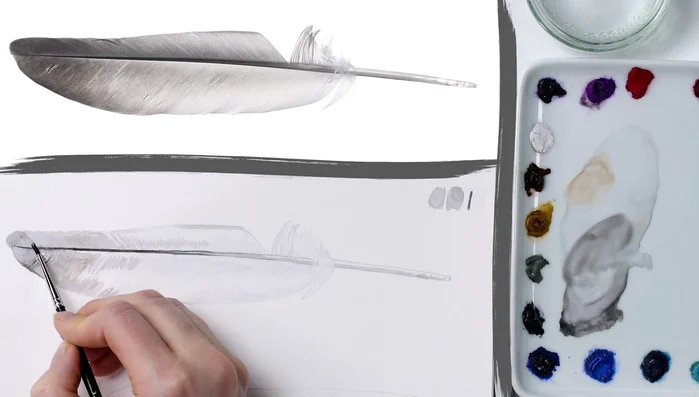
Highlighting Darkest Shading
- Use a tiny brush and a dark paint mix to paint the darkest areas (rachis and barbs at the tip).
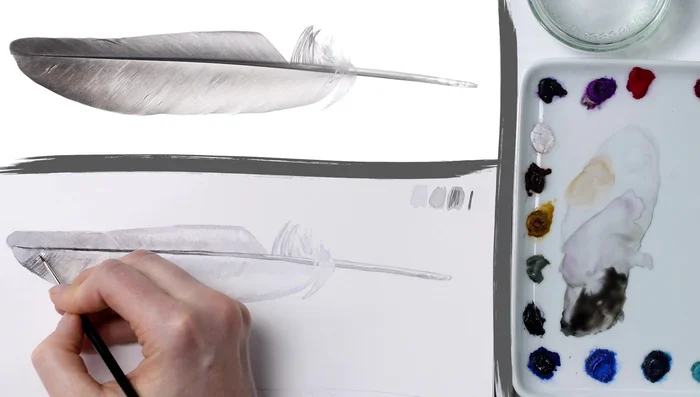
Darkest Shading First Mid-tones
- Apply a watery, darker wash (than step 4 but lighter overall) to the next darkest areas, focusing on the color between barbs.
First Mid-tones Color Variation
- Add a watery wash of brown to reflect subtle color variations in the photo reference.
Color Variation Second Mid-tones
- Use a mix between the previous two washes to paint the mid-tones, adding a touch of purple (cobalt violet) if needed.
Second Mid-tones Barb Detailing
- Use a darker, thicker mix and a tiny brush to add the fine details of the barbs, watering down the mix for lighter areas.
Barb Detailing Tonal Balancing
- Darken mid-tones again with a watery mix and a larger brush. Refine dark barbs and rachis as needed.
Tonal Balancing Final Touches
- Add fine details with a watery mix and tiny brush (lines, patches).
Final Touches
Read more: 7 Top Paint Color Trends for 2024: A Complete Guide with Free Downloadable Resource
Tips
- Paint in the direction of the barbs to create realistic lines and texture.
- Let each layer dry completely before applying the next to prevent bleeding.
- Work from light to dark, building up layers gradually.
- Use a variety of brush sizes for different details.
- Pay close attention to the tonal values (light and dark areas) in your reference photo to create realism.