Watercolor painting offers a unique opportunity to capture the atmosphere of a city, and few settings are as evocative as a rainy day. The glistening streets, the soft light filtering through the clouds, the reflective puddles – all combine to create a scene brimming with character and potential for artistic expression. This tutorial focuses on mastering the techniques needed to bring such a captivating cityscape to life on your paper, using the magical fluidity of watercolors to depict the mood and textures of a rainy urban environment. We'll explore methods for achieving realistic wet-on-wet washes, controlling the flow of water, and building depth and perspective within your composition.
This tutorial will guide you through the creation of a stunning rainy day cityscape, step-by-step. We'll cover everything from sketching your initial composition and choosing the right color palette to mastering the nuances of depicting rain-slicked streets and reflective surfaces. Prepare your brushes and paints – let’s dive into the enchanting world of watercolor cityscapes and capture the unique beauty of a rainy day!
Preparation and Safety Guidelines
- Watercolor paints
- 2in flat brush
- 14 number brush
- 0 number brush
- Water
- Paper
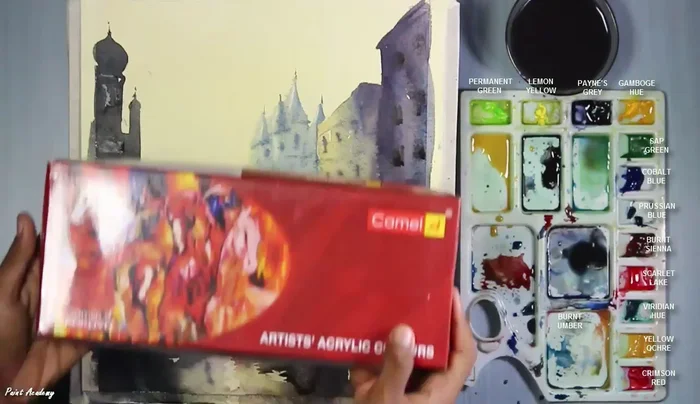
- Acrylic paints (optional)
- Pencil sharpener
- Always work in a well-ventilated area. Watercolor paints and mediums can release fumes.
- Protect your work surface with a waterproof cover or drop cloth. Watercolors can stain.
- Allow each layer of paint to dry completely before applying the next to prevent muddying colors.
Step-by-Step Instructions
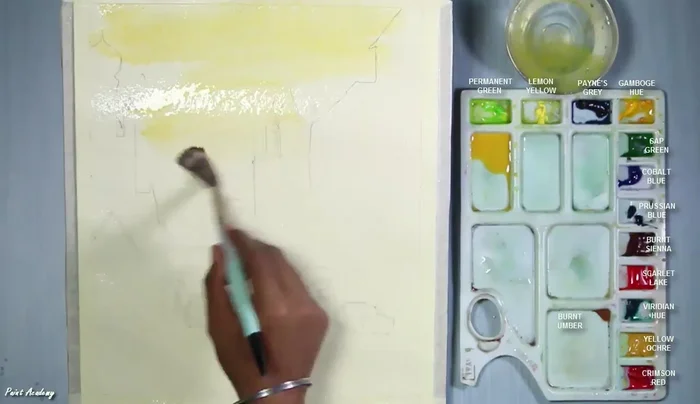
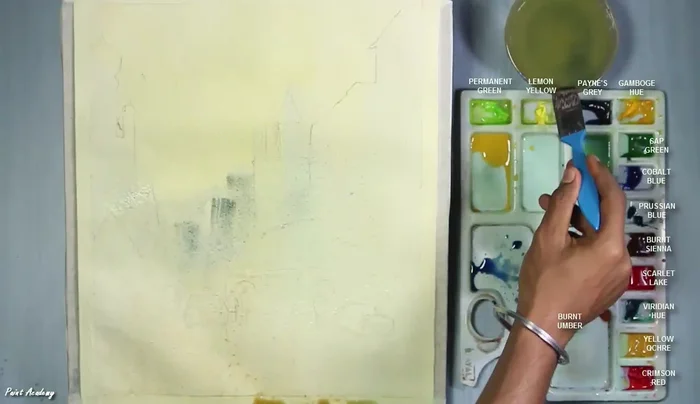
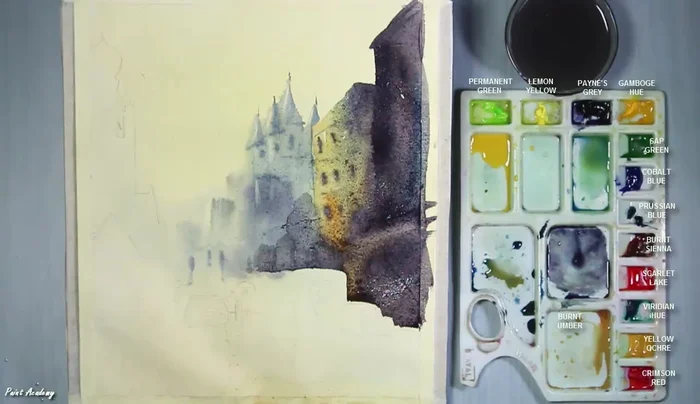
Prepare the Paper and Initial Wash
- Soak the watercolor paper with water using a 2in flat brush.
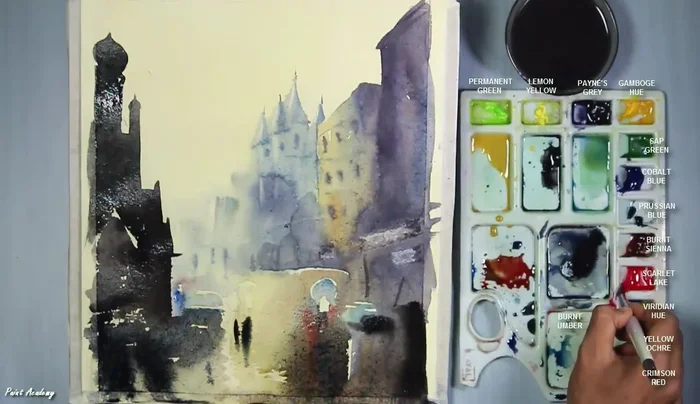
- Color the sky with a mixture of Gamboge Hue and Yellow Ochre.

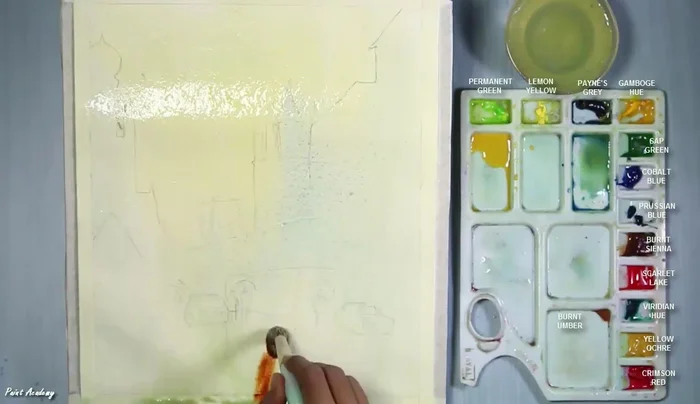
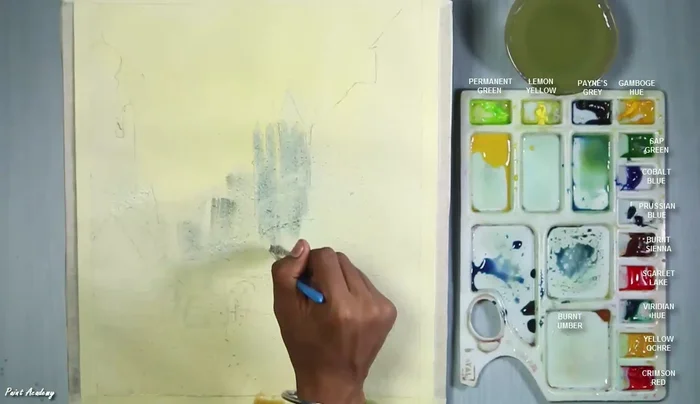
Prepare the Paper and Initial Wash Layering Base Colors
- Color the buildings with Cobalt Blue.
- Color the lower part with a mixture of Gamboge Hue, Yellow Ochre, and Cobalt Blue.
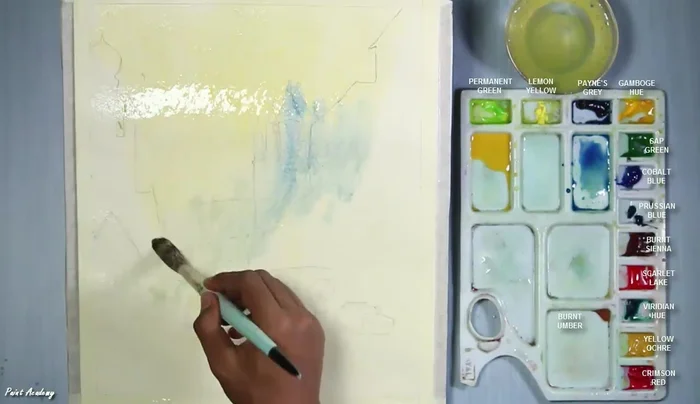
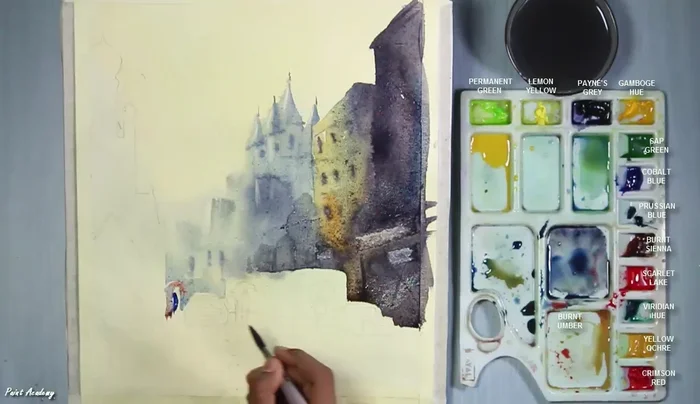
Layering Base Colors First Layer Refinement and Sky Details
- Allow the first layer to dry partially, then remove some color with a brush to create highlights.
- Apply a darker sky color near the horizon.
- Apply a mixture of Burnt Sienna and Cobalt Blue to reduce the brightness of the sky.
- Create lightened areas by removing color with the brush and apply deeper color around these areas.
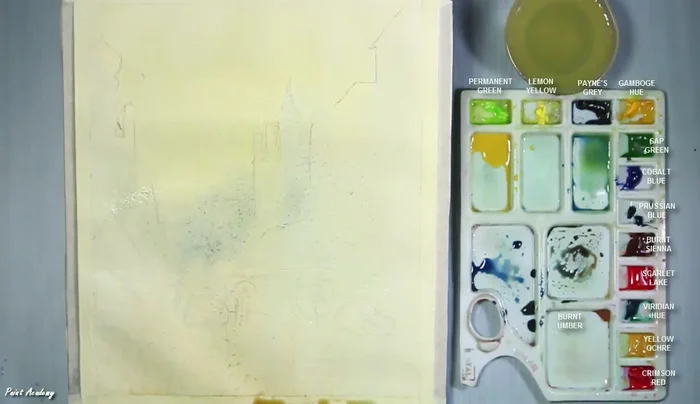
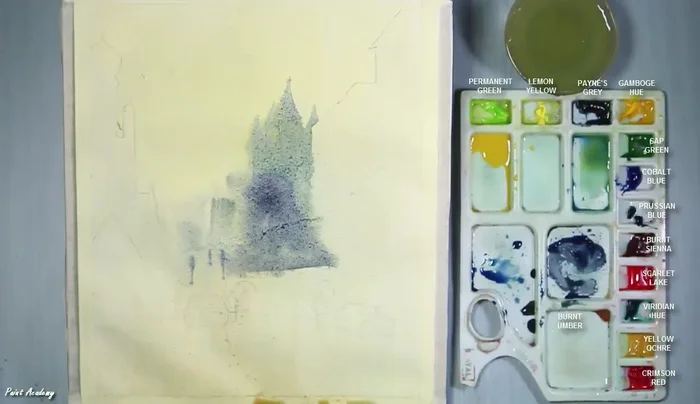
First Layer Refinement and Sky Details Building Details and Shadows
- Apply deeper layers on some areas to create perspective and light sources.
- Apply color to the other buildings, creating shadows with a dark mixture of Cobalt Blue and Payne’s Gray.
- Create light posts and details on the church.
- Create highlights by removing color from the church wall and other areas.
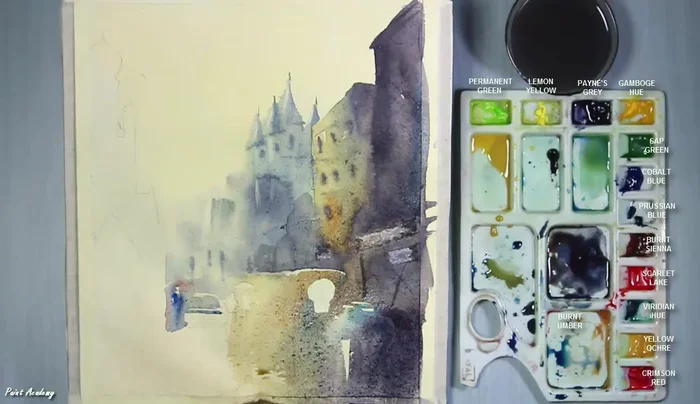
Building Details and Shadows - Paint further buildings, creating shadows on the lower and corner perspective parts.
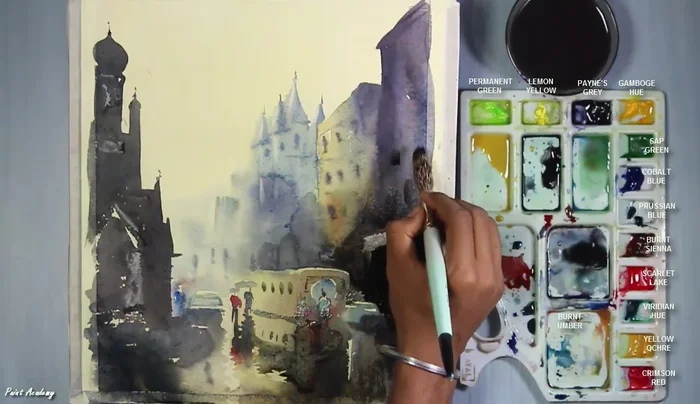
- Paint outlines, shadows, and windows in a half-dry condition for soft effects.
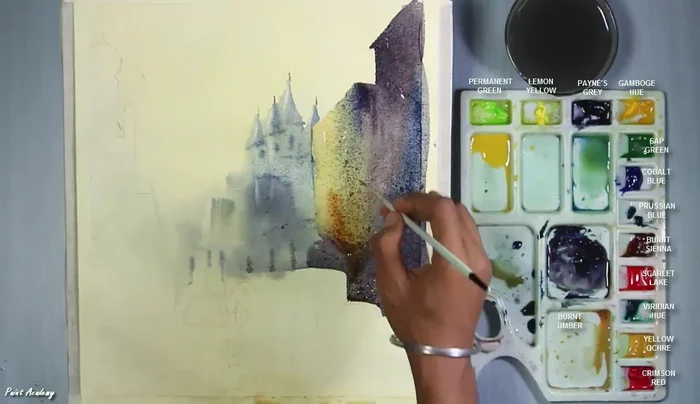
Building Details and Shadows Highlight Creation and Detailing
- Use a pencil sharpener to create light portions by removing color from hard, dried areas.
Highlight Creation and Detailing Adding Depth and Reflections
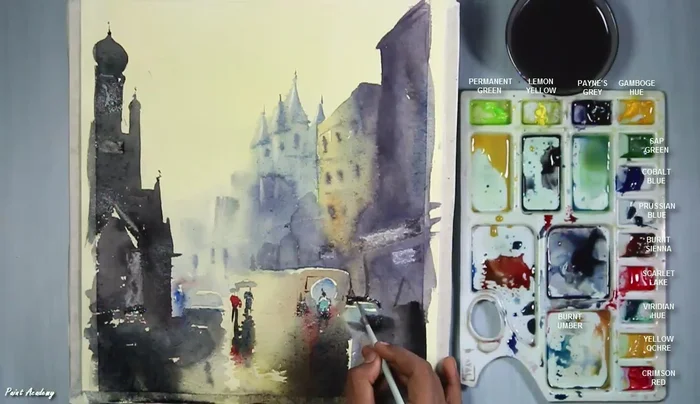
- Add details such as figures, cars, and reflections.
- Add more darkness to the picture with black watercolor.
- Create reflections of people and objects in the wet road.
- Add dark color to nearby buildings to emphasize the low light conditions.
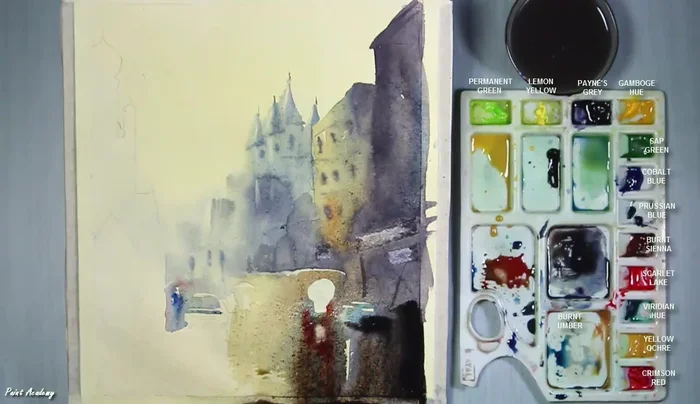
Adding Depth and Reflections - Add reflections of people and objects.
- Detail cars and nearby areas.
Adding Depth and Reflections Final Refinements and Details
- Apply a second layer to refine shadows and window variations.
- Use acrylic paint for details such as car headlights and reflections.
Final Refinements and Details


Read more: 7 Top Paint Color Trends for 2024: A Complete Guide with Free Downloadable Resource
Tips
- Use flat brushes for convenience on large areas.
- Apply blue while the area is still wet.
- Don't scratch the page too hard when removing color.
- Using acrylic paint for very dark areas provides more depth than watercolor.