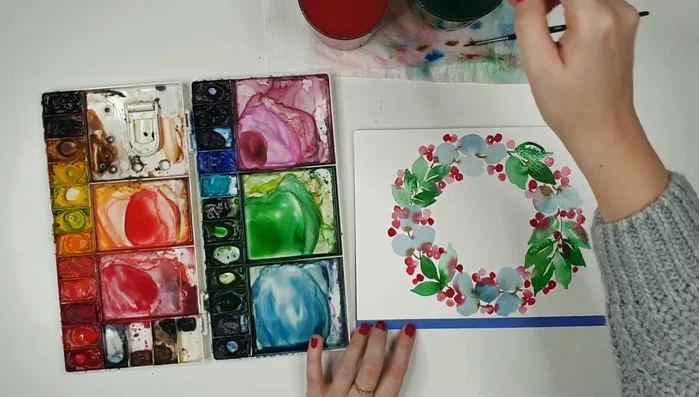
The holiday season is upon us, and what better way to celebrate than by creating your own unique and festive artwork? This easy watercolor Christmas wreath tutorial will guide you through the process of painting a beautiful, vibrant wreath in classic Christmas colors – blues, greens, and reds. Forget expensive store-bought decorations; this project allows you to unleash your creativity and craft a personalized piece that perfectly captures the spirit of the season. You'll be surprised how simple it is to achieve stunning results, even if you're a beginner watercolorist.
This tutorial offers a relaxing and enjoyable creative outlet, perfect for a cozy evening. We'll break down the process into simple, manageable steps, using readily available materials. Whether you're looking for a charming addition to your own holiday decor or a thoughtful handmade gift, this watercolor wreath is the perfect project. Let's get started with the step-by-step instructions below!
Preparation and Safety Guidelines
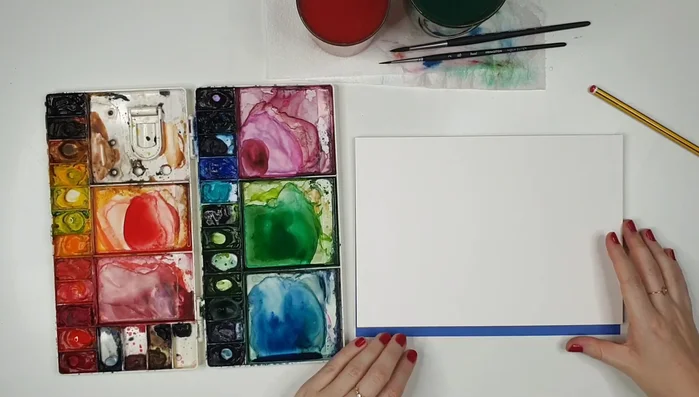
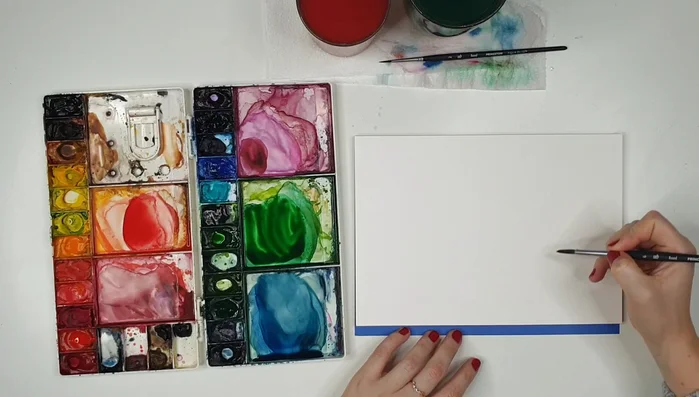
- Winsor & Newton professional watercolor paints
- Legion Stonehenge Aquacold press 100 cotton paper
- Princeton Aqua Elite brushes (size 6 round and size 2 round)
- Embroidery hoop (or bowl, plant pot, sellotape, etc.)
- Pencil
- Eraser
- Always work in a well-ventilated area. Watercolor paints, while generally non-toxic, can still release fumes.
- Protect your work surface with a waterproof covering like a plastic sheet or tablecloth. Watercolor can stain.
- Allow ample drying time between layers of paint to prevent muddying colors. Watercolor is transparent; letting layers dry fully enhances vibrancy.
Step-by-Step Instructions
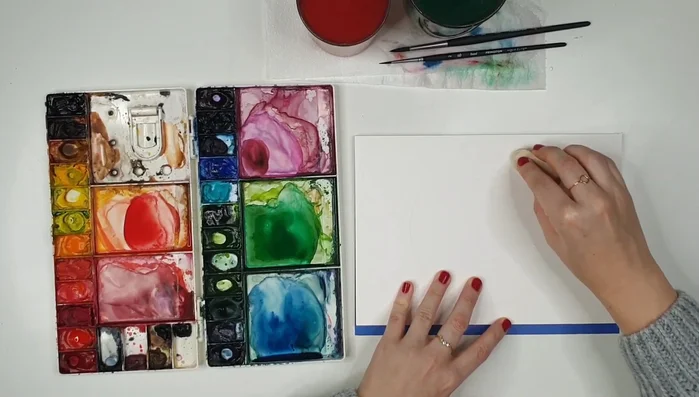
Prepare the Canvas
- Sketch a circle outline for the wreath on your watercolor paper using a circular object as a guide or freehand.
- Lightly erase pencil marks to avoid visibility through the paint.

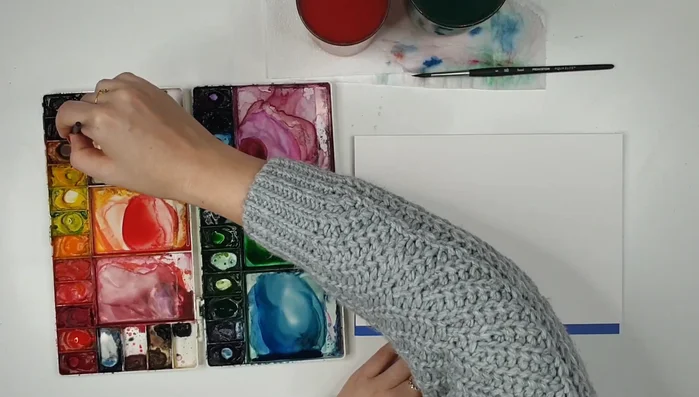
Prepare the Canvas Mix Paints
- Mix a light blue-gray (prussian blue with lots of water, possibly a touch of Payne's grey) for eucalyptus leaves.
- Mix a fresh green (Hooker's green and sap green) for filler leaves.
- Mix a deep red (Windsor red deep) for berries.
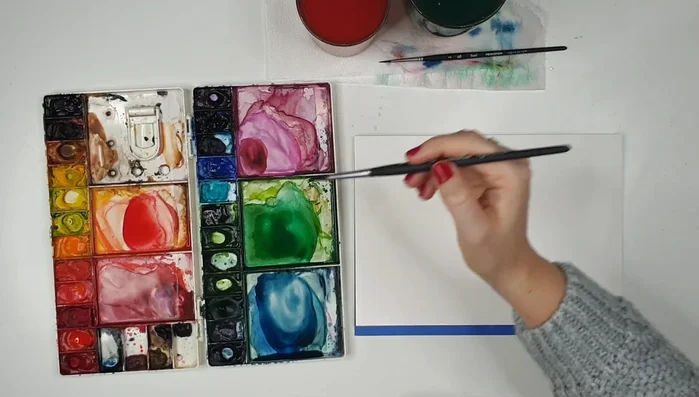
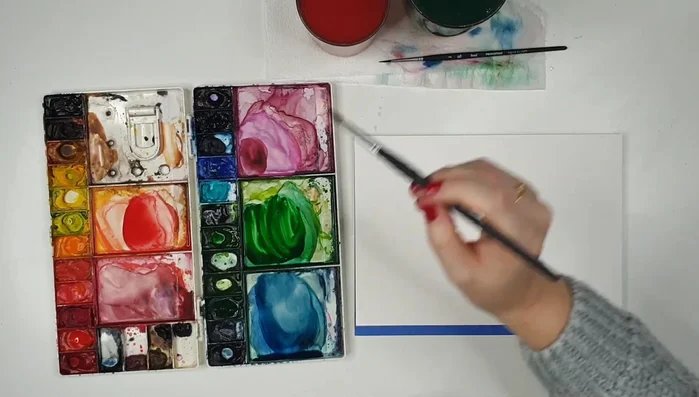
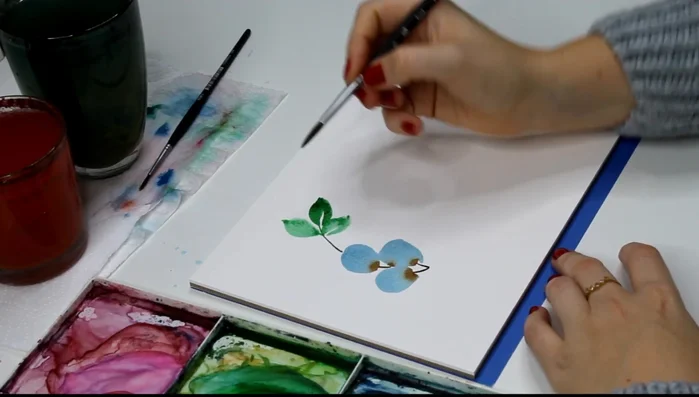
Mix Paints Paint the Wreath Base
- Paint leaf-shaped blobs in a clockwise direction, alternating blues and greens, keeping the paint washes light and loose.
- Add burnt umber or a deep brown (burnt umber mixed with black) for thin stems, allowing it to bleed slightly into the leaf colors.
- Vary the shades of green and blue leaves next to each other for contrast.
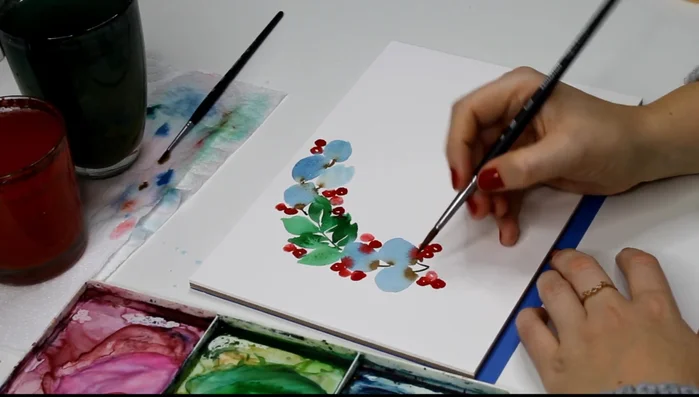
Paint the Wreath Base Add Berries and Detail
- Add red berries in the gaps between leaves, using a mix of light and dark red values for depth. Let them bleed slightly into the surrounding colors.
- Continue adding leaves and berries, alternating colors and varying the number of leaves in each cluster.
Add Berries and Detail Refine and Finish
- Adjust colors as needed, adding contrast and correcting any bleeding, using a clean, damp brush to lift excess paint.
Refine and Finish

Read more: 7 Top Paint Color Trends for 2024: A Complete Guide with Free Downloadable Resource
Tips
- Leave white space around the wreath outline to avoid a cramped look.
- Use lots of water for a light, airy effect, especially with the eucalyptus leaves.
- Don't be afraid to experiment with different leaf shapes and cluster sizes.
- Avoid touching the edge of the paper when painting leaves to prevent compression.
- Reds blend better with blues than greens, avoid mixing reds and greens directly.