Christmas is a time for crafting and creating beautiful decorations to fill your home with festive cheer. What better way to embrace the season than by painting your own unique watercolor Christmas wreath? This charming project is surprisingly simple, even for beginners, and allows for endless personalization. You can experiment with different color palettes, add unique embellishments, and create a wreath that perfectly reflects your individual style. Forget expensive store-bought decorations; this tutorial empowers you to craft a stunning, handmade masterpiece that will become a cherished keepsake year after year.
This easy watercolor Christmas wreath painting tutorial will guide you through each step, from sketching your initial design to adding the final festive touches. Whether you're an experienced artist or picking up a brush for the first time, follow along as we break down this project into manageable, easy-to-follow steps, and soon you’ll be proudly displaying your beautiful, hand-painted Christmas wreath.
Preparation and Safety Guidelines
- Cardstock or watercolor paper
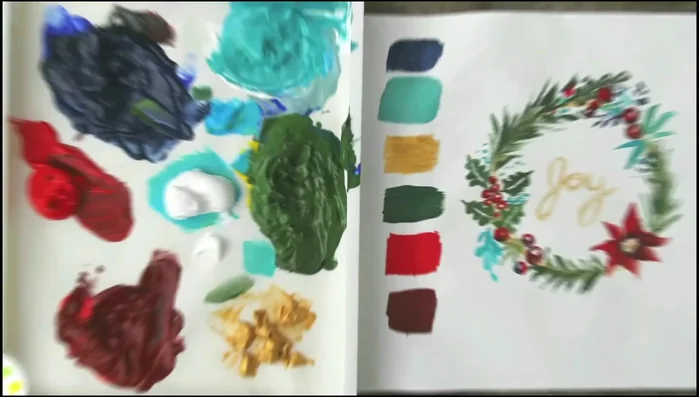
- Watercolor paints (or acrylics for canvas)
- Round brush (size 8)
- Black pen or watercolor pencil
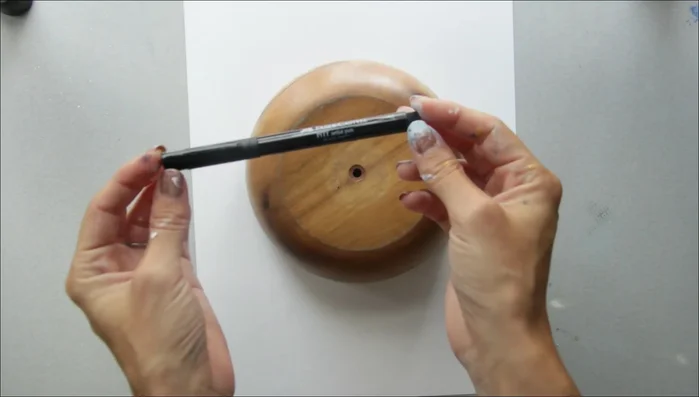
- Round bowl or object (smaller than paper)
- Water
- Always work in a well-ventilated area. Watercolor paints, while generally non-toxic, can still release fumes.
- Protect your work surface. Watercolor can stain, so cover your table with newspaper or a plastic sheet.
- Allow paint to dry completely before handling your painting to prevent smudging.
Step-by-Step Instructions
Prepare the Canvas
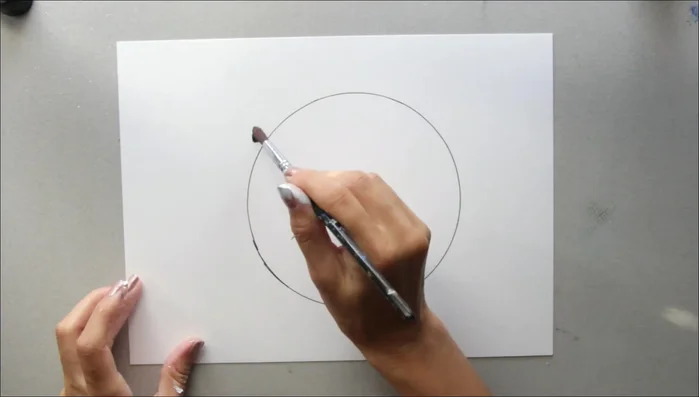
- Prepare your paper and tracing tool. Trace a circle onto your paper using a bowl as a guide.
- Outline the circle with a pen or pencil. (If using a pencil, the lines will wash away)

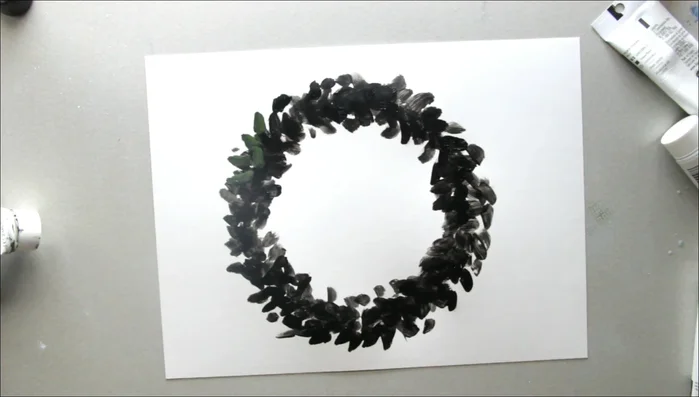
Prepare the Canvas Paint the Wreath Outline
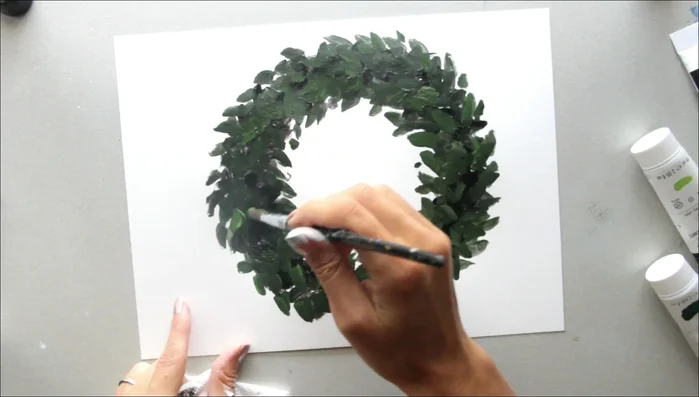
- Paint the wreath outline with black paint, dabbing on the color for texture. You can even use your finger!
Paint the Wreath Outline Layer Greens
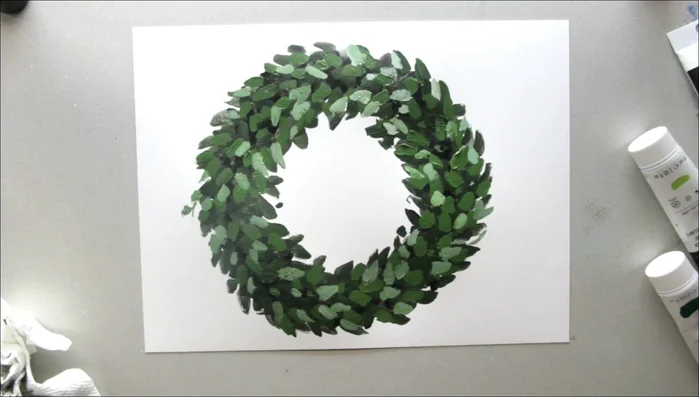
- Add a dark green color, dabbing it on in a slightly directional manner to simulate leaves.
- Layer lighter greens, following the same dabbing pattern but creating more directionality to the leaves.
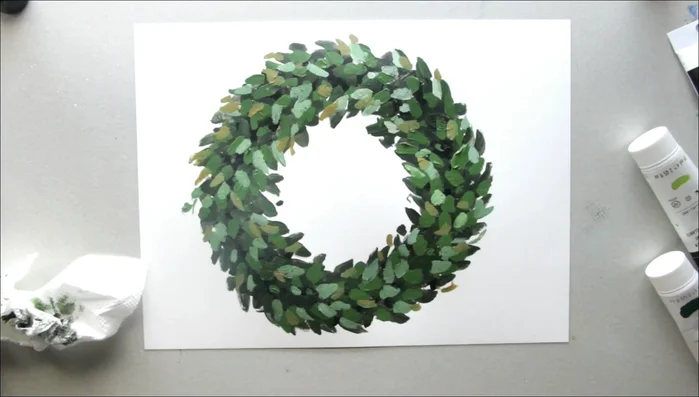
- Add a yellow-green mix to highlight areas and add more variety and depth.
Layer Greens Add Depth and Warmth
- Add brown and tan tones to create warmth and depth, focusing on the insides and outsides of the wreath.
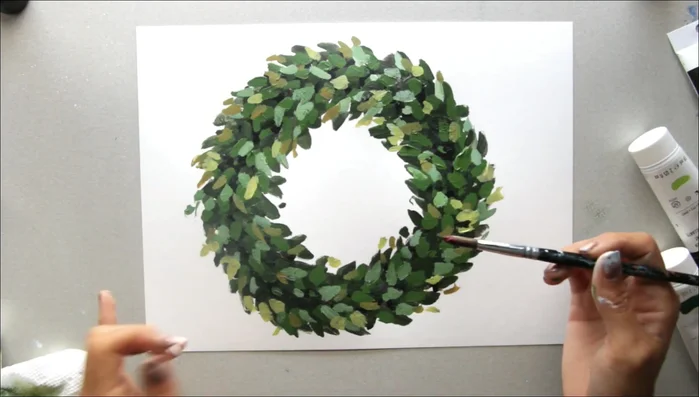
Add Depth and Warmth Add Highlights
- Add highlights with a very light yellow-green-white mix to create contrast and make the wreath pop.
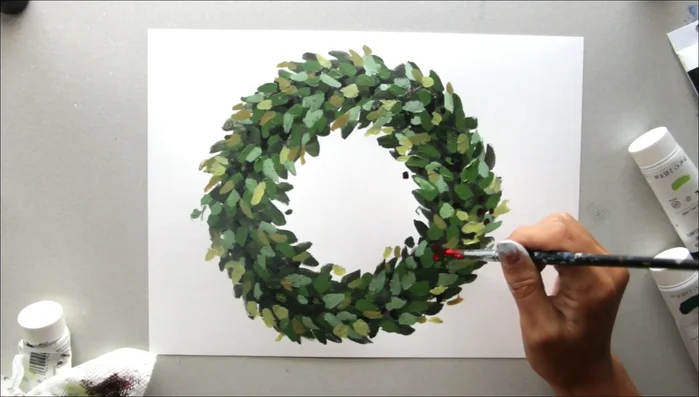
Add Highlights Add Berries
- Add dark red berries, using the tip or bottom of the brush to create different effects.
- Add brighter red berries for contrast and visual interest.
Add Berries

Read more: 7 Top Paint Color Trends for 2024: A Complete Guide with Free Downloadable Resource
Tips
- Don't be afraid to experiment with different textures and directions when applying paint. Randomness adds personality!
- Layering is key to creating depth and dimension in your wreath. Don't be afraid to build up the colors.
- Contrast in colors is essential to make the wreath pop. Use a variety of shades and tones.
- If you make mistakes, don’t worry! It's easy to correct with another layer.