Embrace the magic of the season with this enchanting watercolor painting tutorial! Transform a blank canvas into a breathtaking winter wonderland Christmas tree, brimming with the festive spirit of the holidays. Learn to capture the delicate beauty of falling snow, the glistening frost on the branches, and the warm glow of twinkling ornaments all using the expressive fluidity of watercolors. This tutorial is perfect for both beginners eager to try something new and experienced artists looking for a festive challenge. We'll explore techniques for achieving soft, ethereal washes, creating intricate details, and layering colors to build depth and dimension in your winter scene.
Prepare to be captivated as we embark on a step-by-step journey to create your own stunning winter wonderland Christmas tree. From sketching the initial outline to adding the final shimmering touches, this tutorial will guide you through every stage, equipping you with the skills and confidence to paint this beautiful festive masterpiece. Let's begin!
Preparation and Safety Guidelines
- Watercolor paper (100% cotton cold-pressed recommended)
- Watercolor paints (indigo blue, green, yellow, red, blue)
- Masking fluid (liquid)
- Pencil
- Brushes (various sizes, including a clean wet brush)
- Water
- Optional: Gouache (white)
- Optional: Tape
- Always work in a well-ventilated area when using watercolors to avoid inhaling paint fumes.
- Protect your work surface with a waterproof covering like a plastic sheet or tablecloth to prevent water damage.
- Allow ample drying time between layers of paint to prevent colors from muddying or bleeding.
Step-by-Step Instructions
Sketching and Preparation
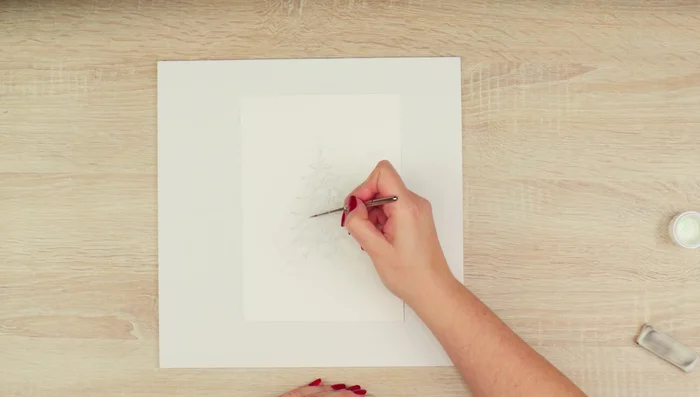
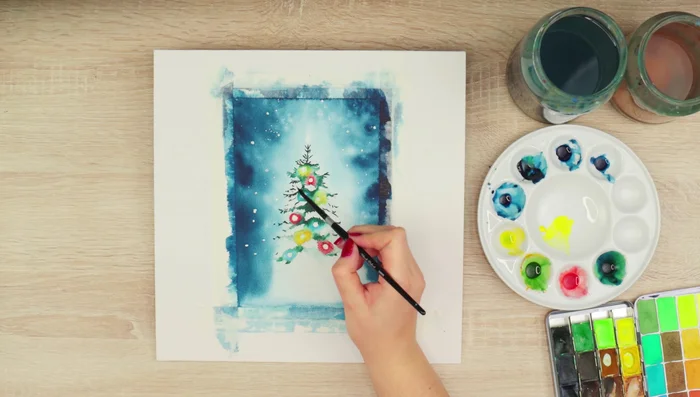
- Sketch the outlines of the Christmas tree, snow placement, and shadows using a pencil. Lightly sketch circles for ornaments or lights.
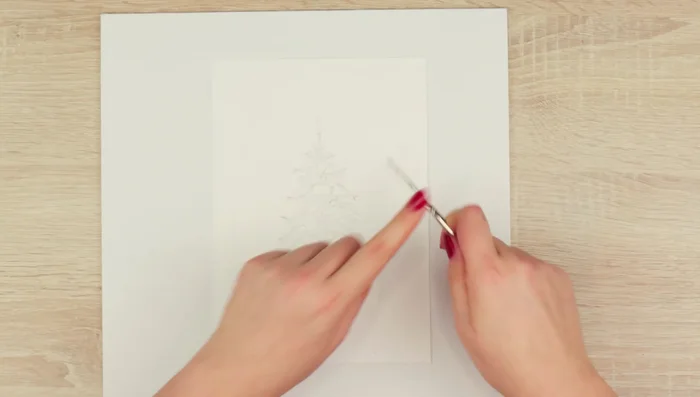
- Apply masking fluid to the lightest areas (treetops and ornaments) to protect them from paint.
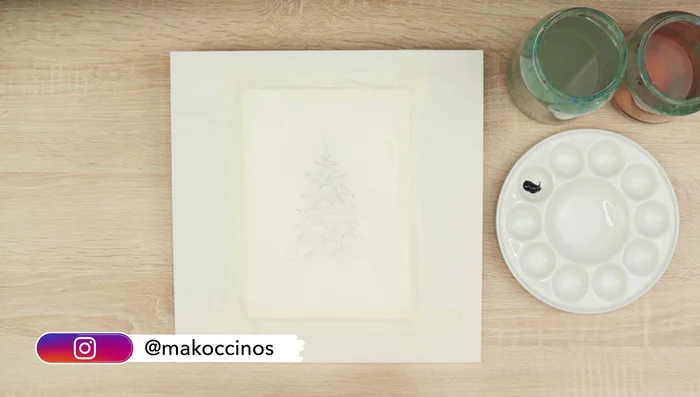
- Let the masking fluid dry completely.
- Use watercolor block to avoid this step).

Sketching and Preparation Background Painting
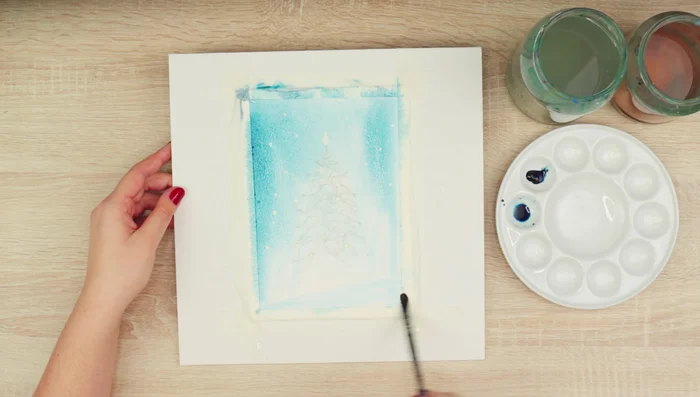
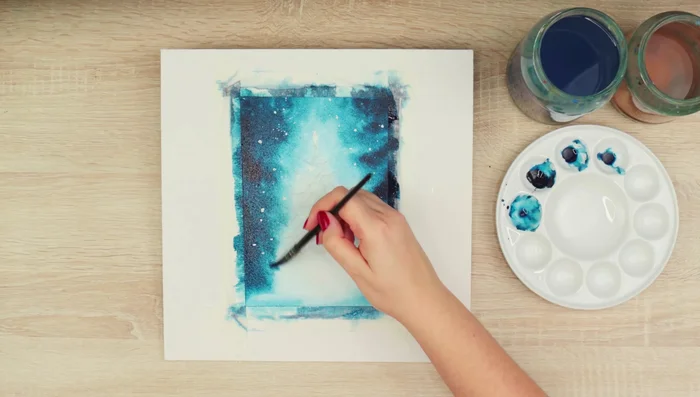
- Paint the background with a light wash of indigo blue, extending it over the entire paper, including the tree area.
- Build up the background color, concentrating the indigo blue on the left and right sides to suggest depth and other trees.
- Let the background dry completely.
Background Painting Ornament Painting
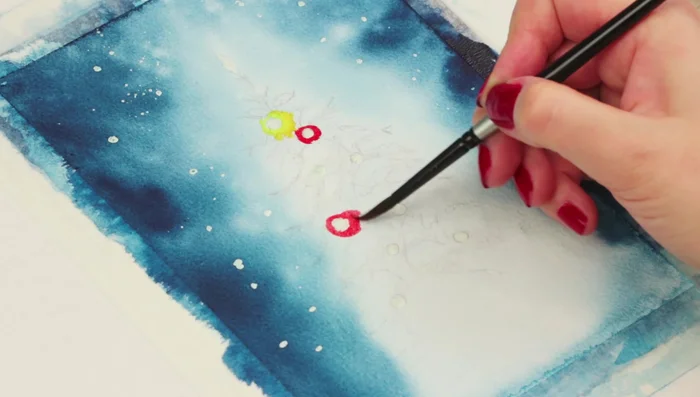
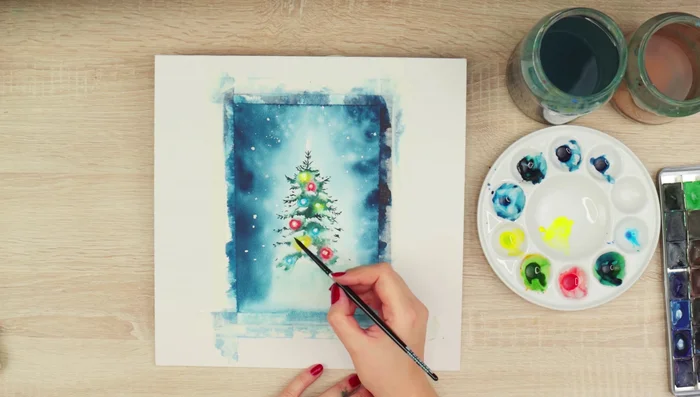
- Paint the ornaments/lights using yellow, red, and blue, outlining the masked circles.
- Let the ornament paint dry completely.
Ornament Painting Tree Painting
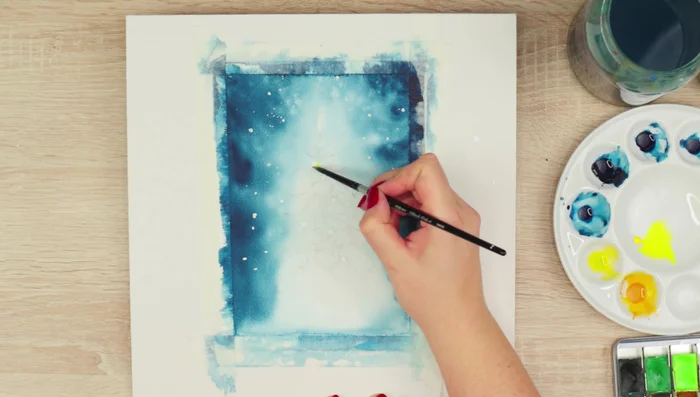
- Paint the tree using a mix of dark green and indigo blue, starting at the top and working downwards. Blend the green around the lights using a clean wet brush.
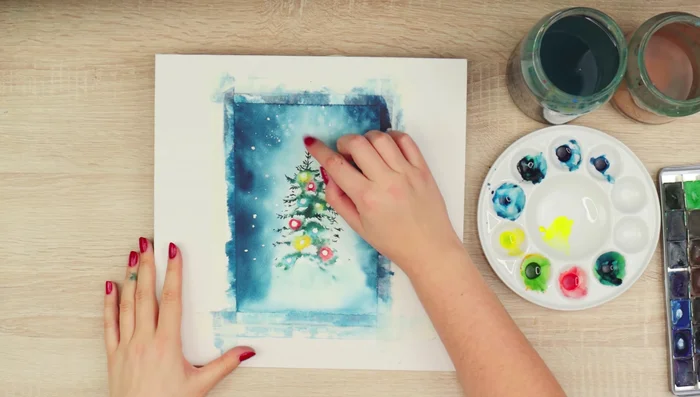
- Shape the snow by blending the paint with a clean wet brush and adding shadows to the bottom. Use the negative painting technique – paint around the snow to define its shape.
- Let the tree paint dry completely.
Tree Painting Revealing Lights and Blending
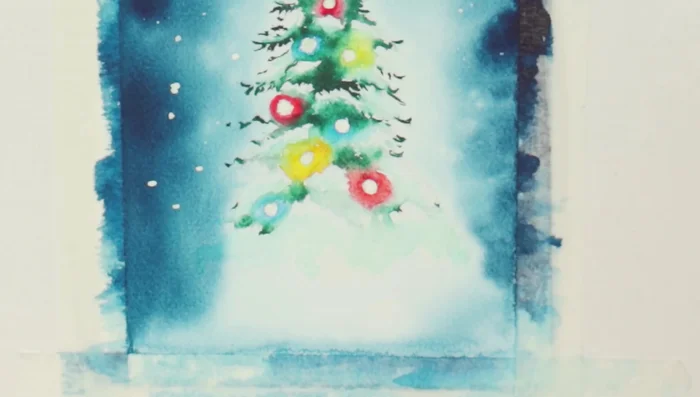
- Remove the masking fluid to reveal the bright lights.
- Blend the paint around the lights to create a smooth transition from the white paper to the colored lights.
Revealing Lights and Blending Adding Details and Snow
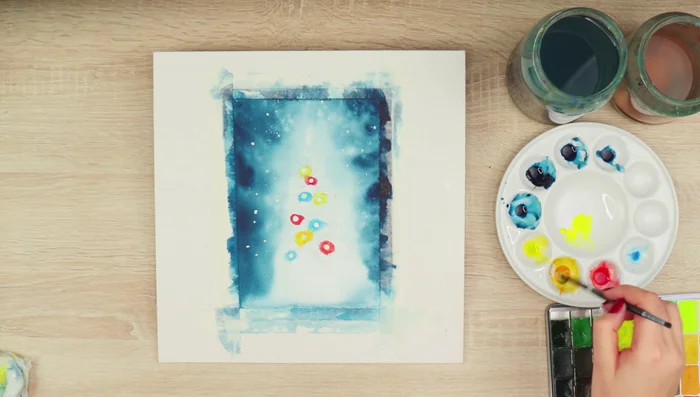
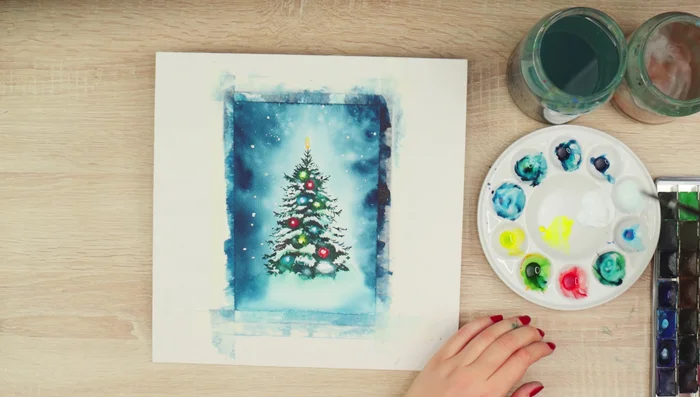
- Add loose lines for needles, darken areas for depth, and adjust the brightness of the lights as desired.
- Add snow to the background by sprinkling diluted white gouache.
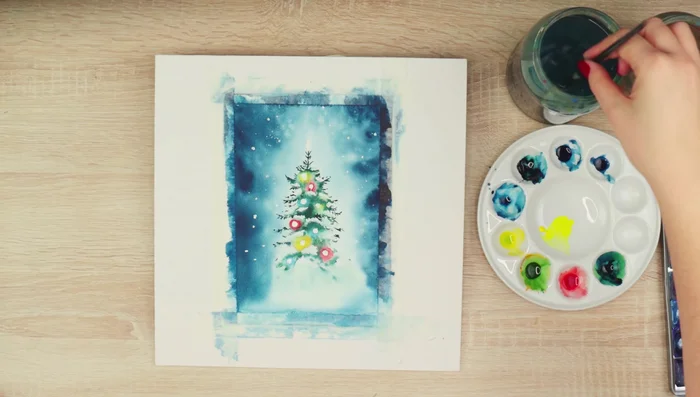
- Remove tape and make final touches – adjusting colors, adding details, and making final adjustments to the snow and lights.
Adding Details and Snow


Read more: 7 Top Paint Color Trends for 2024: A Complete Guide with Free Downloadable Resource
Tips
- Using a watercolor block eliminates the need to wet the paper to prevent buckling.
- Soaking the paper thoroughly allows it to adhere to the board without tape.
- Tilting the board helps the paint distribute evenly.
- Negative painting creates the snow – paint around it to define its shape.
- Blending wet-on-wet creates soft transitions and adds depth.