Tired of that drab, outdated kitchen cabinet door? Imagine transforming it into a stunning, personalized piece of art with minimal effort and cost. This project shows you how to breathe new life into old furniture using the simple yet effective technique of stenciled glass art. Upcycling is not only environmentally friendly, it’s a fantastic way to unleash your creativity and add a unique touch to your home decor. This inexpensive method allows you to create beautiful, customized designs that perfectly complement your existing style, without the need for expensive professional services.
Using readily available materials, you can achieve a professional-looking finish that will amaze your friends and family. From selecting the perfect stencil to applying the glass paint, this detailed guide walks you through each step of the upcycling process. Let's get started with our step-by-step guide to creating your own stunning DIY stenciled glass cabinet door!
Preparation and Safety Guidelines
- Cabinet door (or picture frame)
- Folk art stencils
- Olbero multi-surface paint (white and raw umber)
- Stencil brush
- Acrylic sealer (optional)
- Always wear safety glasses to protect your eyes from flying glass fragments or paint splatters.
- Work in a well-ventilated area as glass paints and cleaning solutions can release fumes.
- Use caution when handling glass; sharp edges can cause injury. Wear gloves if needed.
Step-by-Step Instructions
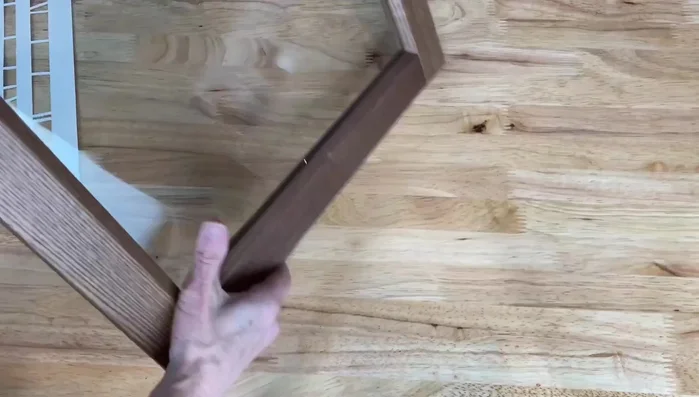
Prepare the Cabinet Door
- Flip the cabinet door over to the back side.

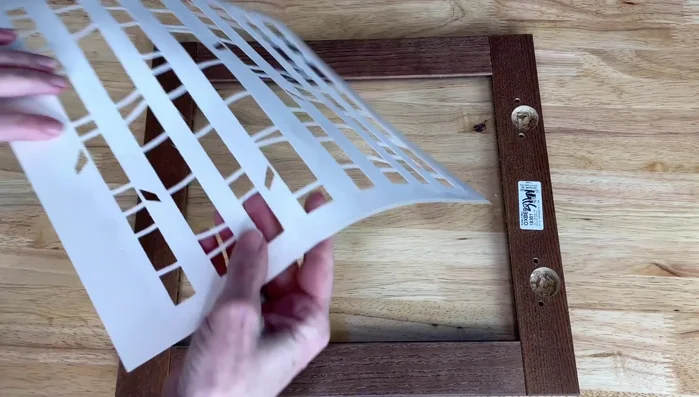
Prepare the Cabinet Door Stencil the Backside
- Place the stencil onto the back of the cabinet door.
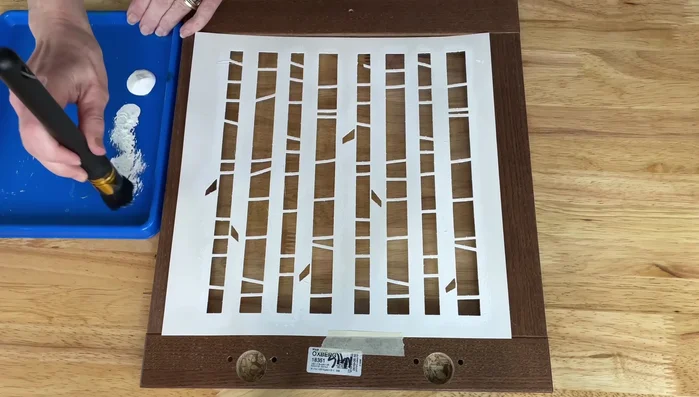
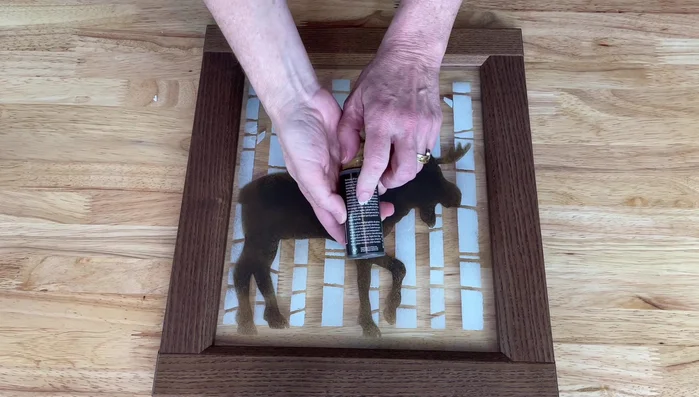
- Dip the stencil brush into white paint, offload excess paint to prevent bleeding, and pounce the paint onto the glass until the desired look is achieved.
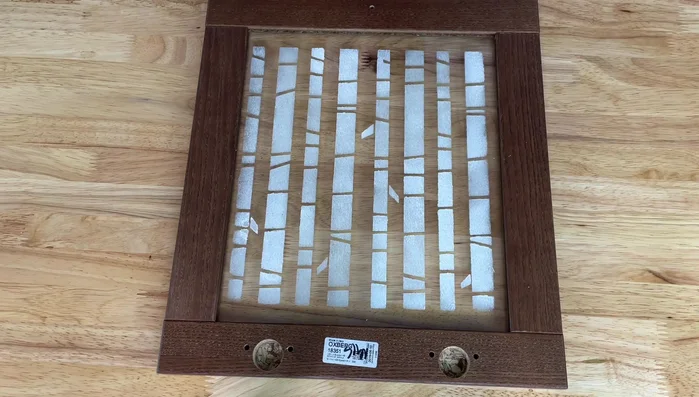
- Allow the paint to dry completely before moving on.
Stencil the Backside Prepare the Frontside
- Flip the cabinet door over and work on the front side.
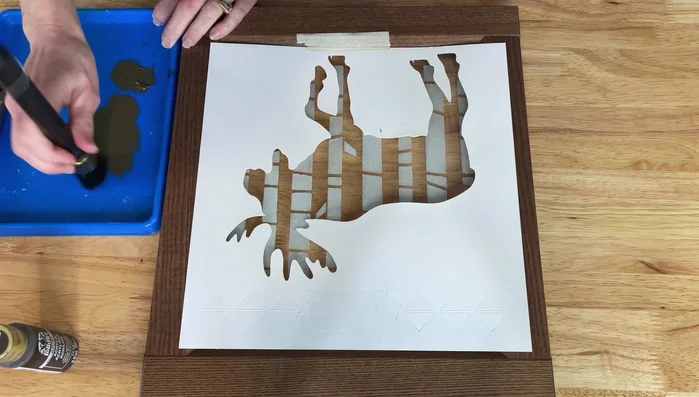
Prepare the Frontside Stencil the Frontside
- Place a stencil on the front side of the glass.
- Use raw umber paint, offload excess paint, and pounce onto the glass. Multiple coats may be needed for better coverage.
- Allow the paint to dry completely.
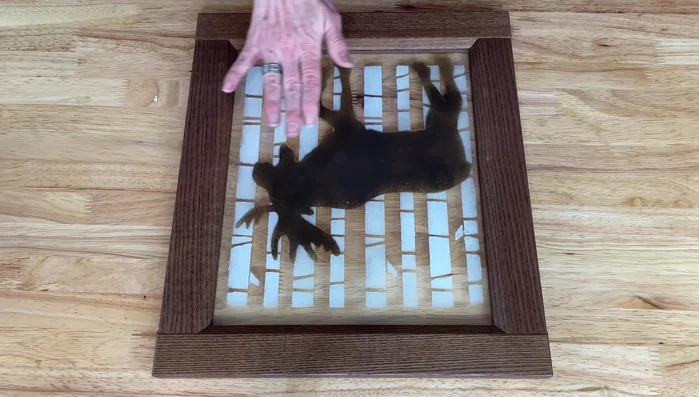
Stencil the Frontside Seal and Finish
- Apply an acrylic sealer or a dishwasher-safe Mod Podge to protect the paint (cure times should be followed as per paint instructions).
Seal and Finish Display
- Hang the finished art piece.

Read more: 7 Top Paint Color Trends for 2024: A Complete Guide with Free Downloadable Resource
Tips
- Offload excess paint from your brush to prevent bleeding under the stencil.
- For best results, apply thin coats and allow each coat to dry before adding another. Multiple coats are usually better than one thick coat.
- Consider using stencil tape to secure your stencil.
- A picture frame can be used instead of a cabinet door.
- The three-dimensional effect is enhanced by painting different designs on the front and back.