Personalize your drinkware and add a touch of rustic charm to your kitchen with this exciting DIY project: etching your own tumblers! Forget generic glassware; imagine the satisfaction of creating unique, handcrafted pieces that reflect your personality or perfectly match your home decor. Using a simple yet effective citrus strip etching technique, you can transform plain tumblers into beautiful, one-of-a-kind works of art without needing expensive equipment or specialized skills. This method is surprisingly easy and yields impressive results, making it perfect for crafters of all levels.
This step-by-step guide will walk you through the entire process, from gathering the necessary materials to achieving a professional-looking etched finish. Get ready to unleash your creativity and discover the joy of transforming ordinary tumblers into extraordinary keepsakes. Let's get started!
Safety Guidelines
- Always wear gloves and eye protection when working with etching cream. It's corrosive and can cause skin and eye irritation.
- Work in a well-ventilated area. Etching cream produces fumes that can be harmful if inhaled.
- Thoroughly clean and rinse the tumbler and your workspace after completing the etching process. Dispose of etching cream properly according to the manufacturer's instructions.
Methods: Etching Matte Tumblers with Citrus Strip
Tools Needed
- Metal tumblers with powder coating
- Citrus strip paint stripper
- Foam brush
- Disposable or glass bowl
- Paint tray
- Timer
- Permanent adhesive vinyl stencil (cut with Cricut or by hand)
- Transfer tape
- Scissors
- Scraper
- Weeding tool
- Painter's tape
- Water
- Kitchen sponge (blue Scotch-Brite pad recommended)
- Alcohol wipes
Step-by-Step Instructions
Prepare Stencil
- Prepare your stencil design using permanent adhesive vinyl. Cut it out using a Cricut or by hand.

Prepare Stencil Test Citrus Strip
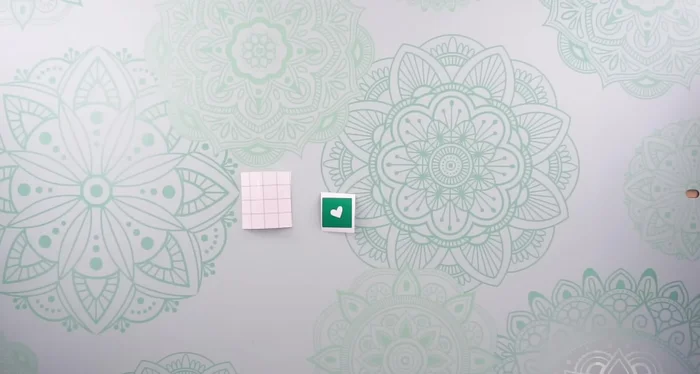
- Test Citrus strip on a small area of the tumbler bottom using a test heart stencil to ensure compatibility.
Test Citrus Strip Prepare Tumbler & Apply Stencil
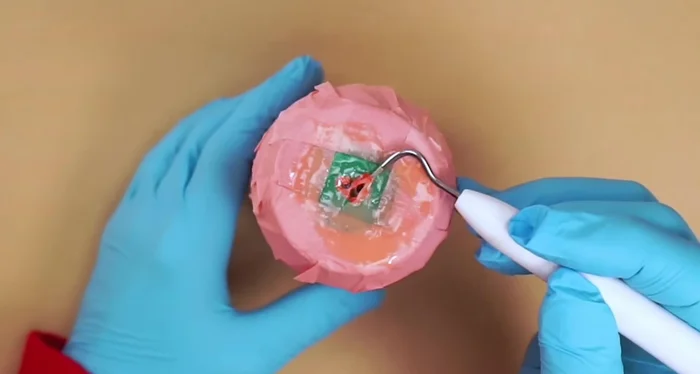
- Clean the tumbler bottom with an alcohol wipe. Apply the stencil using transfer tape, ensuring it's smooth and wrinkle-free.
- Protect the rest of the tumbler with painter's tape.
Prepare Tumbler & Apply Stencil Apply Citrus Strip & Etch
- Apply a thick layer of Citrus strip to the exposed areas of the stencil with a foam brush. Let it sit for 50-60 minutes (test first).
Remove Stencil & Clean
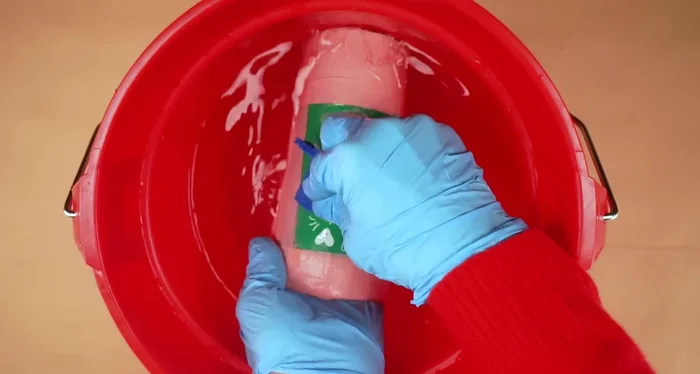
- Use a weeding tool to check if the powder coating is loose. If so, rinse the tumbler in a bucket of water and remove the stencil.
- Scrub the design with a blue Scotch-Brite pad to remove the loosened powder coating. Rinse and let dry.
Remove Stencil & Clean


Tips
- Always test the Citrus strip on the tumbler before applying it to the whole design.
- Use a blue Scotch-Brite pad for scrubbing matte tumblers; green can scuff the surface.
- Don't let the Citrus strip sit for too long; 50-60 minutes is optimal.
Read more: Dollar Tree Vase Transformations: DIY High-End Decor