Tired of expensive home décor that leaves your wallet feeling empty? Transform your living space with stunning, high-end-looking vases without breaking the bank! Dollar Tree offers a treasure trove of surprisingly versatile vessels, just waiting for your creative touch. These inexpensive finds, with a little DIY magic, can become the centerpiece of any room, adding sophistication and personality without the hefty price tag. Forget paying exorbitant prices for designer décor; unleash your inner artist and discover how easily you can elevate your home's aesthetic.
We'll show you how simple materials and a touch of ingenuity can turn these humble Dollar Tree vases into breathtaking statement pieces. From elegant metallic finishes to rustic chic charm, the possibilities are endless. Get ready to be amazed as we guide you through a step-by-step process to achieve stunning results, proving that high-end style doesn't require a high-end budget. Let's get started!
Safety Guidelines
- Always use appropriate adhesives and sealants designed for the materials you're using (glass, ceramic, etc.). Incorrect adhesives can damage the vase or create hazardous fumes.
- If using paint, ensure proper ventilation and wear a mask to avoid inhaling fumes. Allow ample drying time between coats.
- Handle glass vases with care to avoid breakage. Consider using protective gloves to prevent cuts.
Methods: Elegant Black Vase with Netting and Wooden Lid
Tools Needed
- Dollar Tree vases
- wine bottle netting (Amazon)
- black chalk paint
- sponge brush
- wooden plaques (Dollar Tree)
- wood glue
- decorative knob (Hobby Lobby)
- copy paper
- painter's tape
Step-by-Step Instructions
Prepare the Netting
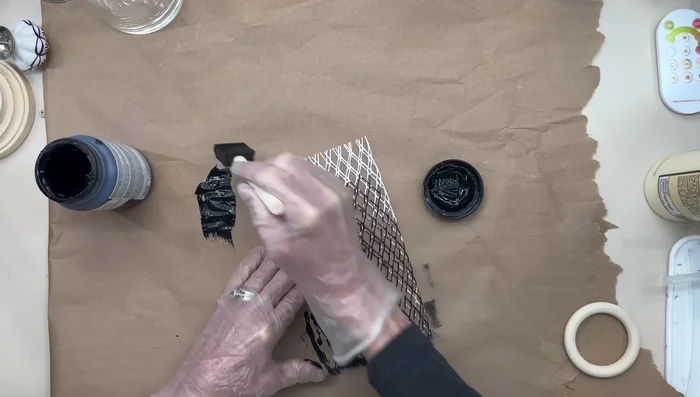
- Paint wine bottle netting with black chalk paint, stretching it a few times before and after drying.

Prepare the Netting Paint the Vase
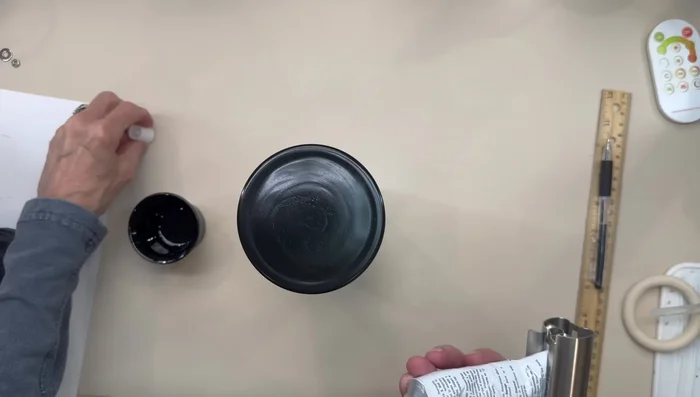
- Paint a Dollar Tree votive vase satin black.
Paint the Vase Create the Lid
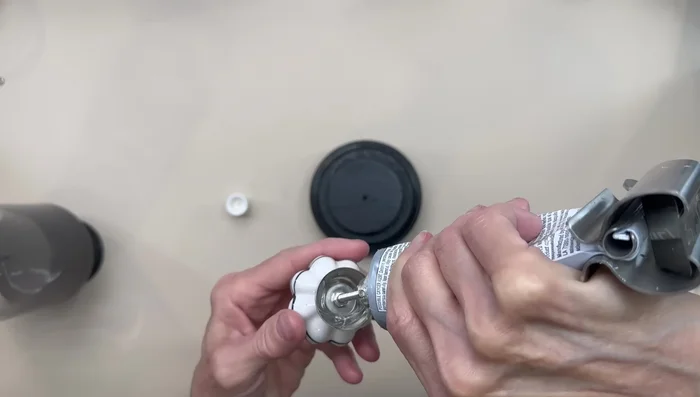
- Glue two wooden plaques together with wood glue to create the lid.
- Drill a hole in the center of the lid and glue in a decorative knob.
Create the Lid Prepare the Vase for the Lid
- Trace the lid onto the bottom of the vase to mark where to glue the wood blocks for support.
- Glue small wood blocks to the vase bottom, ensuring enough space to reattach the base.
Prepare the Vase for the Lid Mask and Paint Vase Base
- Tape together strips of copy paper, attach to the vase center, and paint top and bottom black, leaving the center unpainted.
Mask and Paint Vase Base Attach Base and Knob
- Glue the votive holder to the bottom of the vase as a pedestal.
- Glue the decorative knob to the top of the vase.
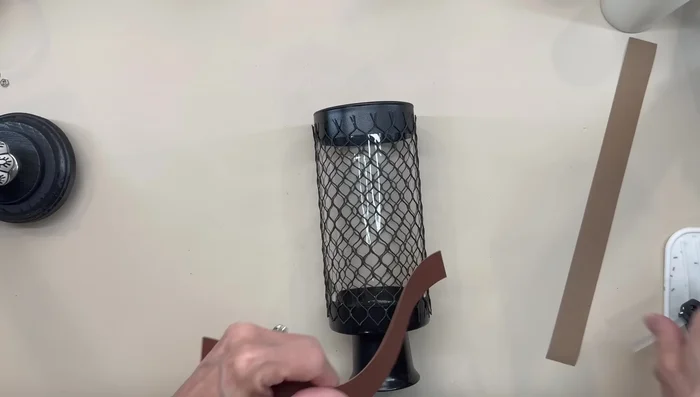
Attach Base and Knob Apply Netting and Trim
- Drape the netting over the vase and secure the edges with faux suede strips.
Apply Netting and Trim Decorate and Finish
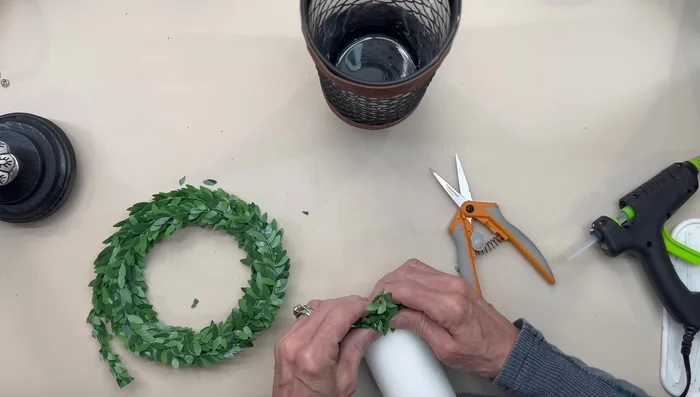
- Add a candle and boxwood garland.
Decorate and Finish


Tips
- Stretch the netting several times before and after painting for even coverage.
- Use a paper towel inside the vase to prevent overspray.
Methods: French Market Decal Vase with Pie Plate Charger
Tools Needed
- Dollar Tree vase
- satin white paint
- Dollar Tree pie plate
- satin black paint
- French Market decals (Amazon)
- Mod Podge
- Dollar Tree charger
- peonies (Amazon)
Step-by-Step Instructions
Prepare the Vase and Pie Plate
- Paint the Dollar Tree vase satin white and the pie plate satin black.
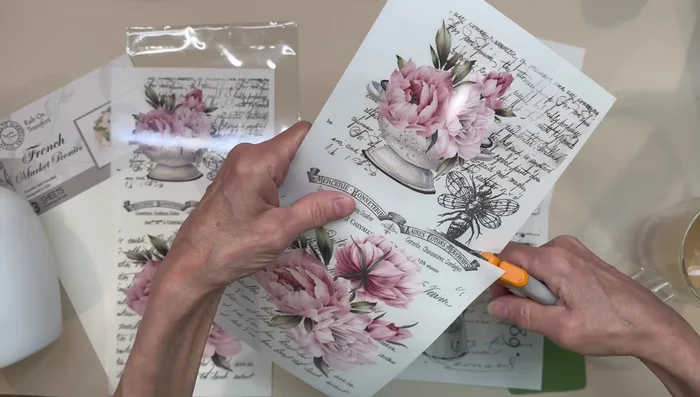
Prepare the Vase and Pie Plate Apply Decals
- Apply French Market decals to the vase and pie plate.
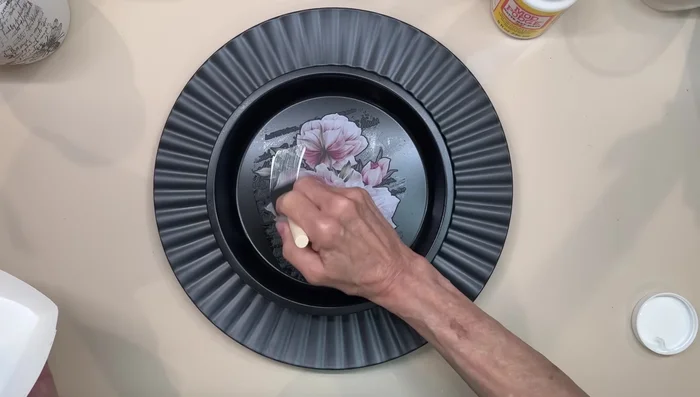
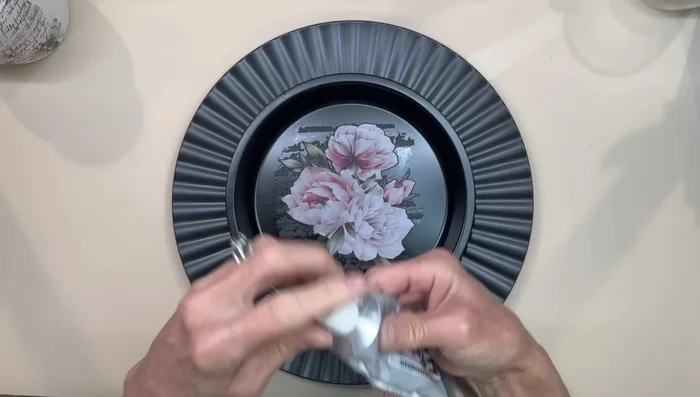
Apply Decals Seal and Assemble
- Seal the decals with Mod Podge.
- Attach the pie plate to the Dollar Tree charger.
Seal and Assemble Decorate and Display
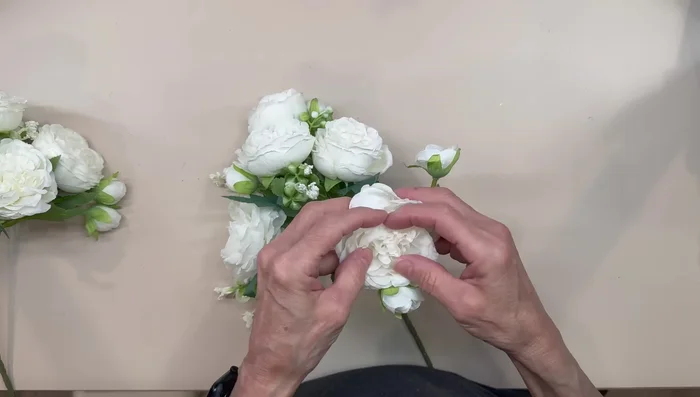
- Arrange peonies for display.
Decorate and Display

Tips
- Don't overspray black paint to avoid runs.
- Decals can be applied to darker surfaces; the design will show through.
- Seal decals with Mod Podge to protect them.
Methods: Terracotta Vase Set with Clay Handles
Tools Needed
- Dollar Tree vases
- burnt umber paint
- titanium white paint
- sponge
- terracotta saucers
- white chalk paint
- brown air-dry clay (link in description)
- E6000 glue
- small finials (Hobby Lobby)
- hot glue
- eucalyptus
Step-by-Step Instructions
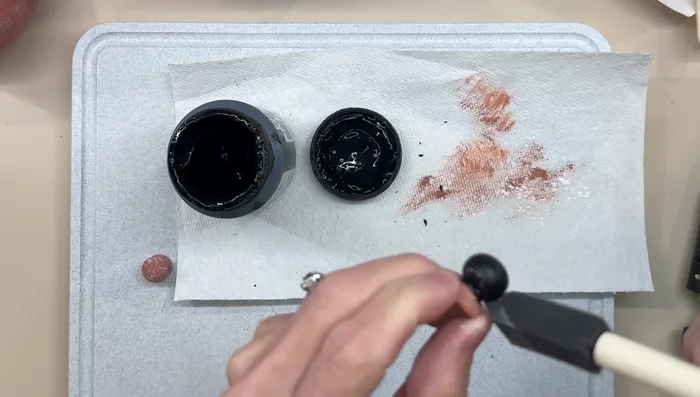
Prepare Terracotta Paint
- Mix burnt umber and titanium white acrylic paints to create a terracotta color.
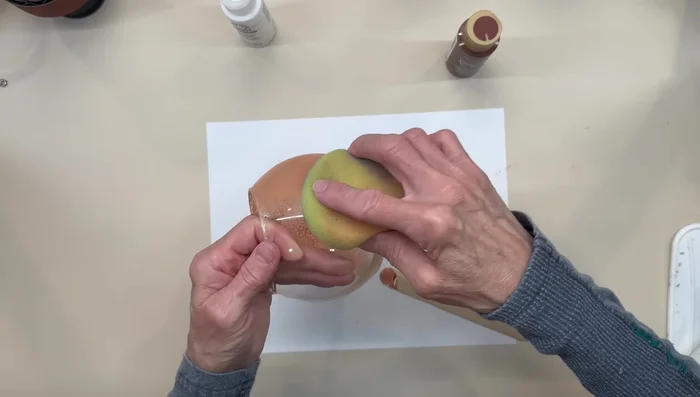
Paint Vases and Saucers
- Paint the vases and saucers using a sponge for even coverage. Apply two coats.
Paint Vases and Saucers Add Texture
- Apply white chalk paint randomly to the surfaces for texture.
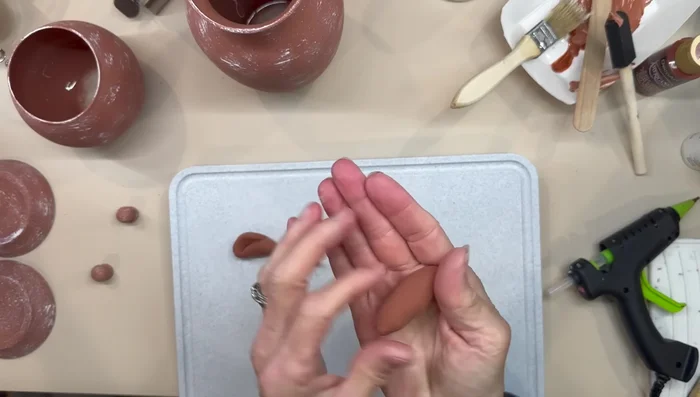
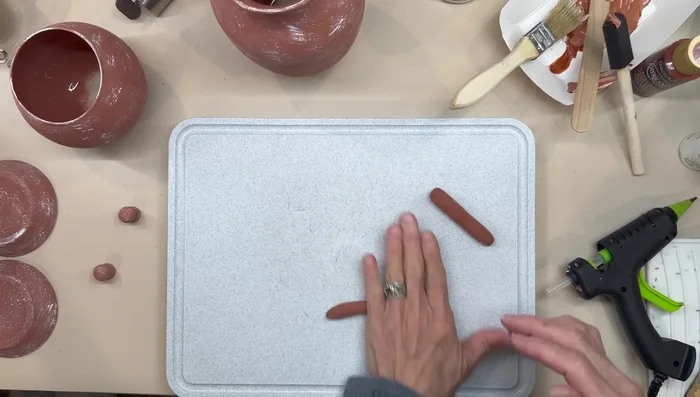
Add Texture Create and Attach Clay Handles
- Roll out brown air-dry clay into log shapes for handles.
- Attach the clay handles to the vases and let them dry before gluing them with E6000 glue. Paint the handles to match.
Create and Attach Clay Handles Attach and Paint Finials
- Paint finials black and attach to the vases using hot glue.
Attach and Paint Finials

Tips
- Add white paint slowly to avoid making the terracotta color too light.
- Dabbing with a sponge is easier than using a brush for the terracotta paint.