Tribal art, with its rich history and symbolic depth, captivates artists and enthusiasts alike. From the intricate geometric patterns of Native American designs to the vibrant, swirling motifs found in Polynesian art, these designs hold a power and beauty that transcends cultural boundaries. Understanding the nuances of these styles, however, can feel daunting; the seemingly random strokes and bold shapes often mask underlying principles of balance and storytelling. This guide aims to demystify the process, offering a pathway to unlocking the secrets of creating stunning and authentic tribal art.
This comprehensive guide provides a step-by-step approach to mastering the creation of various tribal designs, regardless of your skill level. Whether you're a seasoned artist looking to expand your repertoire or a complete beginner eager to explore this captivating art form, we’ll take you through the fundamental elements, essential techniques, and creative explorations that will empower you to bring your own unique tribal artistry to life. Let's begin!
Preparation and Safety Guidelines
- Wolfe black paint
- Royal Crafters Choice number six brush
- Respect cultural significance: Tribal designs are often deeply meaningful within specific cultures. Avoid appropriating designs without understanding their history and context. Seek out authentic sources and creators whenever possible.
- Accuracy is key: Strive for accuracy in your depictions. Poorly executed designs can be offensive. Use reference images from reputable sources and take your time to understand the intricacies of the design before attempting to recreate it.
- Source your materials responsibly: If you're using materials like beads or dyes, ensure they're ethically sourced and environmentally friendly. Respect the traditions and sustainability of the cultures whose designs you are working with.
Step-by-Step Instructions
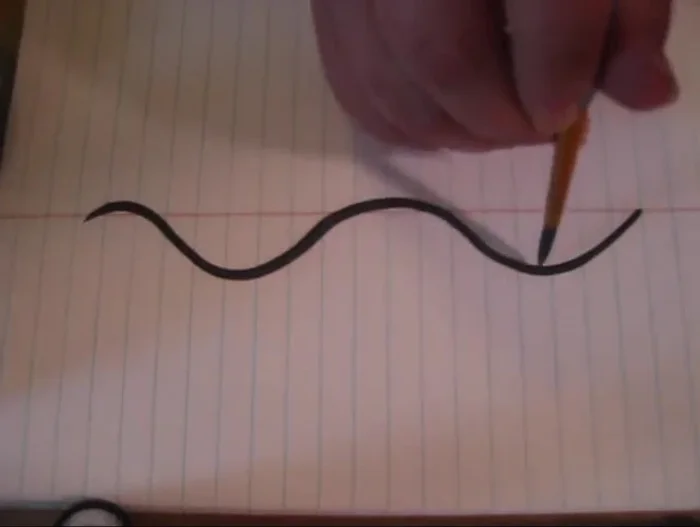
Establish the Foundation
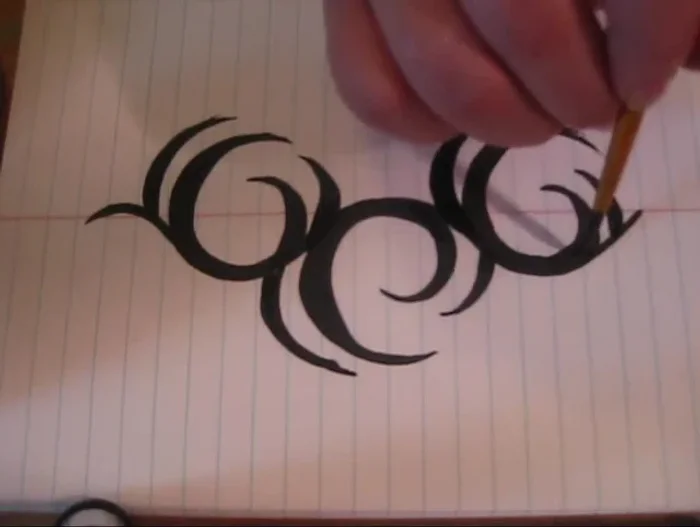
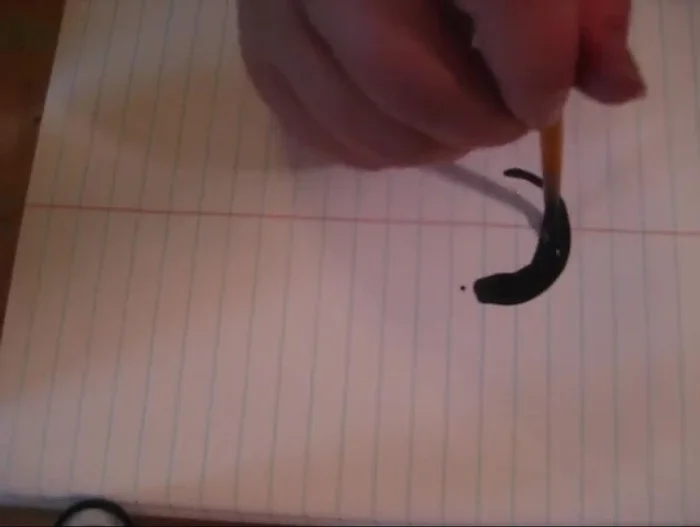
- Determine the basic shape of your tribal design. A simple swooping up and down motion is a good starting point.
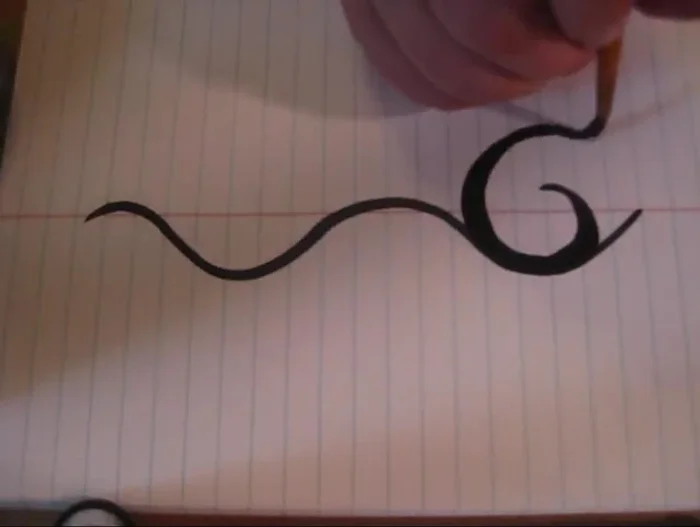
- At each peak and valley of your basic shape, lay your brush down and create a swoop, forming points.

Establish the Foundation Develop Depth and Variation
- Repeat step 2, creating larger and smaller swoops around the initial points. This adds depth and variation to your design.
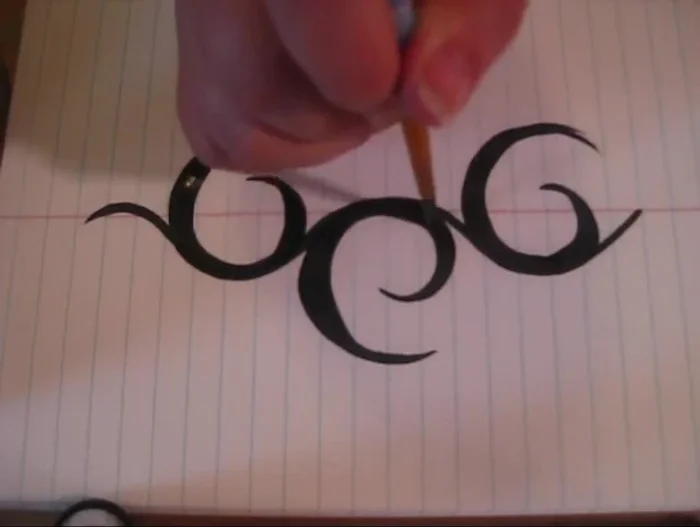
Develop Depth and Variation Refine and Detail
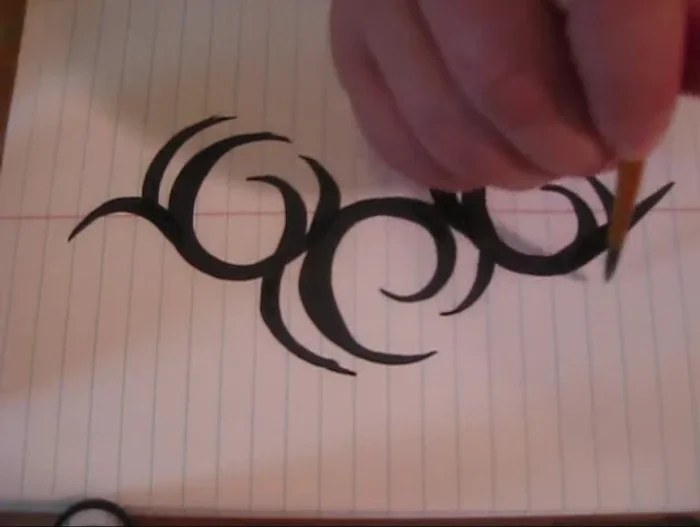
- Go back and add smaller detailing points to the design within the existing swoops.
- Thicken the original lines of your design by placing the brush in the thicker part of the swoop and pulling outwards.
Refine and Detail Extend and Embellish
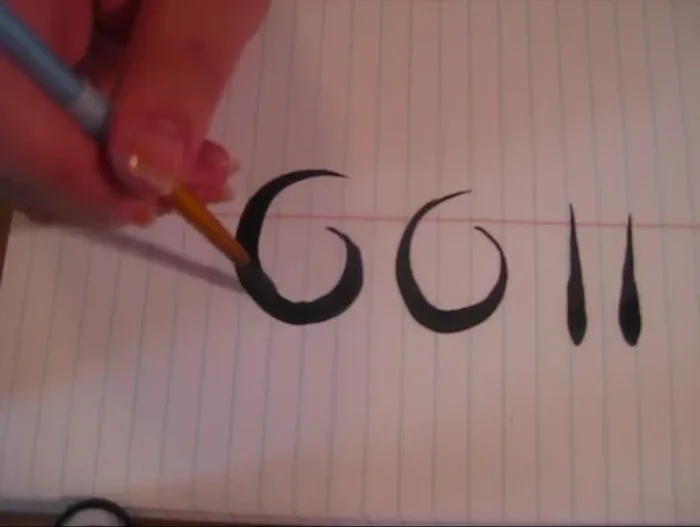
- Add small ‘legs’ or extensions to the outer points. Place your brush down and pull outwards, creating smaller points that transition from thick to thin.
- Use a thick-to-thin teardrop shape as a foundation for additional elements. Create circles using this thick-to-thin technique.
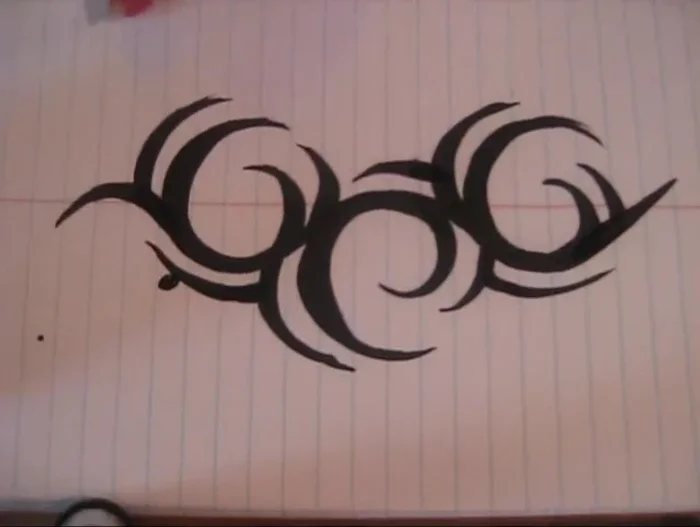
- Extend the design by adding new elements from the thicker sections of existing shapes. Flick outwards to create new areas for tribal circles.
- Add ‘legs’ to your design by following the curve of the existing shapes with your brush and connecting them smoothly to the thicker areas. Experiment with extending legs in different directions for varied effects.
Extend and Embellish
Read more: 7 Top Paint Color Trends for 2024: A Complete Guide with Free Downloadable Resource
Tips
- Use a brush that's comfortable for you. The speaker finds a particular brush works well for tribal designs.
- Maintain the thick-to-thin transition in your strokes to give your design a consistent look.
- Follow the flow of your design when adding new elements. Don't force connections; let the design guide you.